Photos Unboxed: Sandblasting The AE86
This time two years ago, we had just ripped the Trueno apart to send the shell down for sandblasting. The 86 was being brought down to Ace Motor Factors in Newbawn co Wexford. We brought it down on a Saturday’s it was going to get blasted on a Tuesday morning. I ensured to get that day off of work to document the entire process; this was something I didn’t want to miss.
I had spent the two weeks previous trying to grind as much of the miserable sealer from each of the wheel wells as possible; you might remember that from the vlog, it was an awful time. The week leading up to the blasting was complete torture, it was every evening out in the shed in the cold trying to use a little wire wheel to hack off and grind back the stubborn factory sealer.
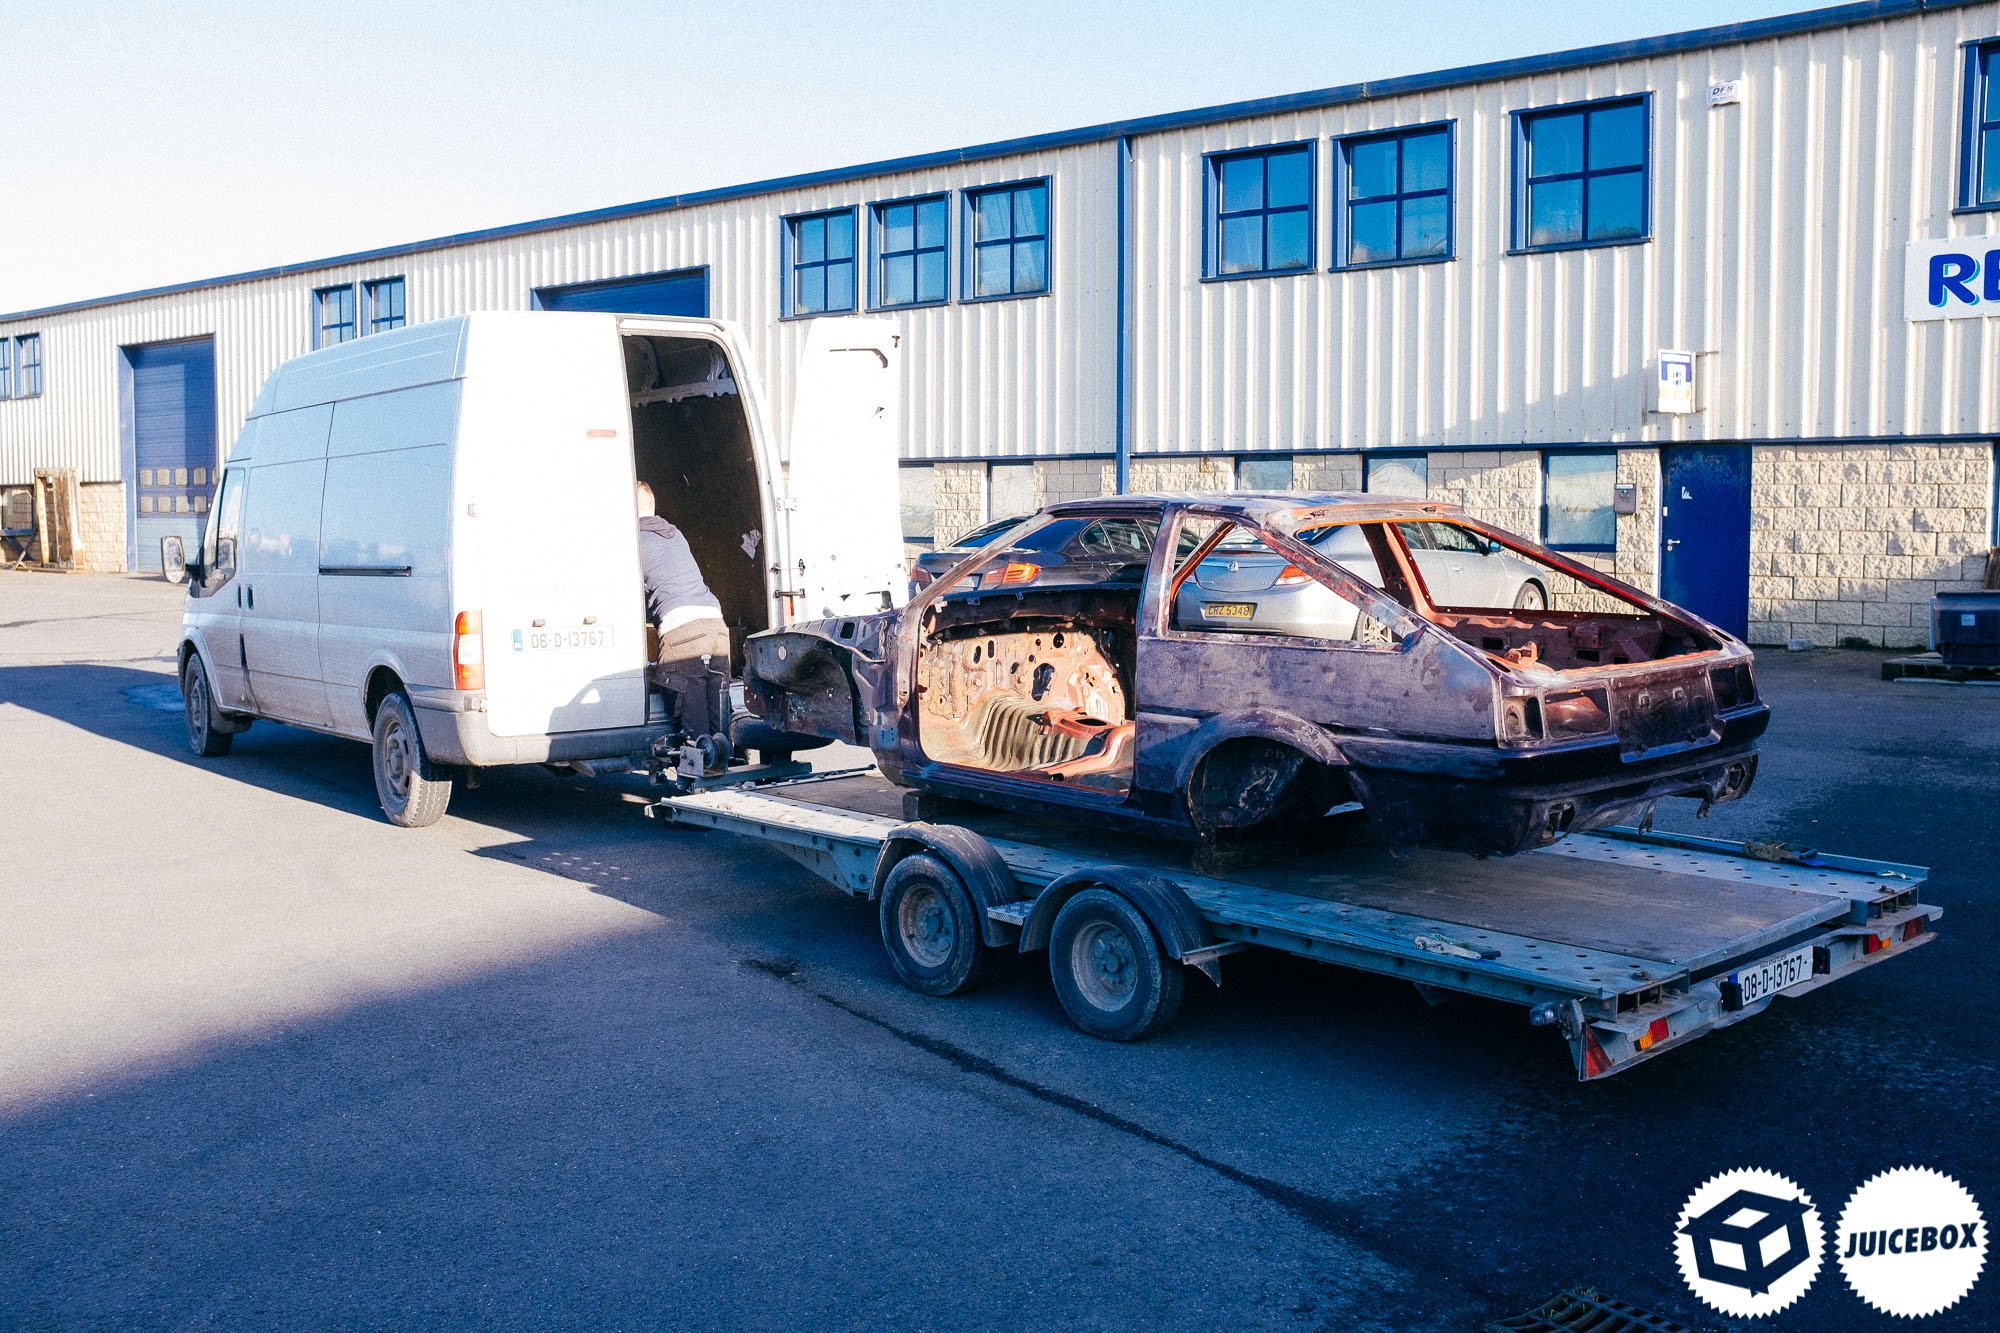
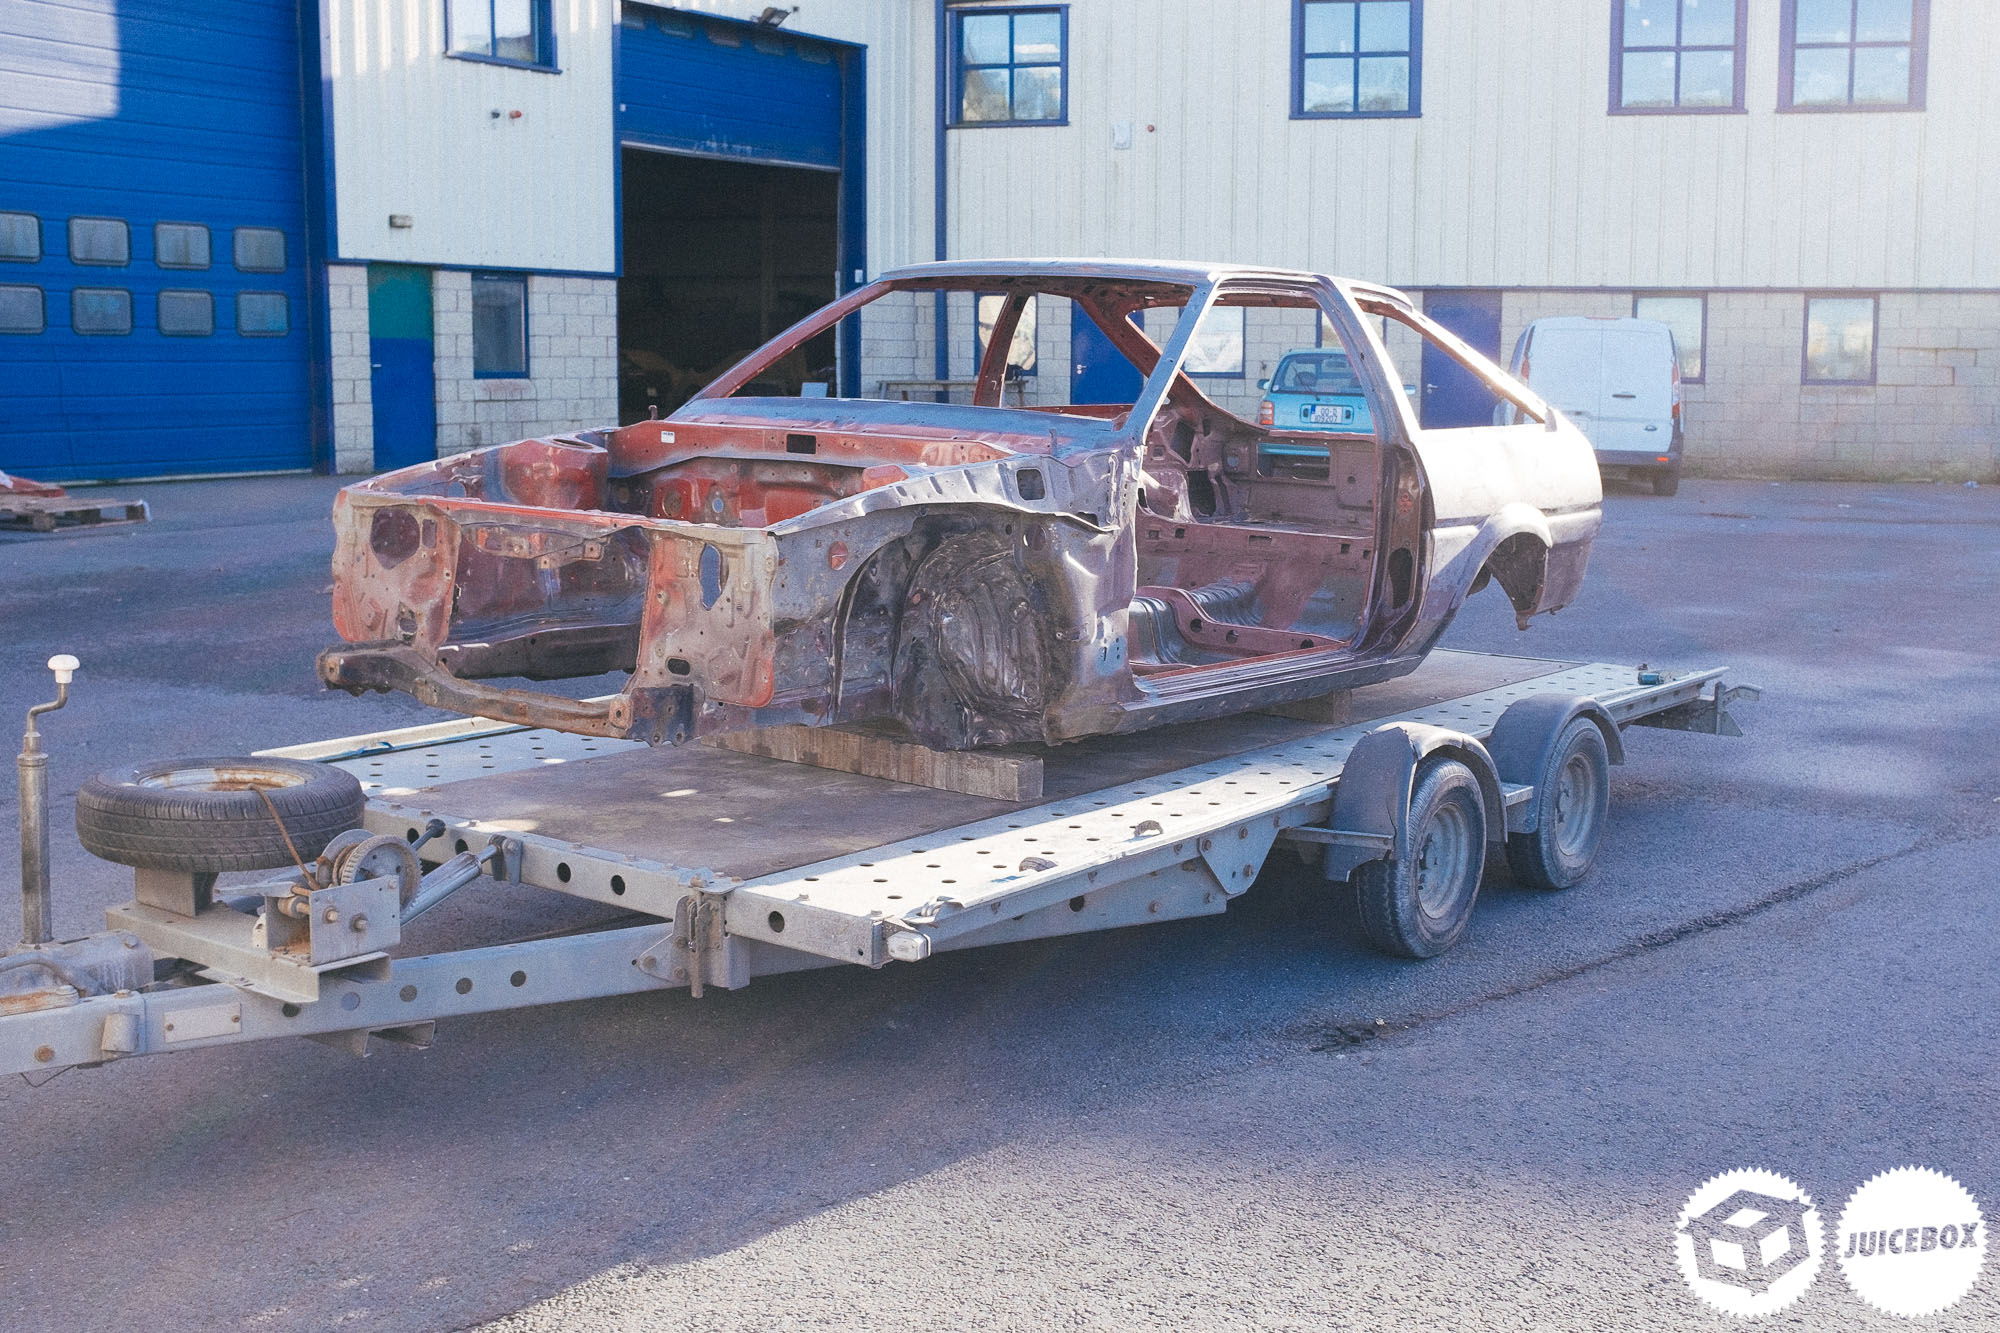
Eventually, we got it off; I was out in the shed late Friday night to ensure the shell would be ready for the next morning. Teejay was down to pack the car onto his trailer and drop it down to Wexford that afternoon. It was the first time the shell had seen daylight in this condition, and it was a pretty grim sight to behold. It was a full car just a couple of weeks previous, and now it was pretty much nothing.
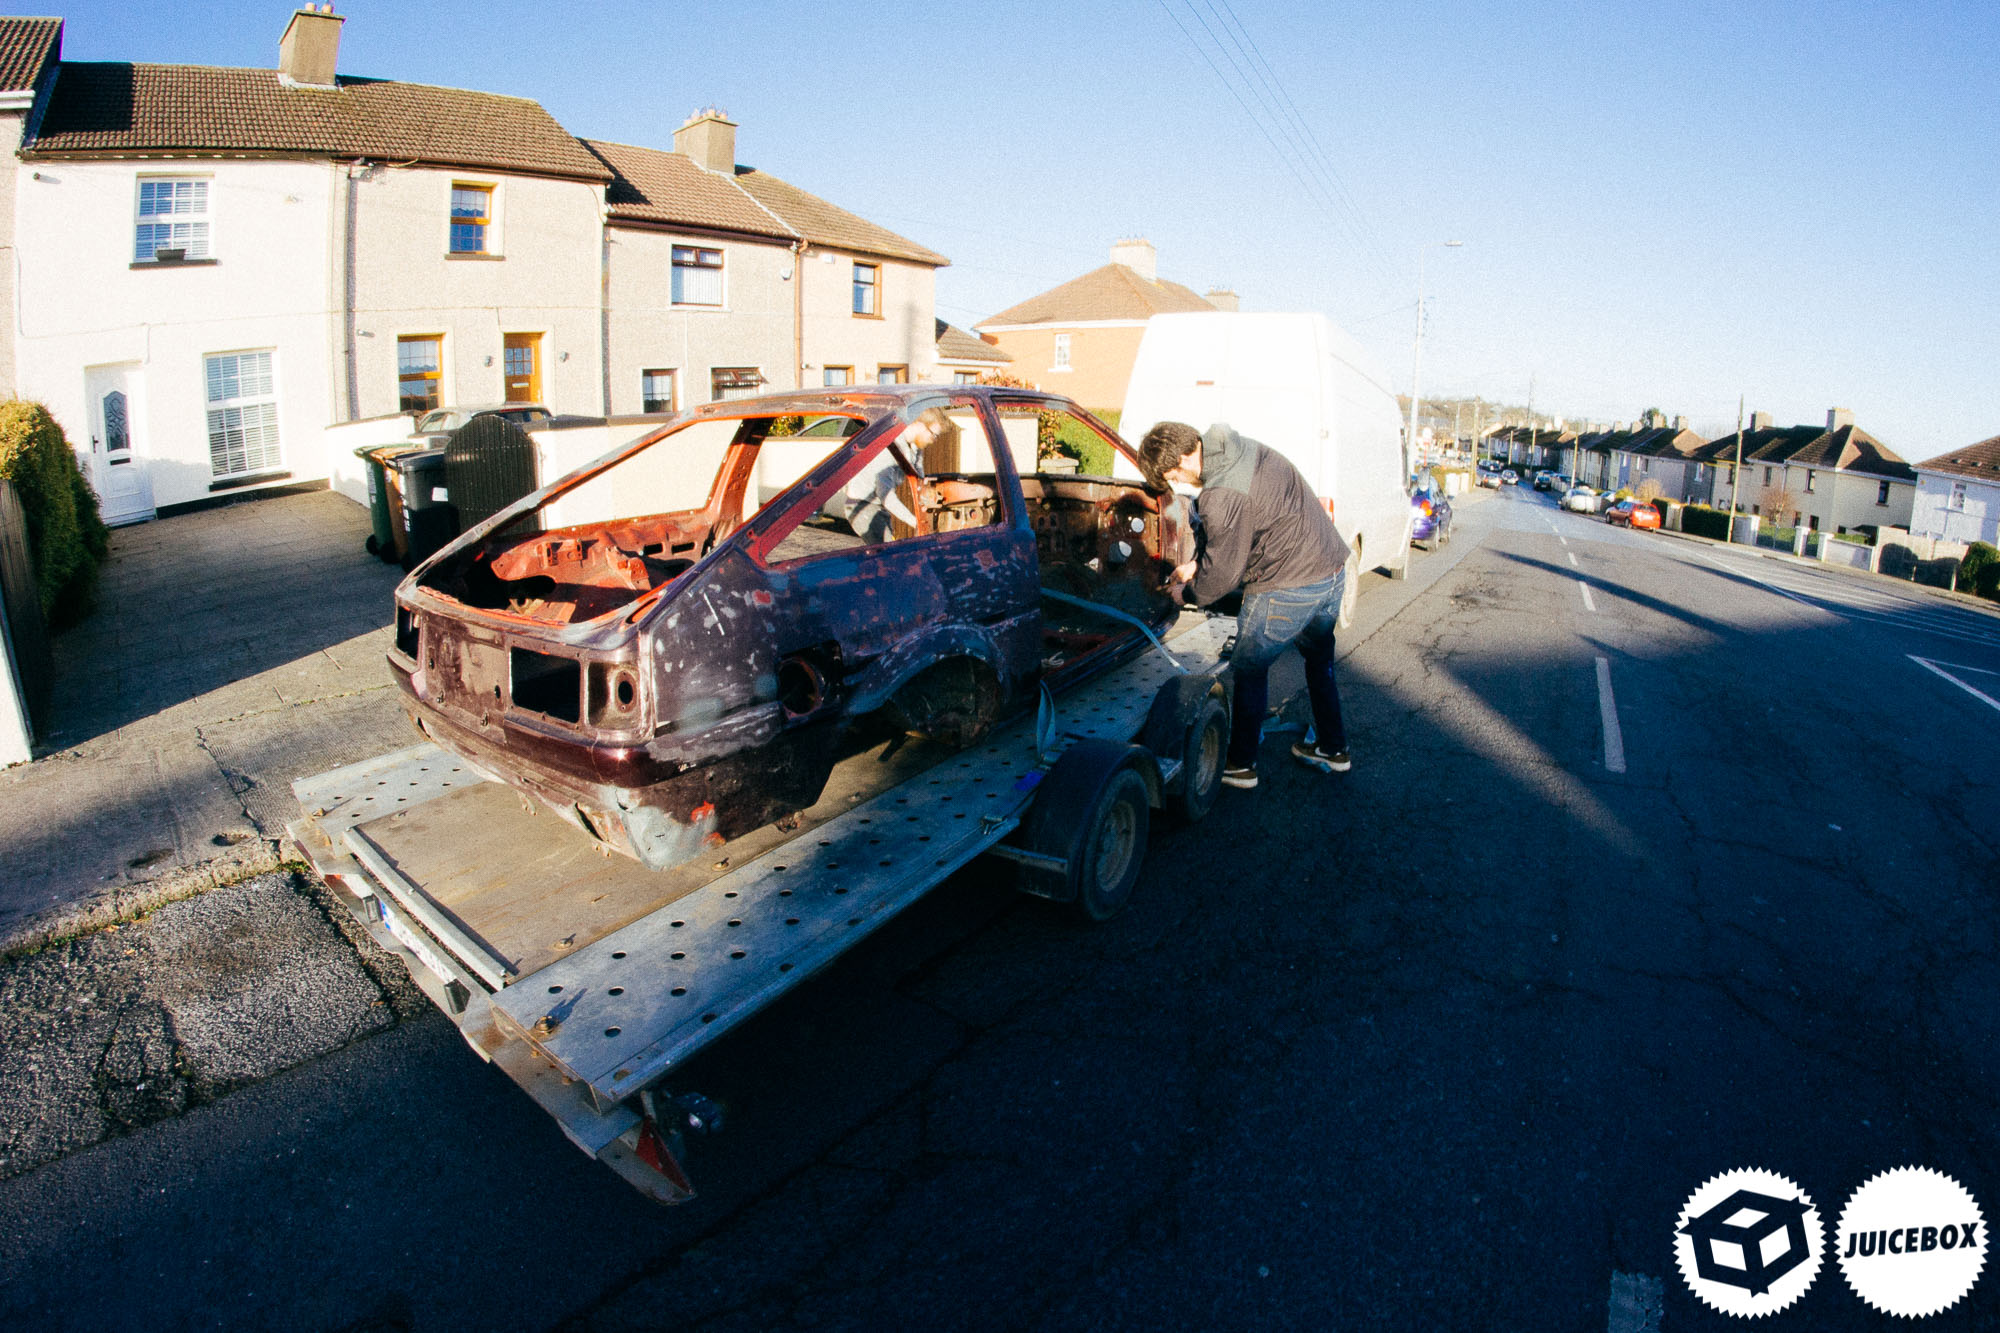
I was pretty eager to see what sort of car would be left once the blasting was complete. We made a quick pit stop to show the mother my financial mistake.
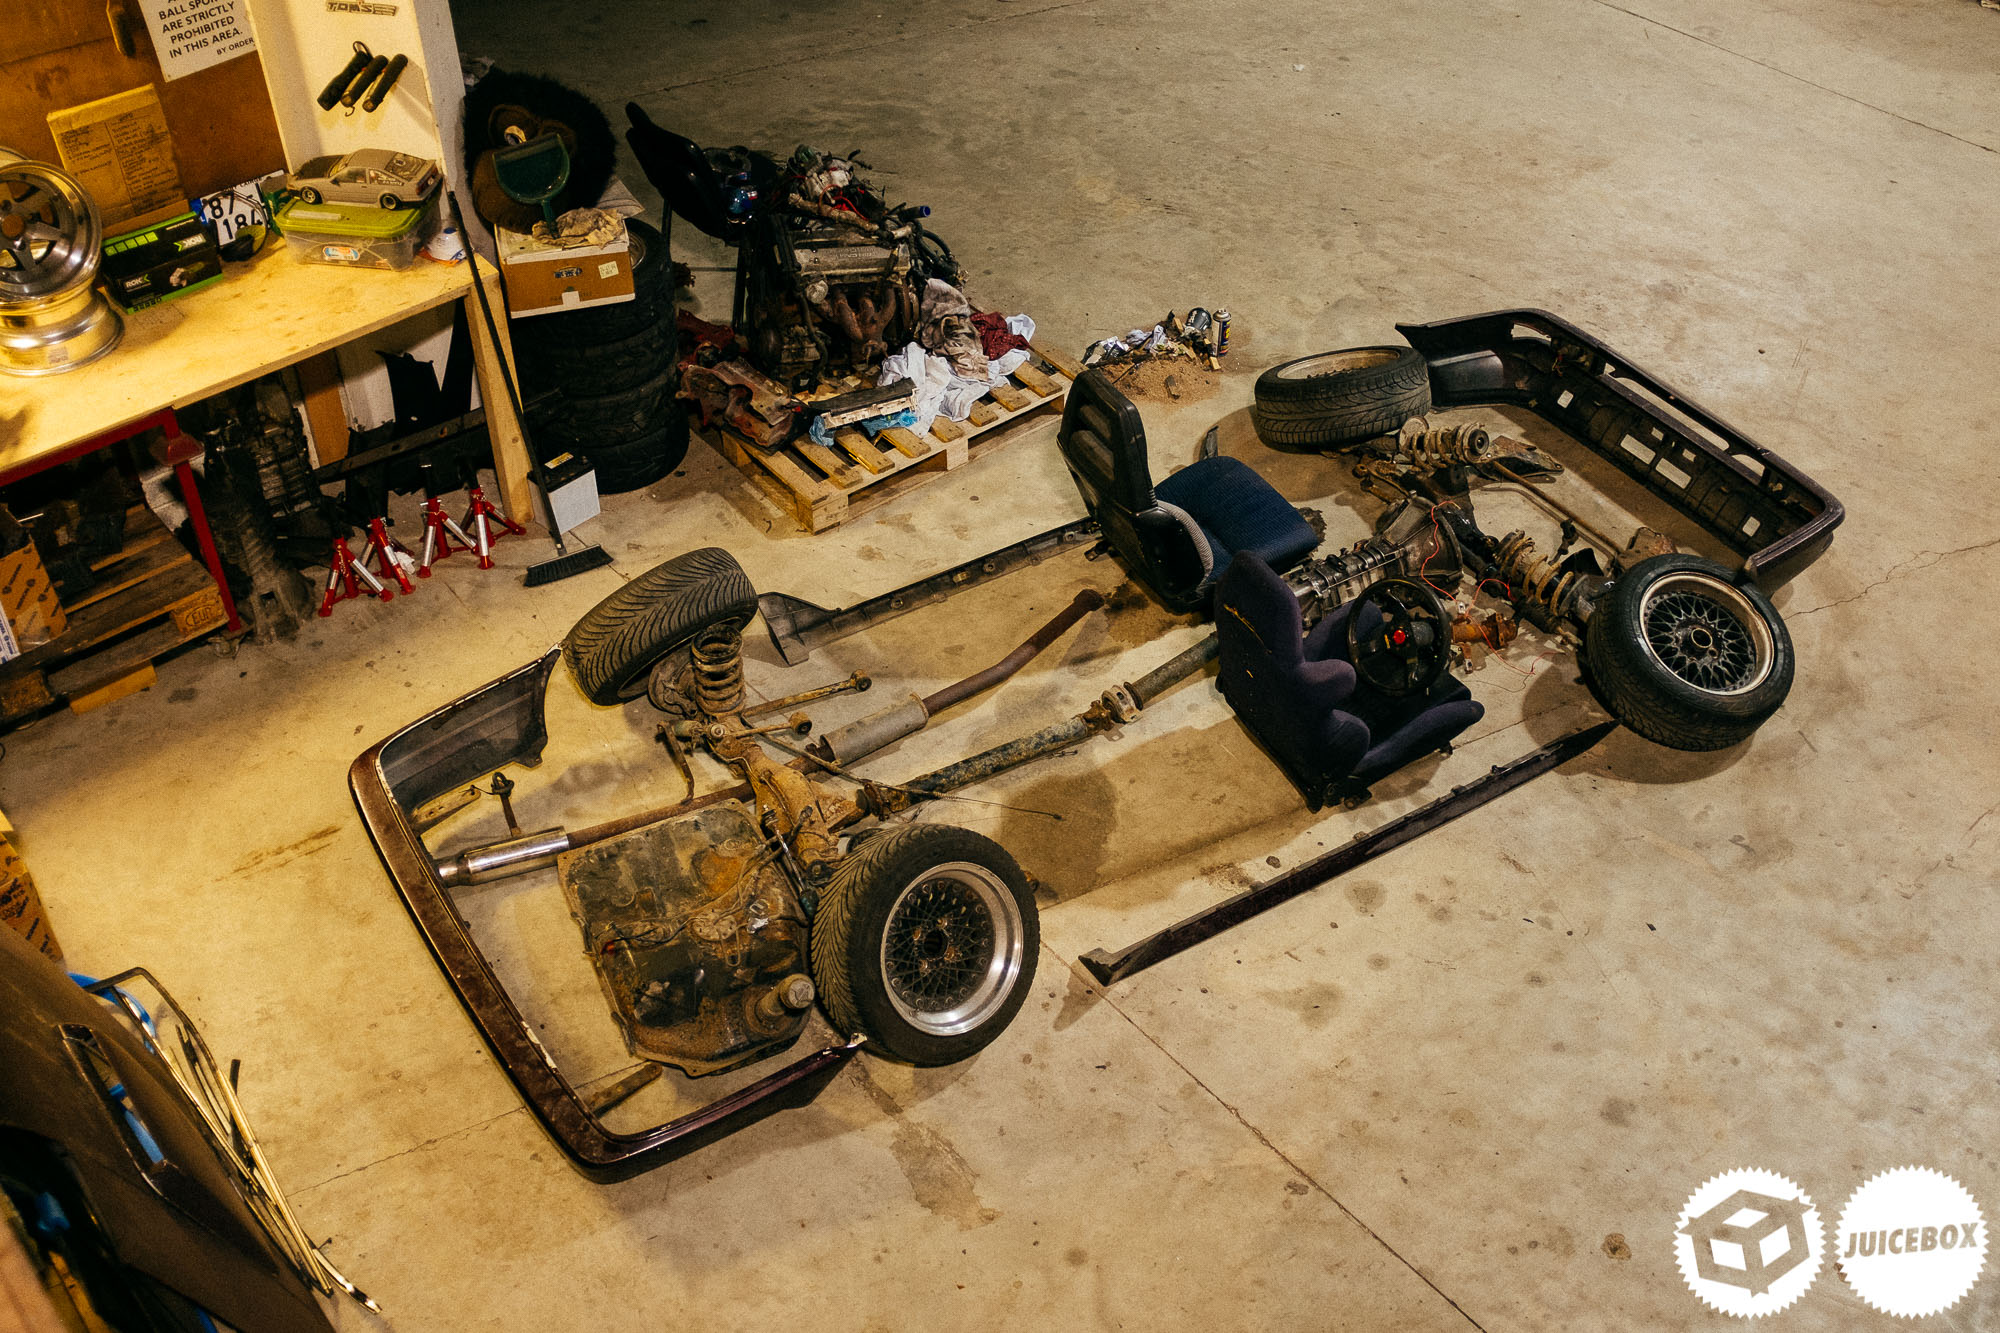
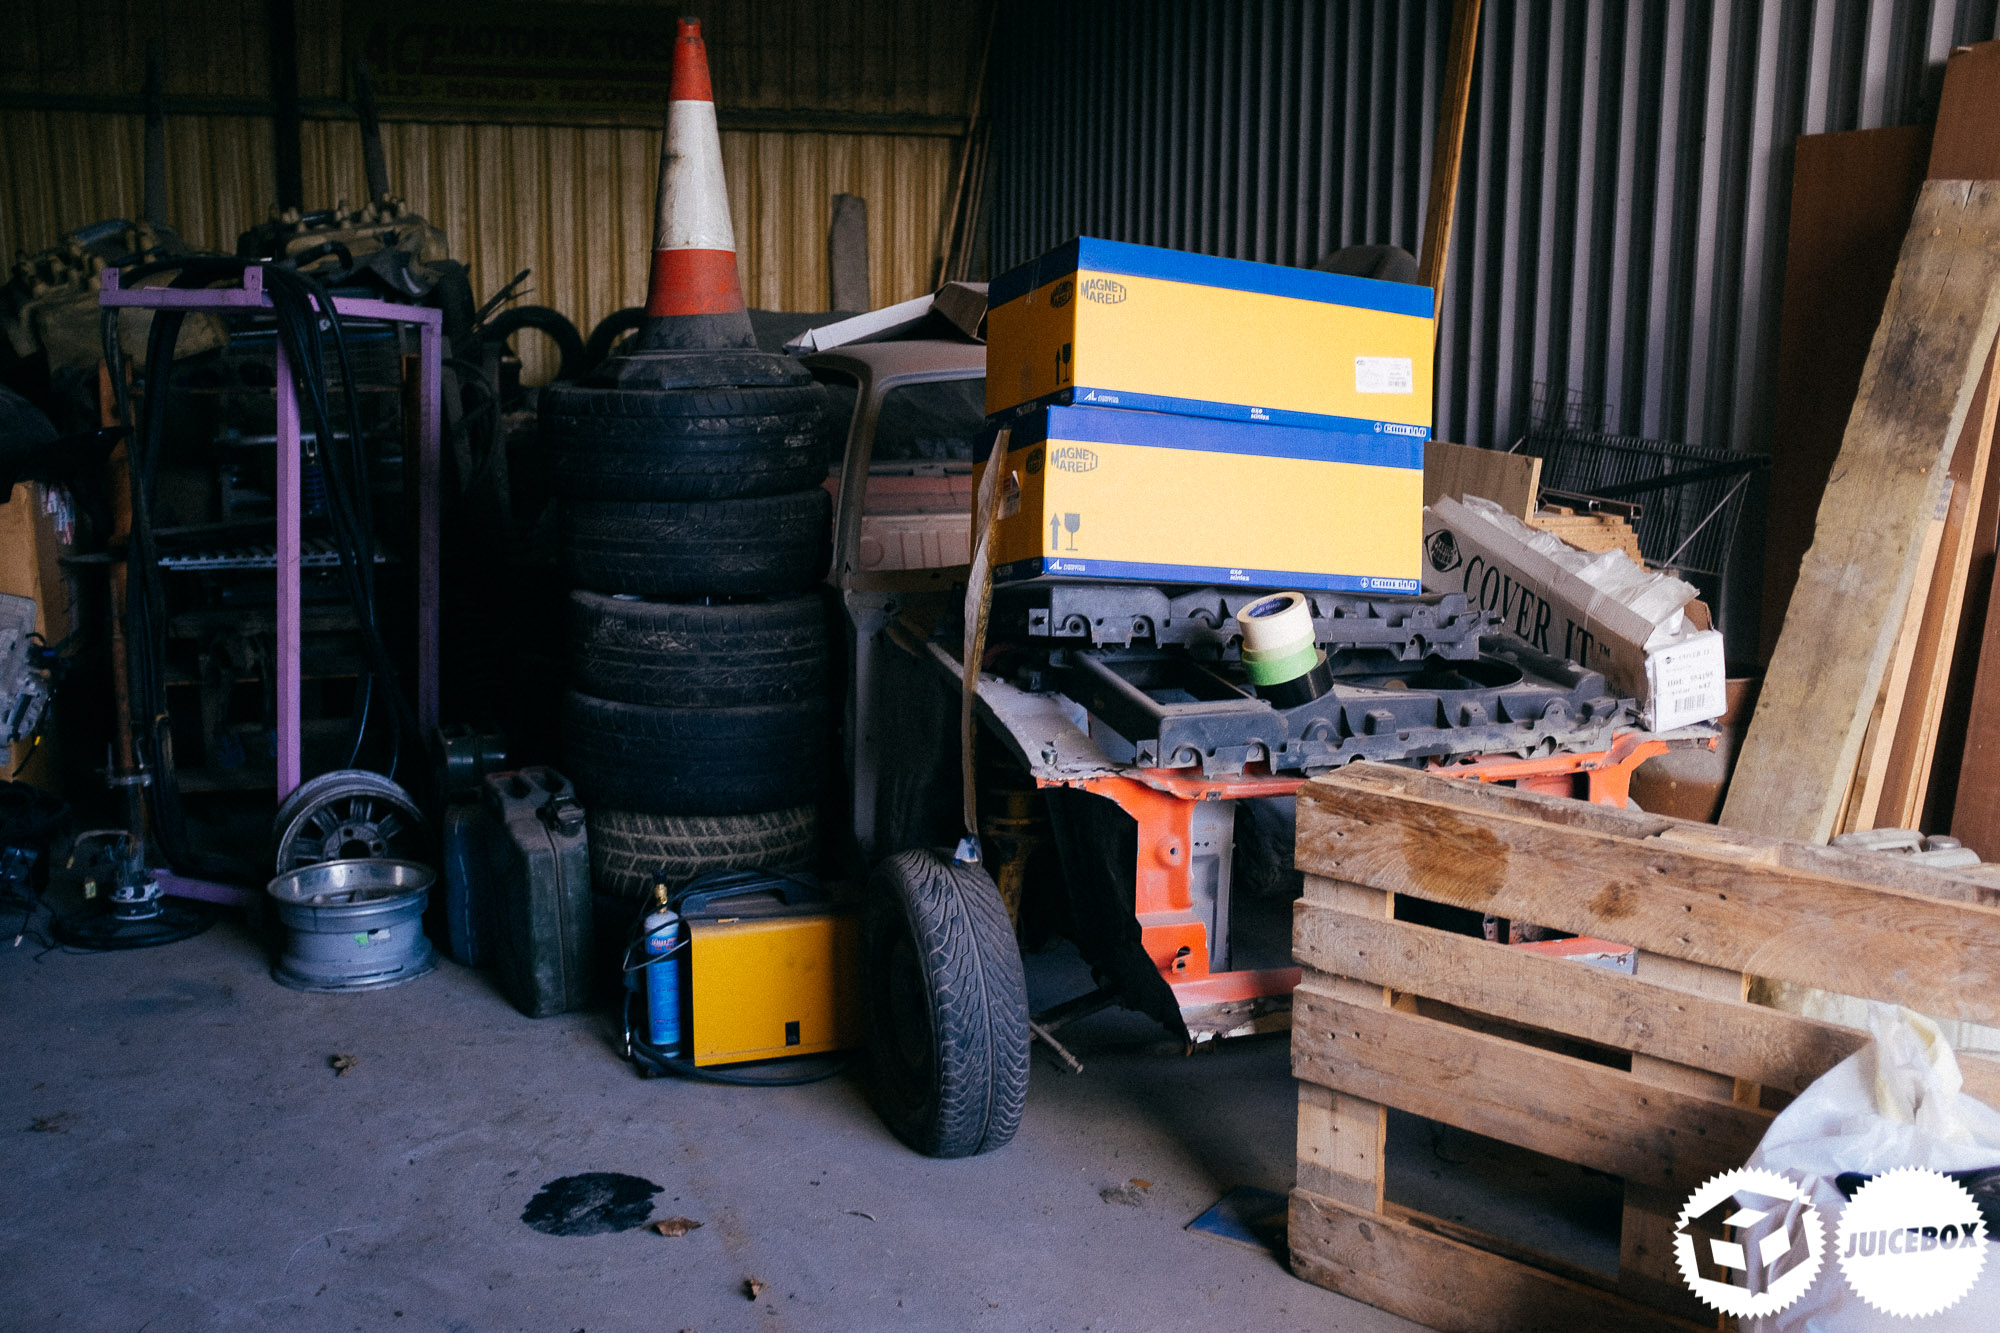
That evening, after making it back from unloading the car at Ace, we were greeted to this hilarious collection of parts laid out in my bay. Bryan decided to put the car back together with what explained, would be all that’s left after the sandblasting. High-quality jokes in the shed as always.
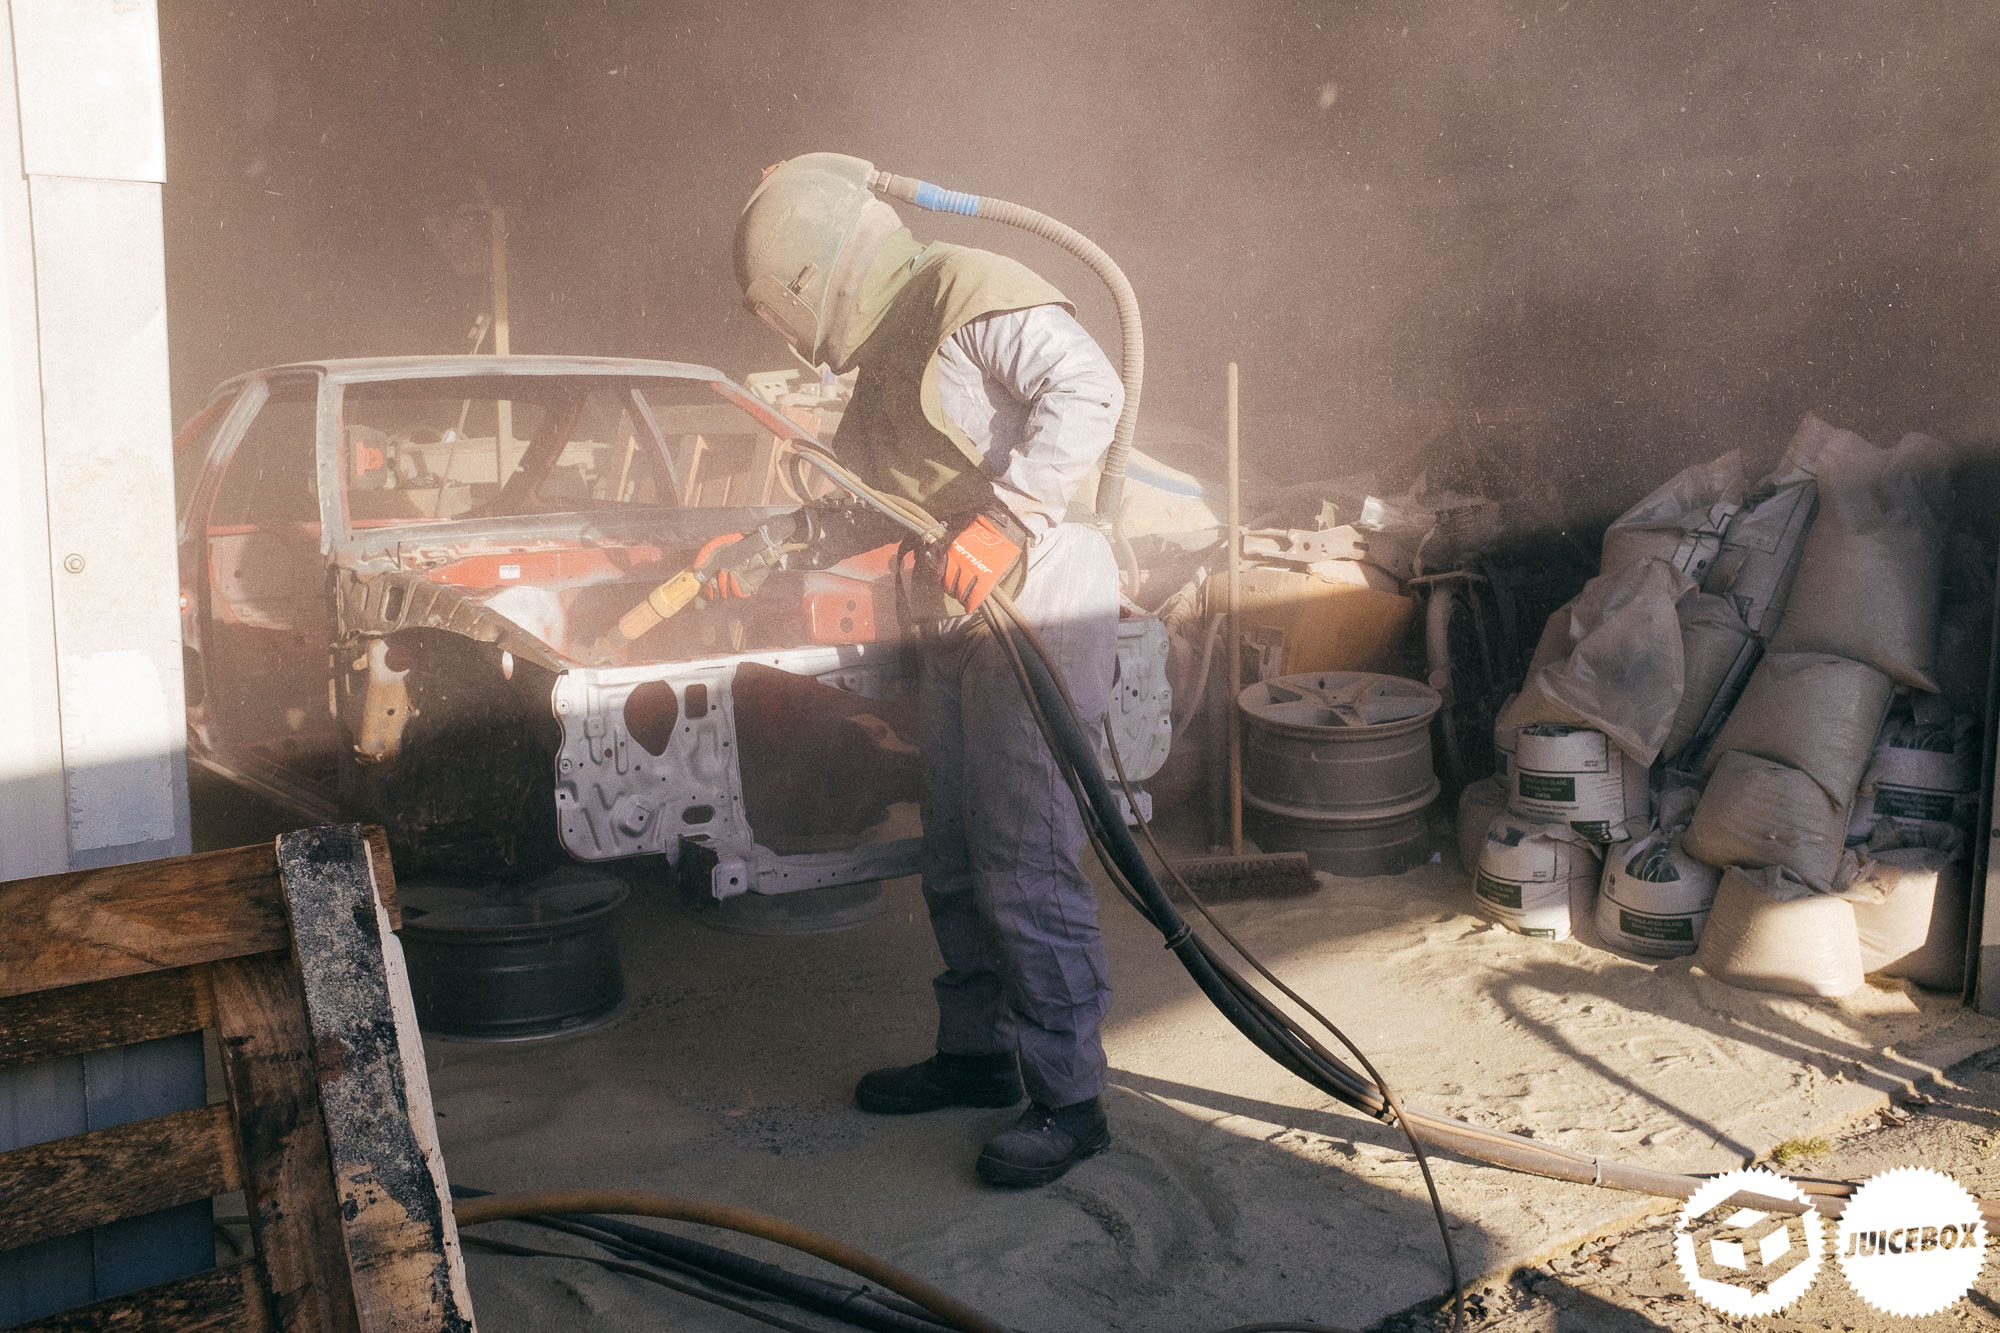
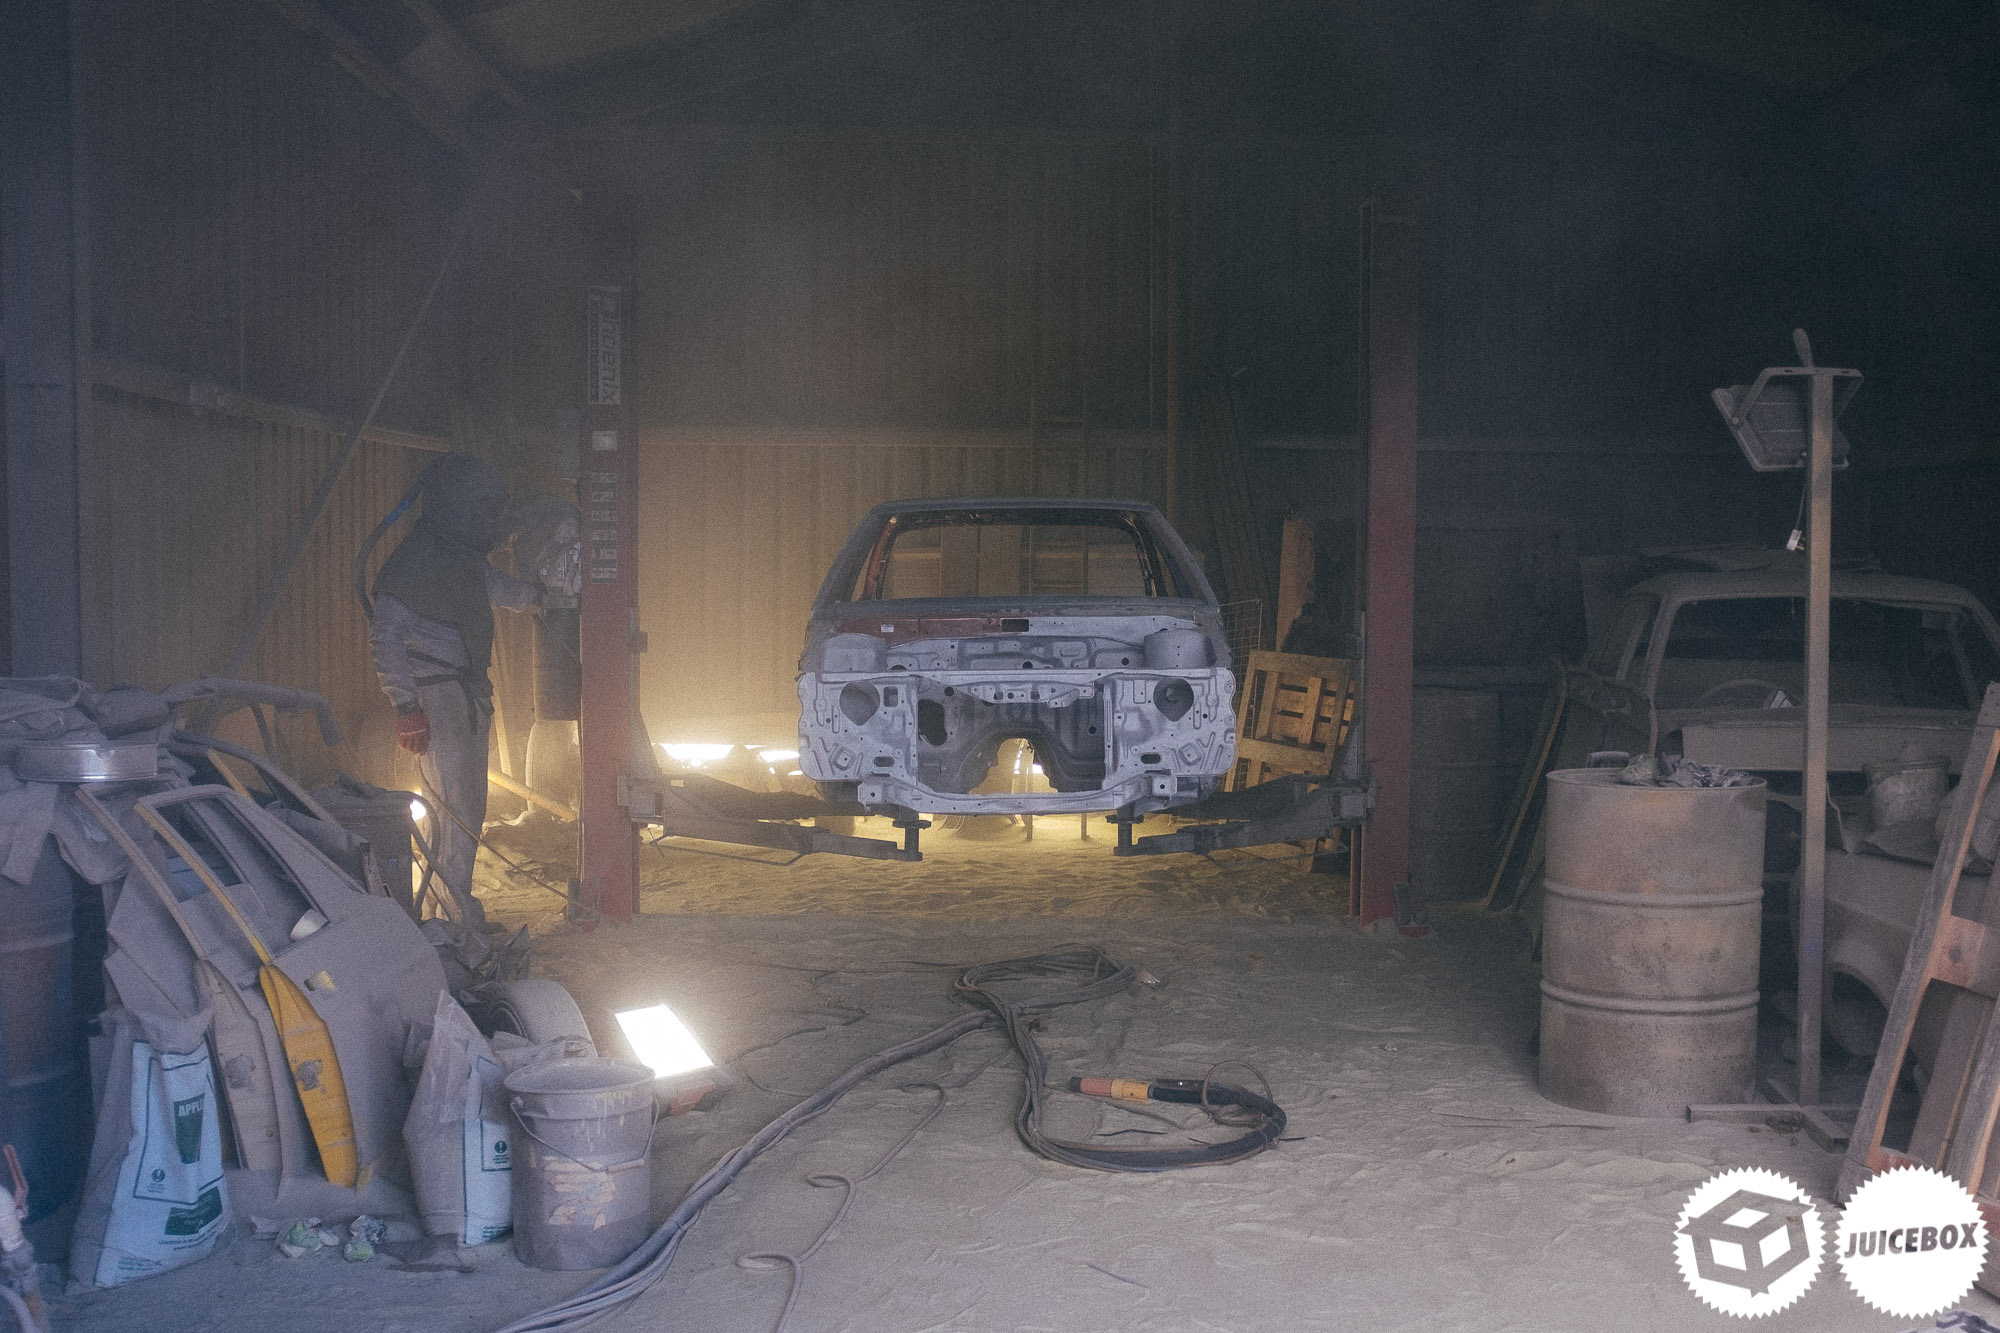
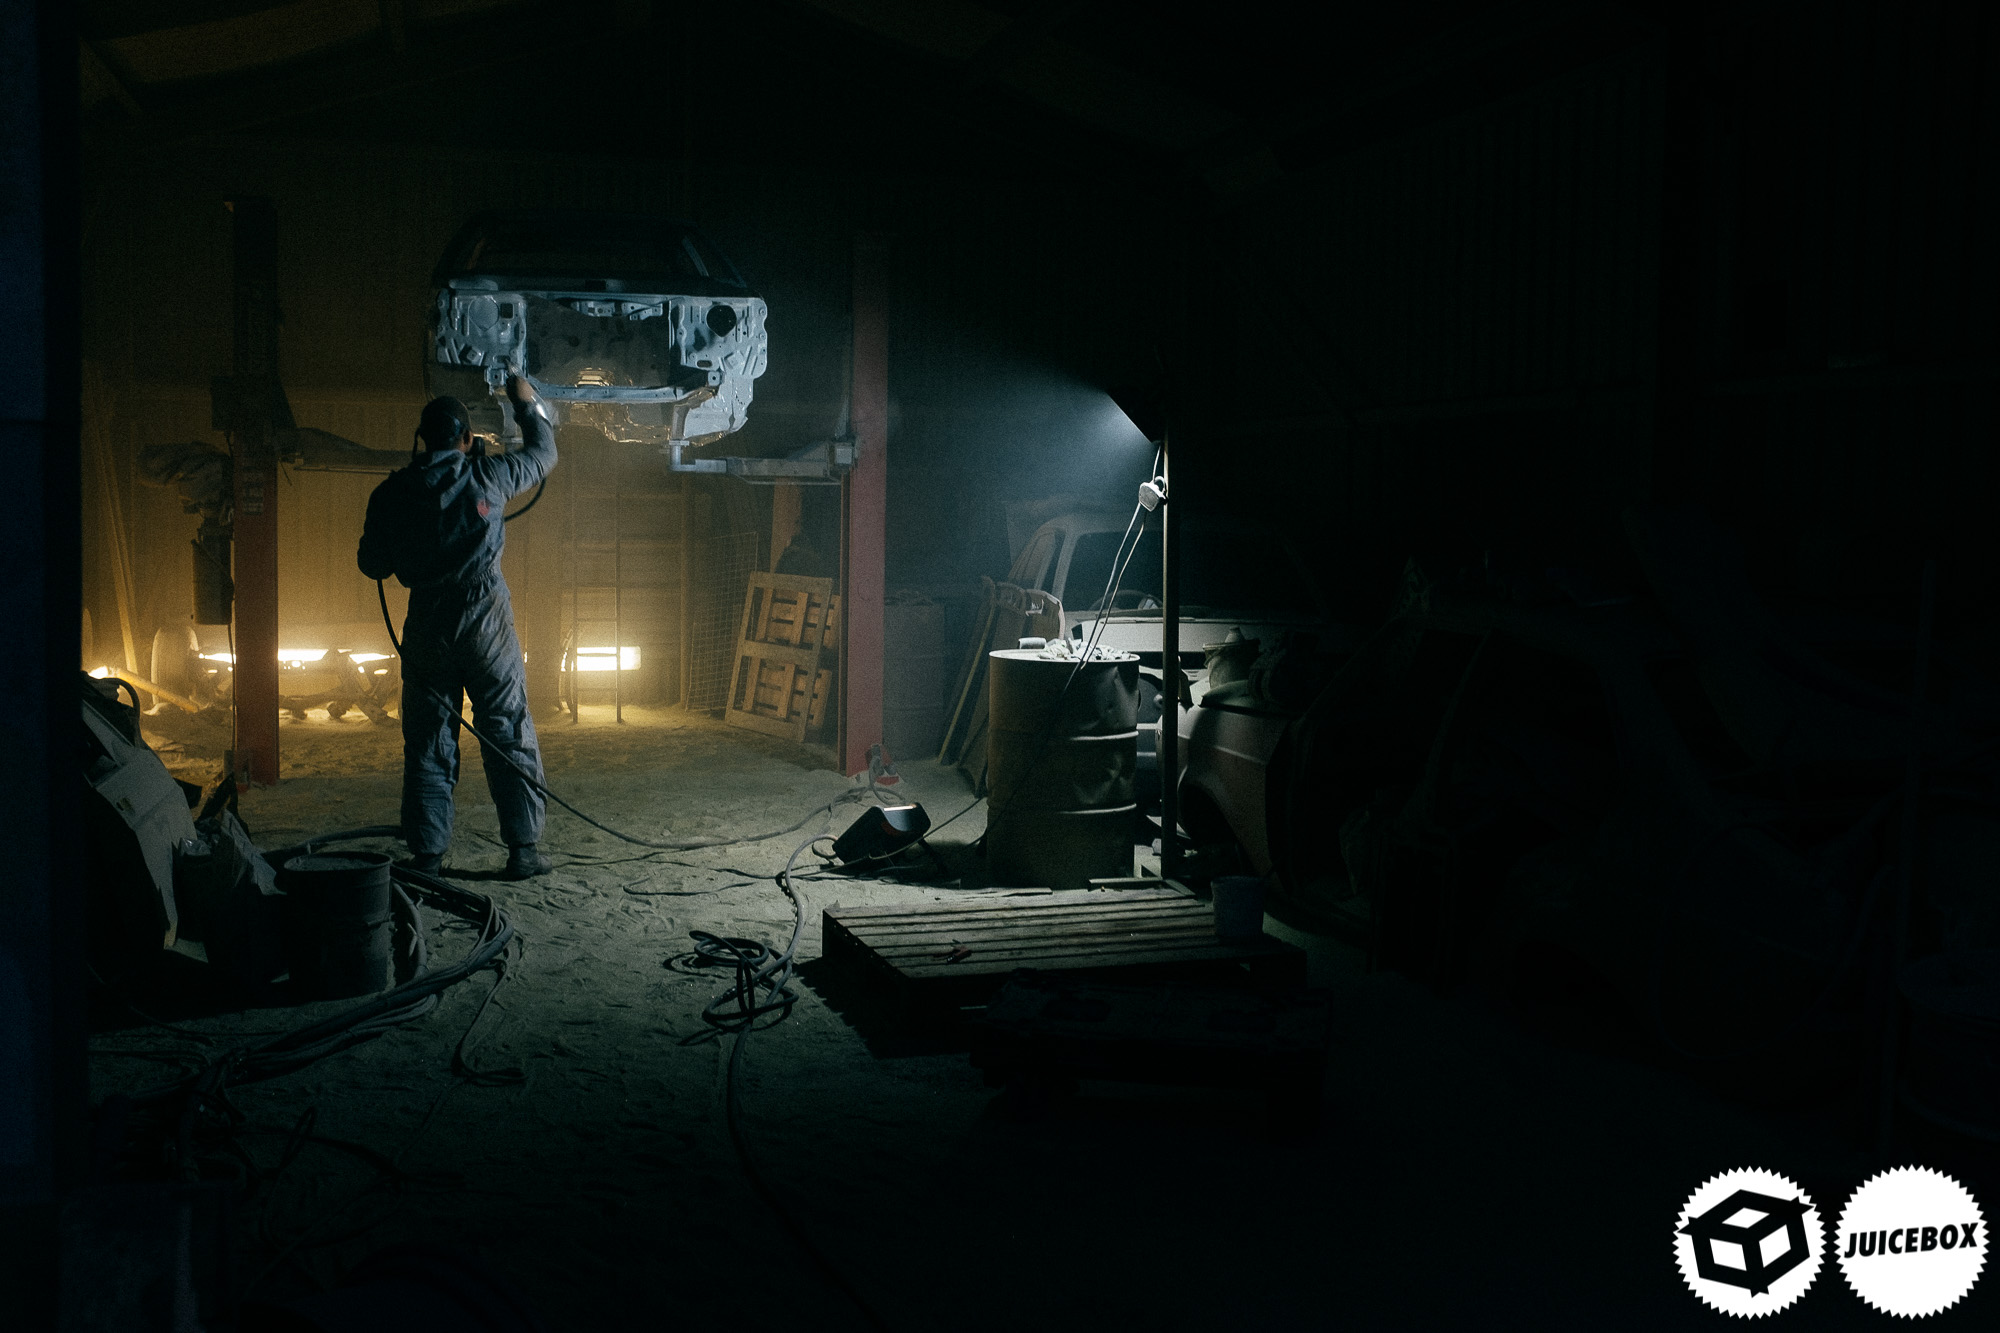
We started bright and early on a frosty winters morning. Nigel, the owner of Ace, was going to do the blasting. I used to do this for a brief time when living in Canada, so I knew it was going to be painfully noisy. The spacesuit is essential as the sand/dust particles are shooting out of the nozzle at stupid speeds, there’s a cold air feed at the back of the suit, so the worker doesn’t breathe in the particles.

It’s cool looking back on all of these photos two years later. It feels like we have gone nowhere with this car, but we’ve done quite a lot. I was very impressed with Nigels ability to get into all the dodgy areas. When sand is blowing in small spaces, it’s almost impossible to see anything.
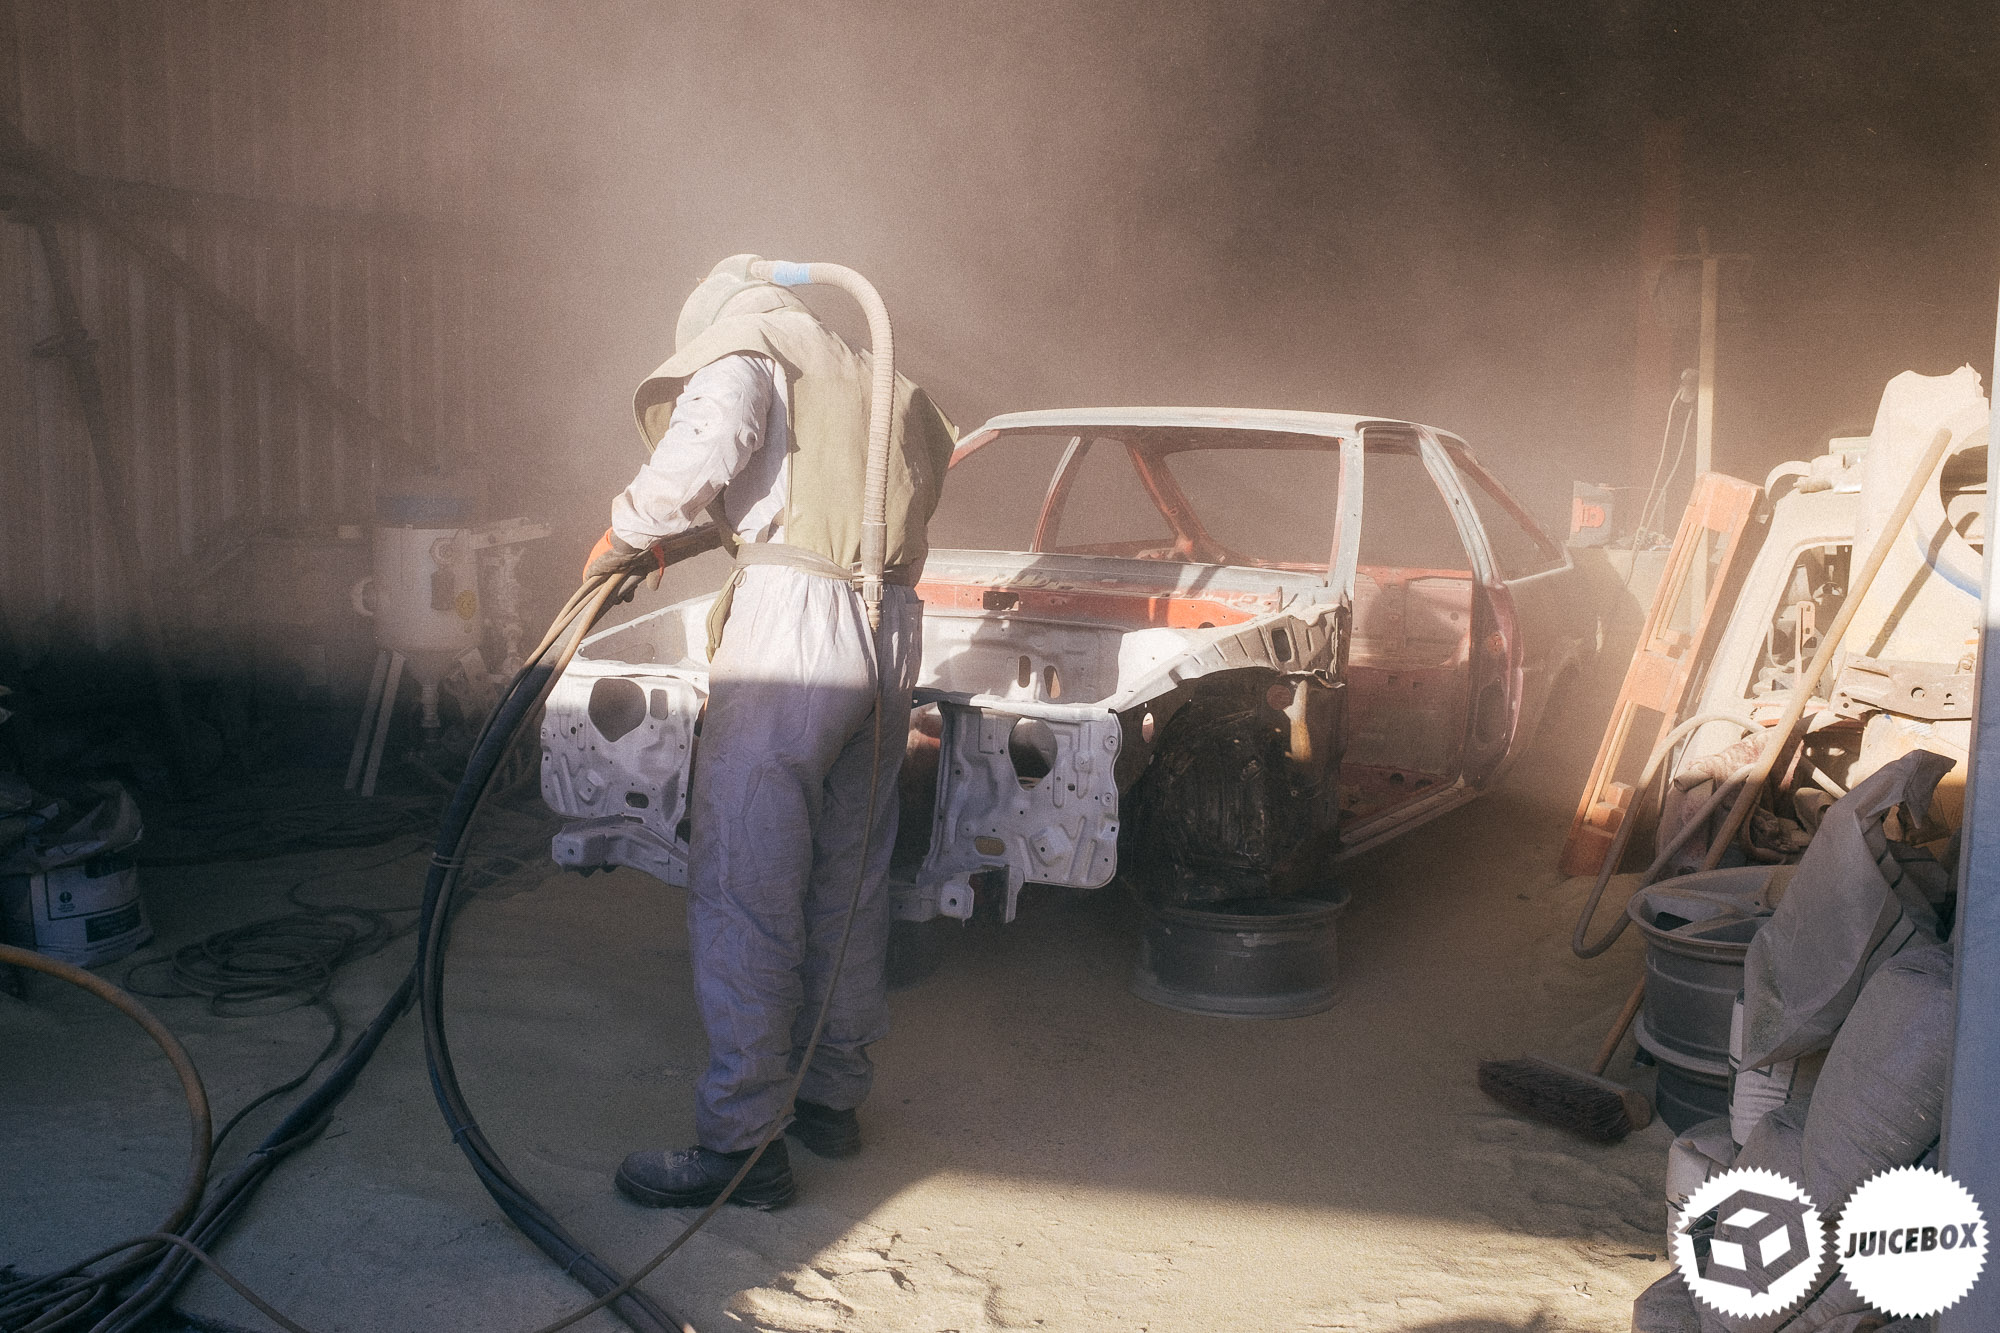
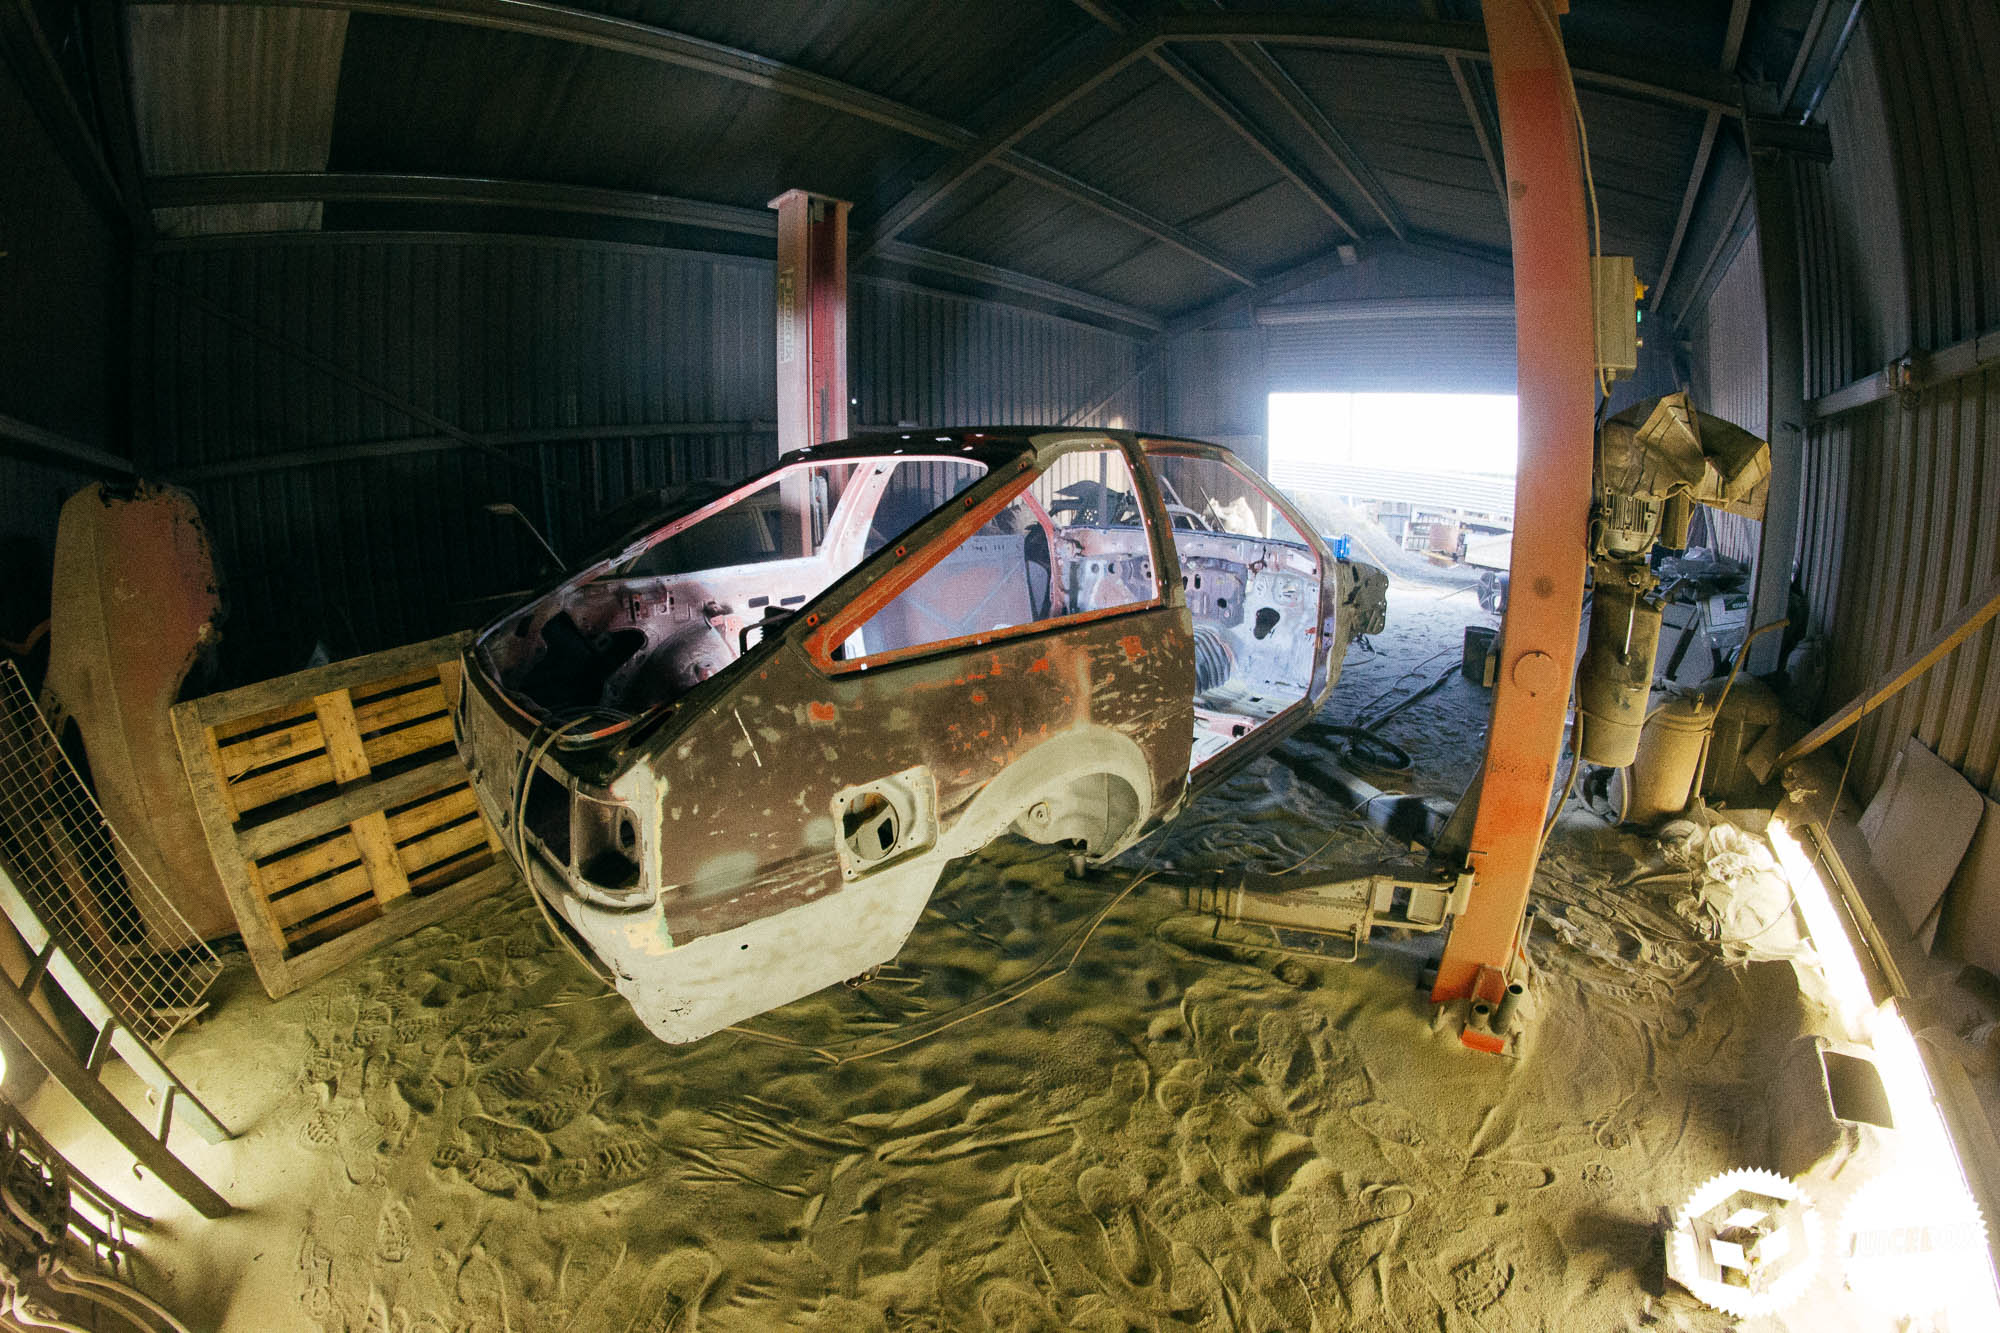
If you have seen the vlog, I’m sure you guys remember just how therapeutic the footage was watching all that crust and rust slowly disappear.
Many of the places that looked suspect turned out to be ok. I was quite surprised, but the blasting did reveal a lot of hidden misery.
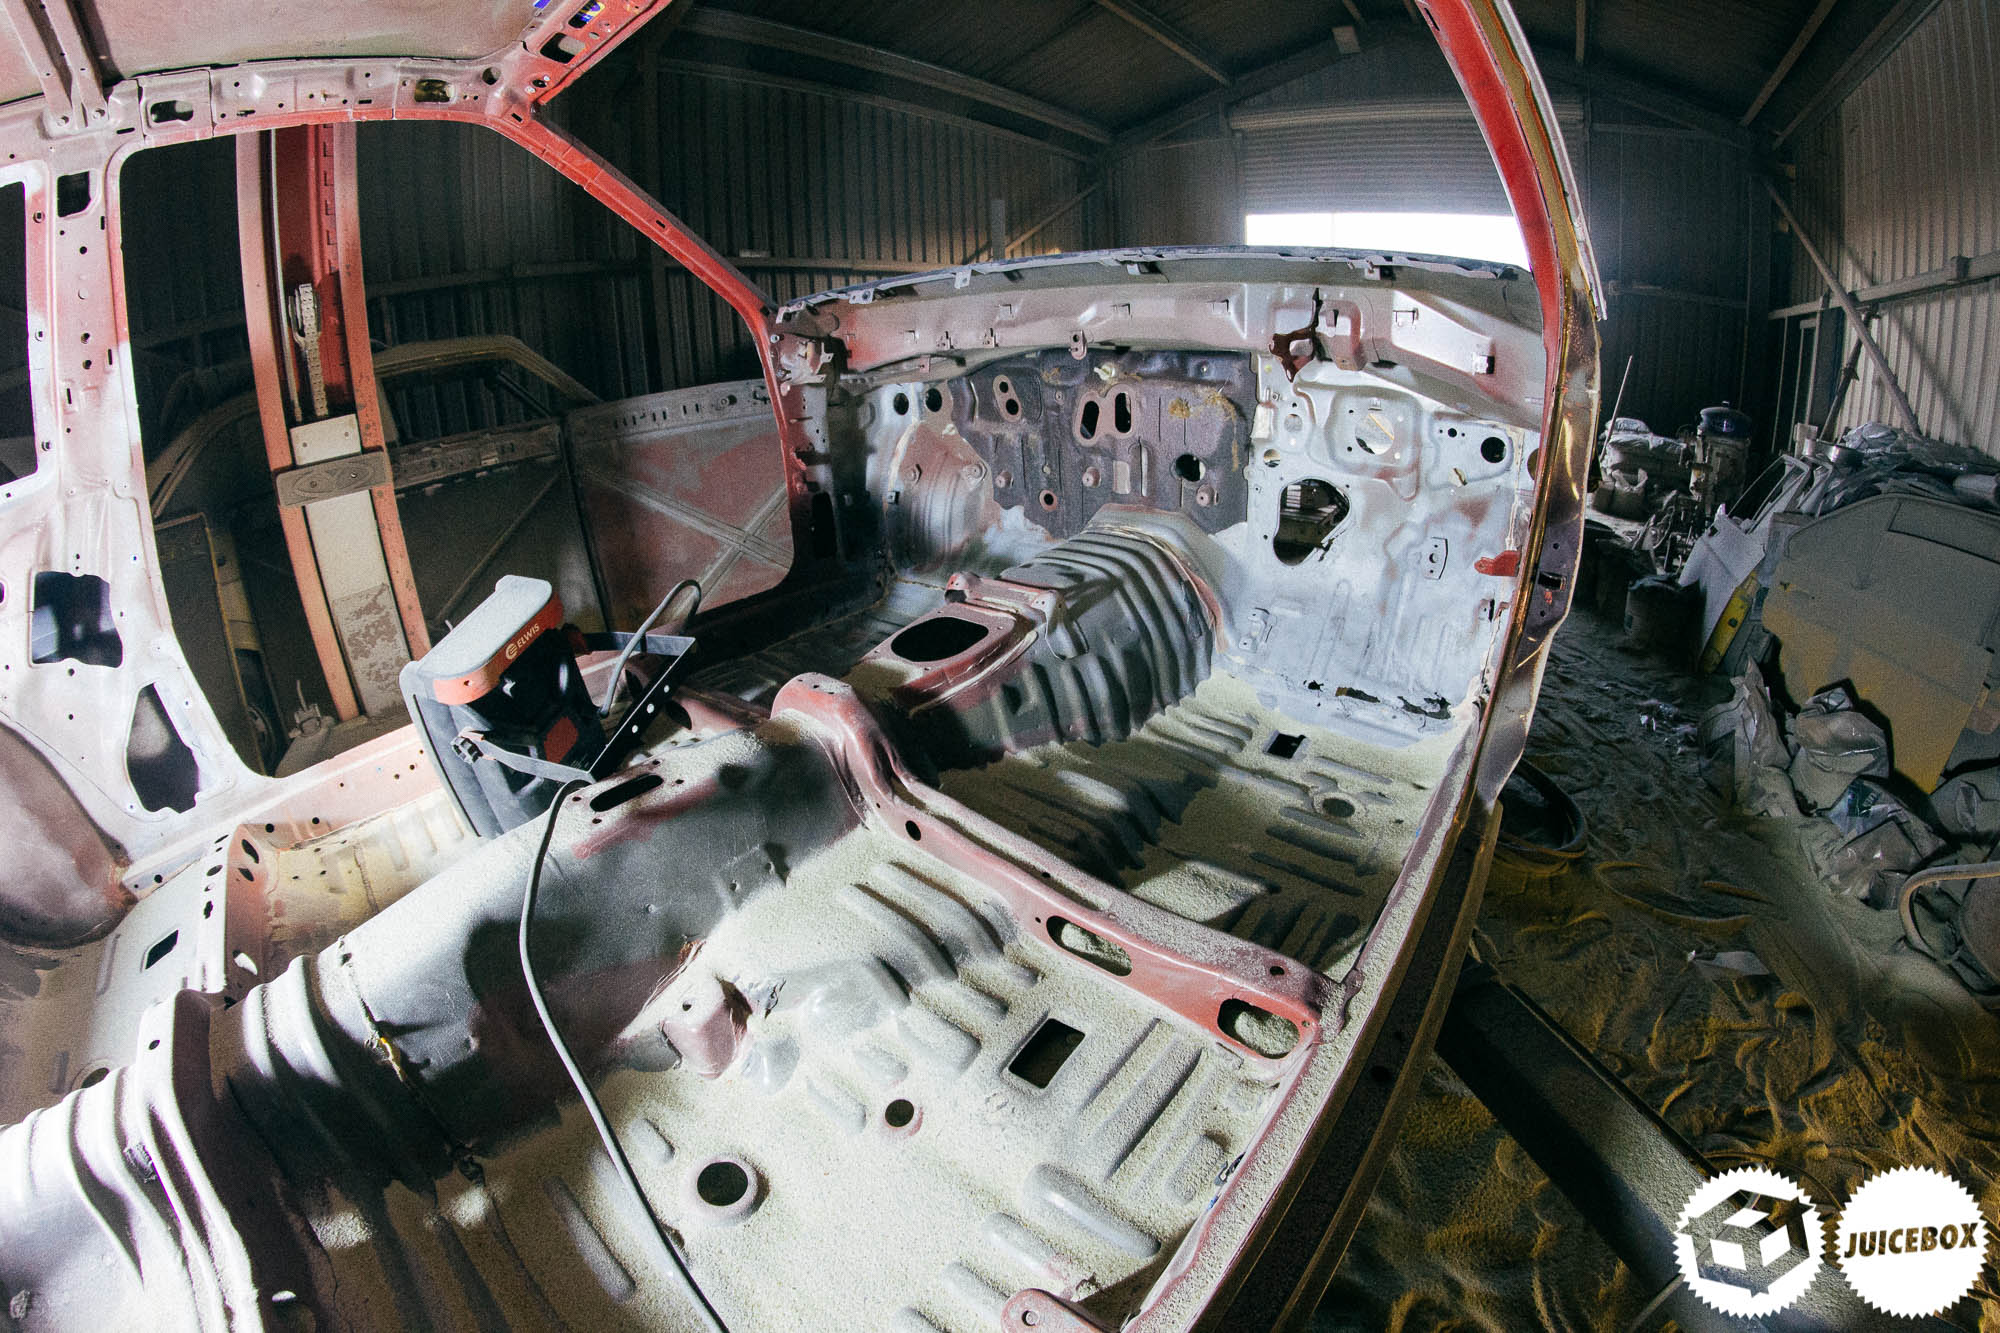
It looked so good in this photo, all of that grime blasted away in an instant. Nigel gave the bay a once over before we pushed the shell back and sat it on the lift.
From there he could get right in under the bottom and finish the job. I decided to blast engine bay, the underneath and the arches, pretty much whatever crusty visual areas were revealing themselves either inside the shell of on the arches.
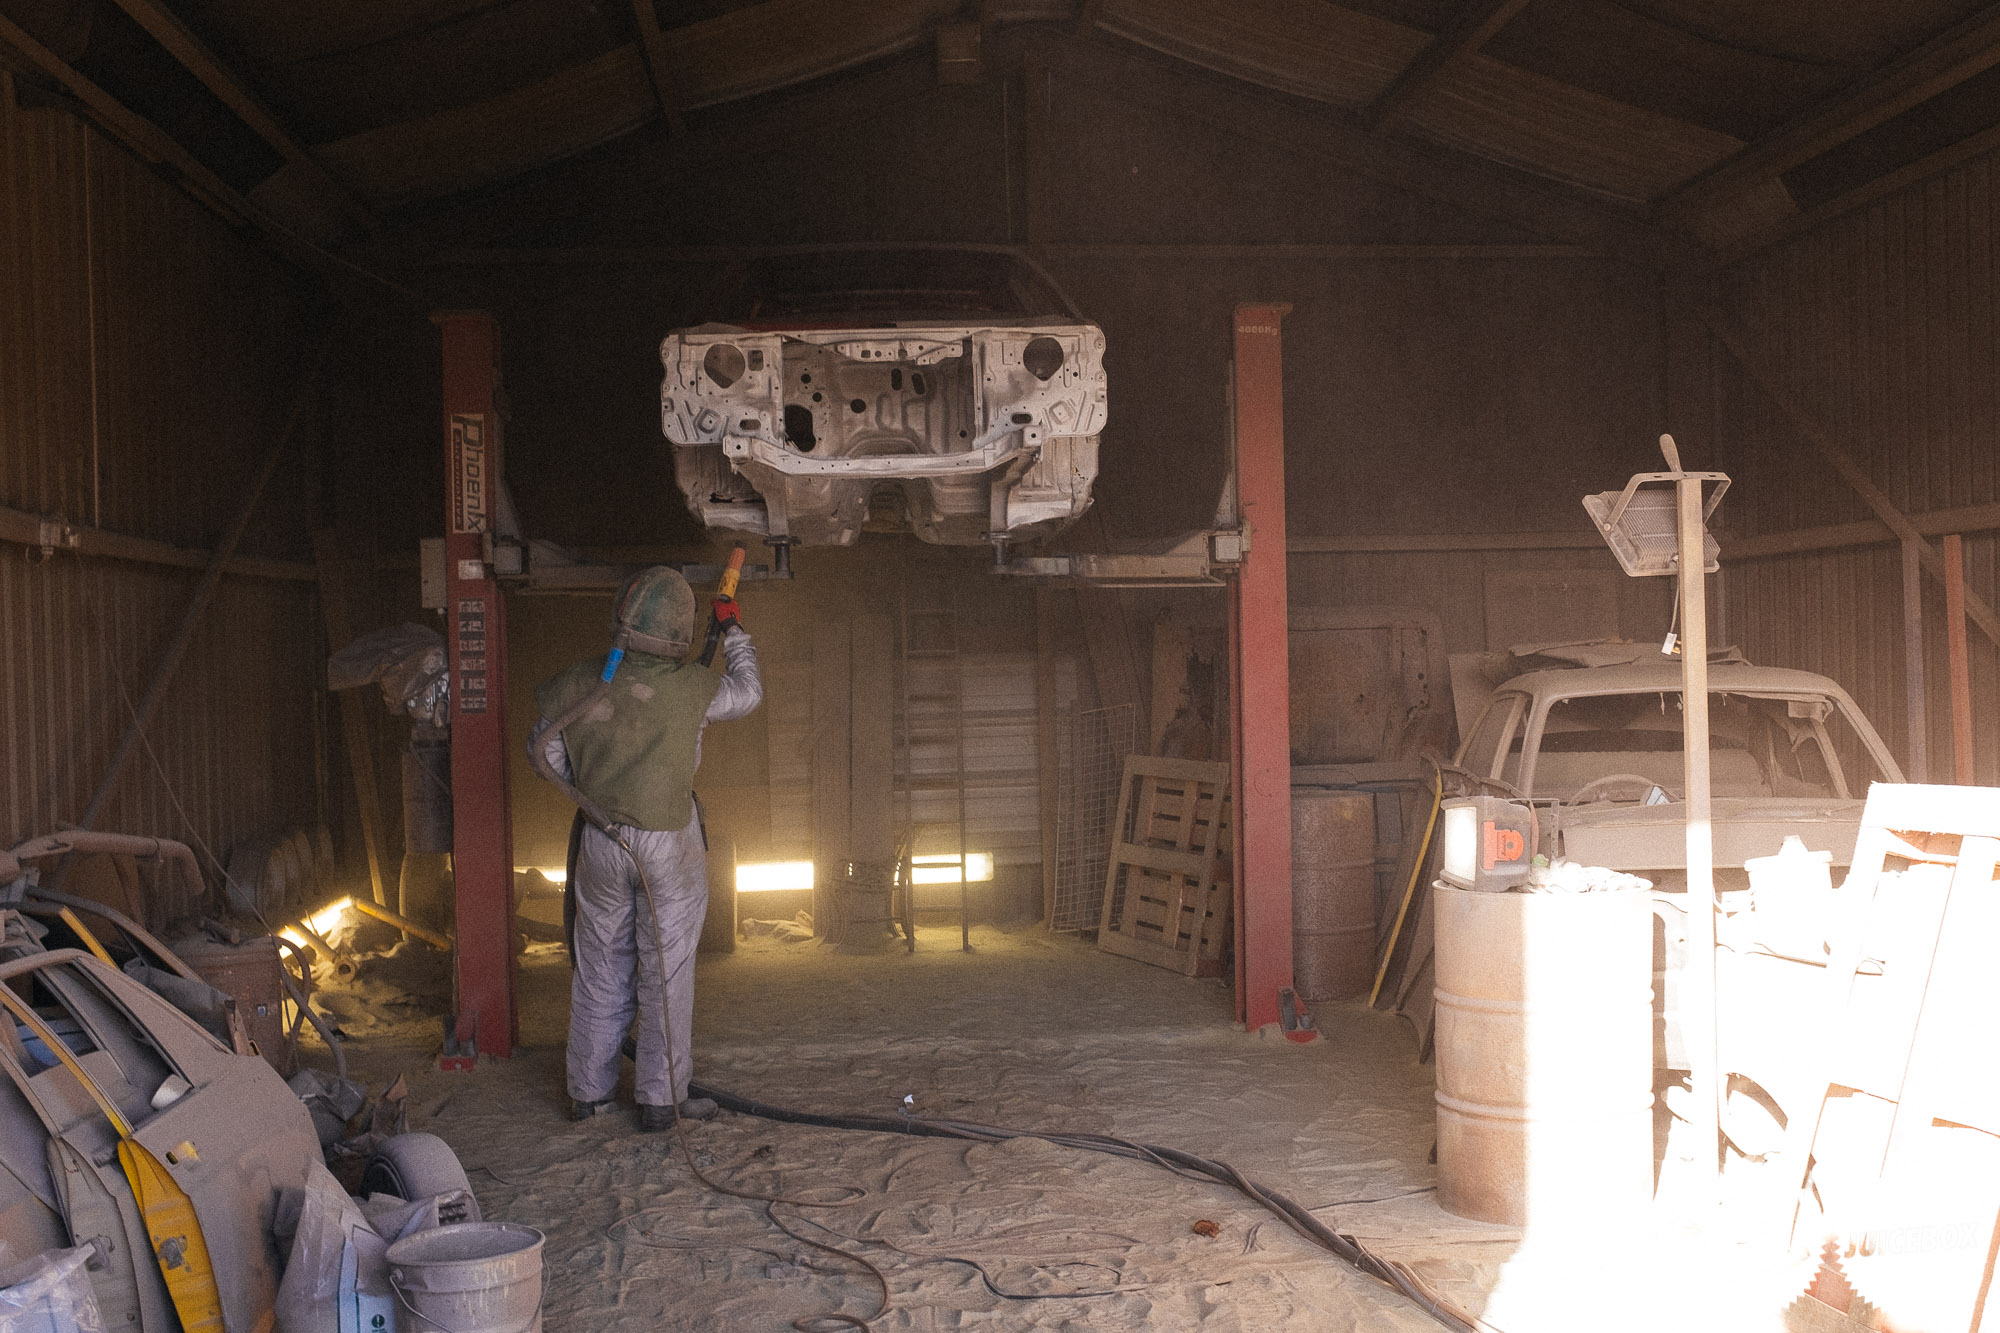
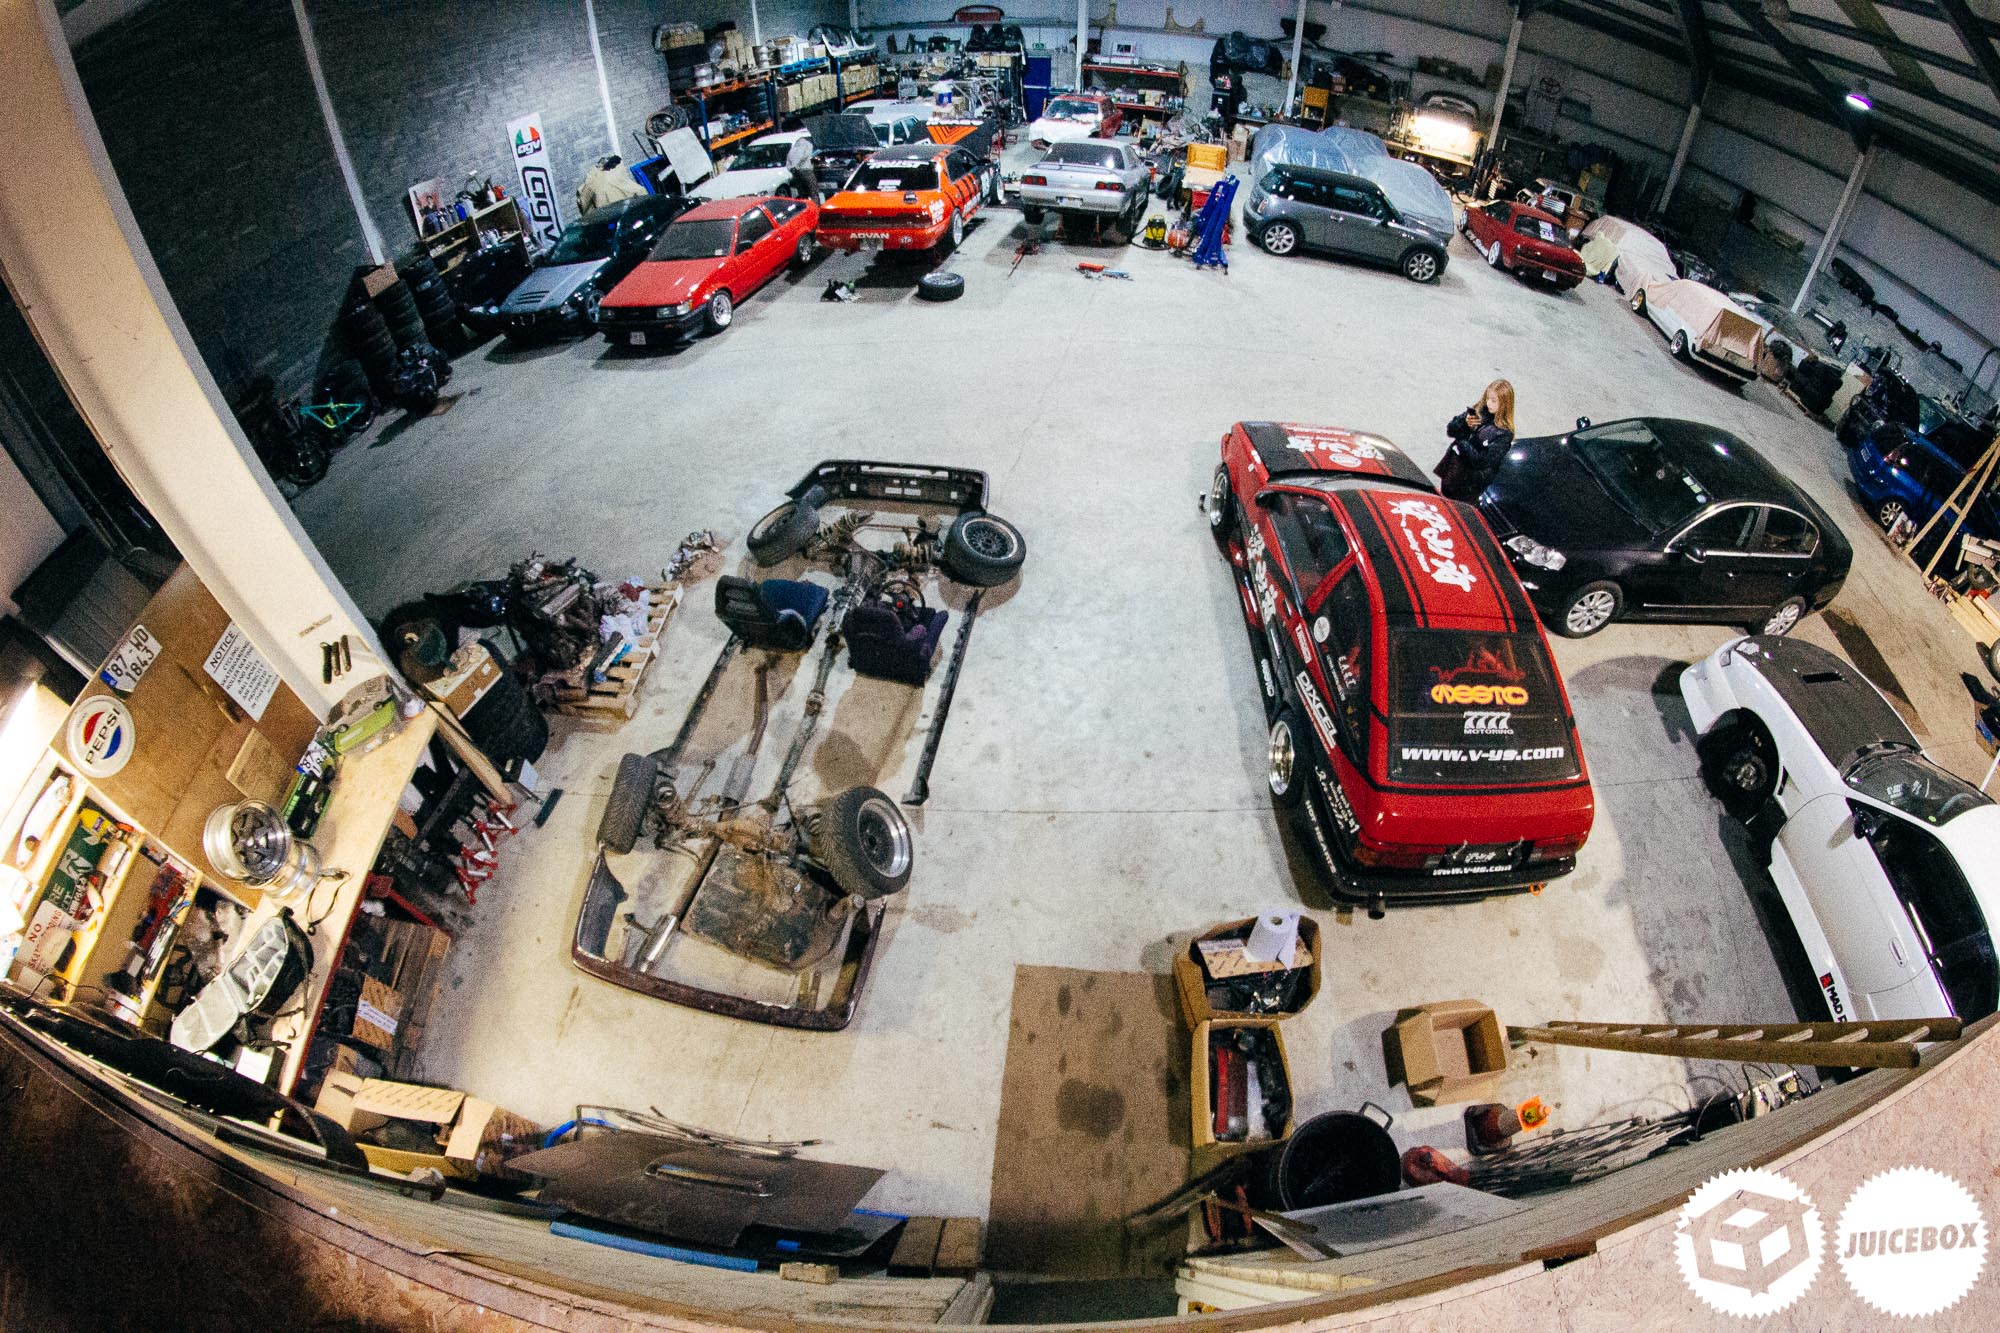
It was going to be impossible to shoot Nigel while the car was on the lift, the sand pretty much created a dust cloud, so I decided to take a look around his workshop. Nigel has an impressive collection of cars and was working on various project for people local to the area.
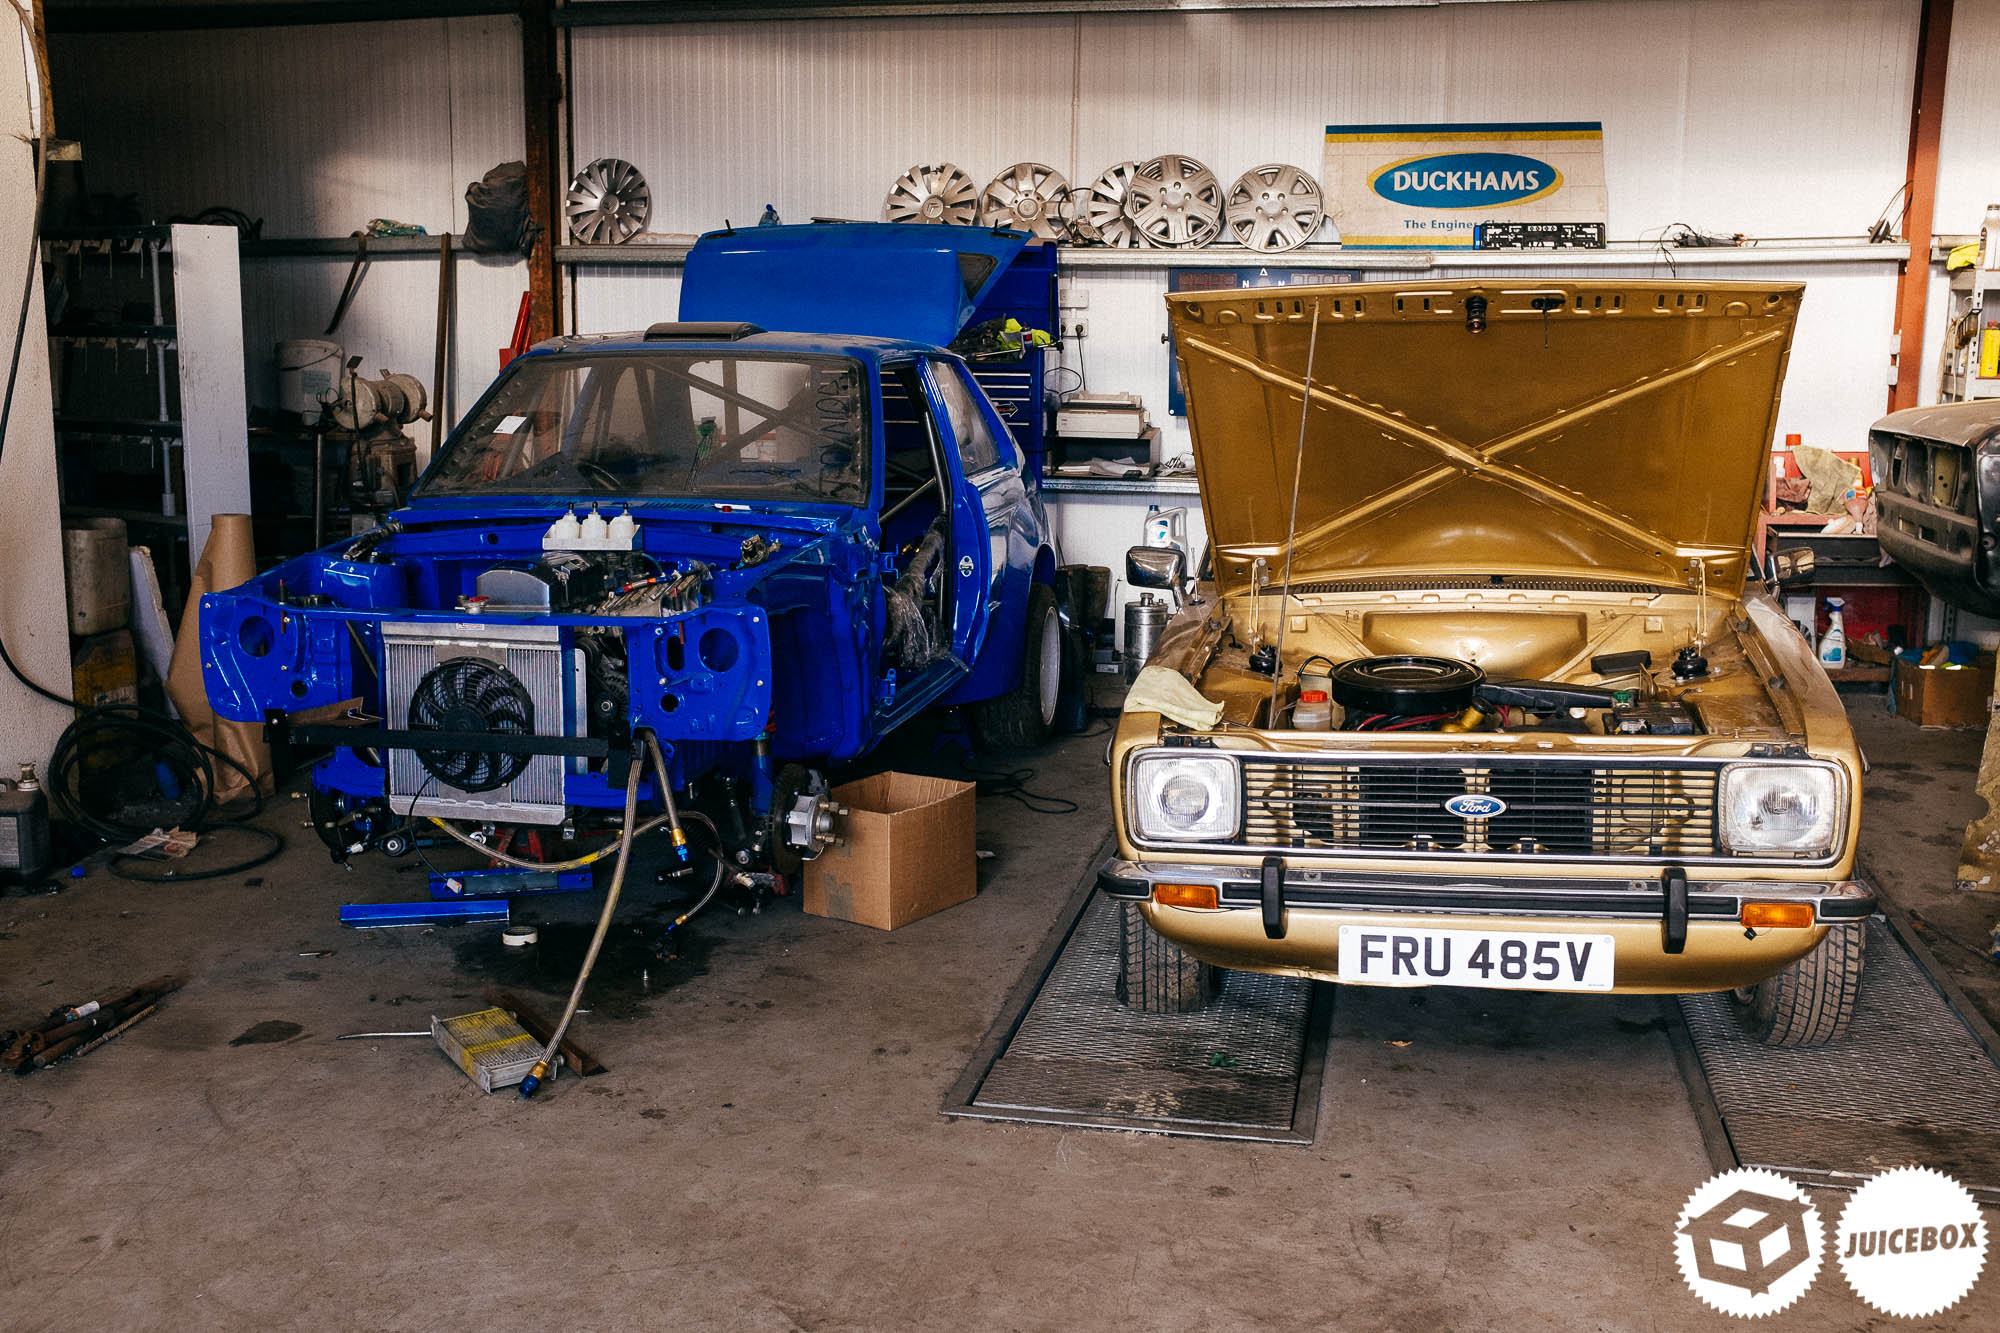
Inside he was finishing this KP60 rally car for a customer which had pretty much every part you could throw at this thing. Its easy to forget just how much money can go into rally builds here in Ireland, its insane.
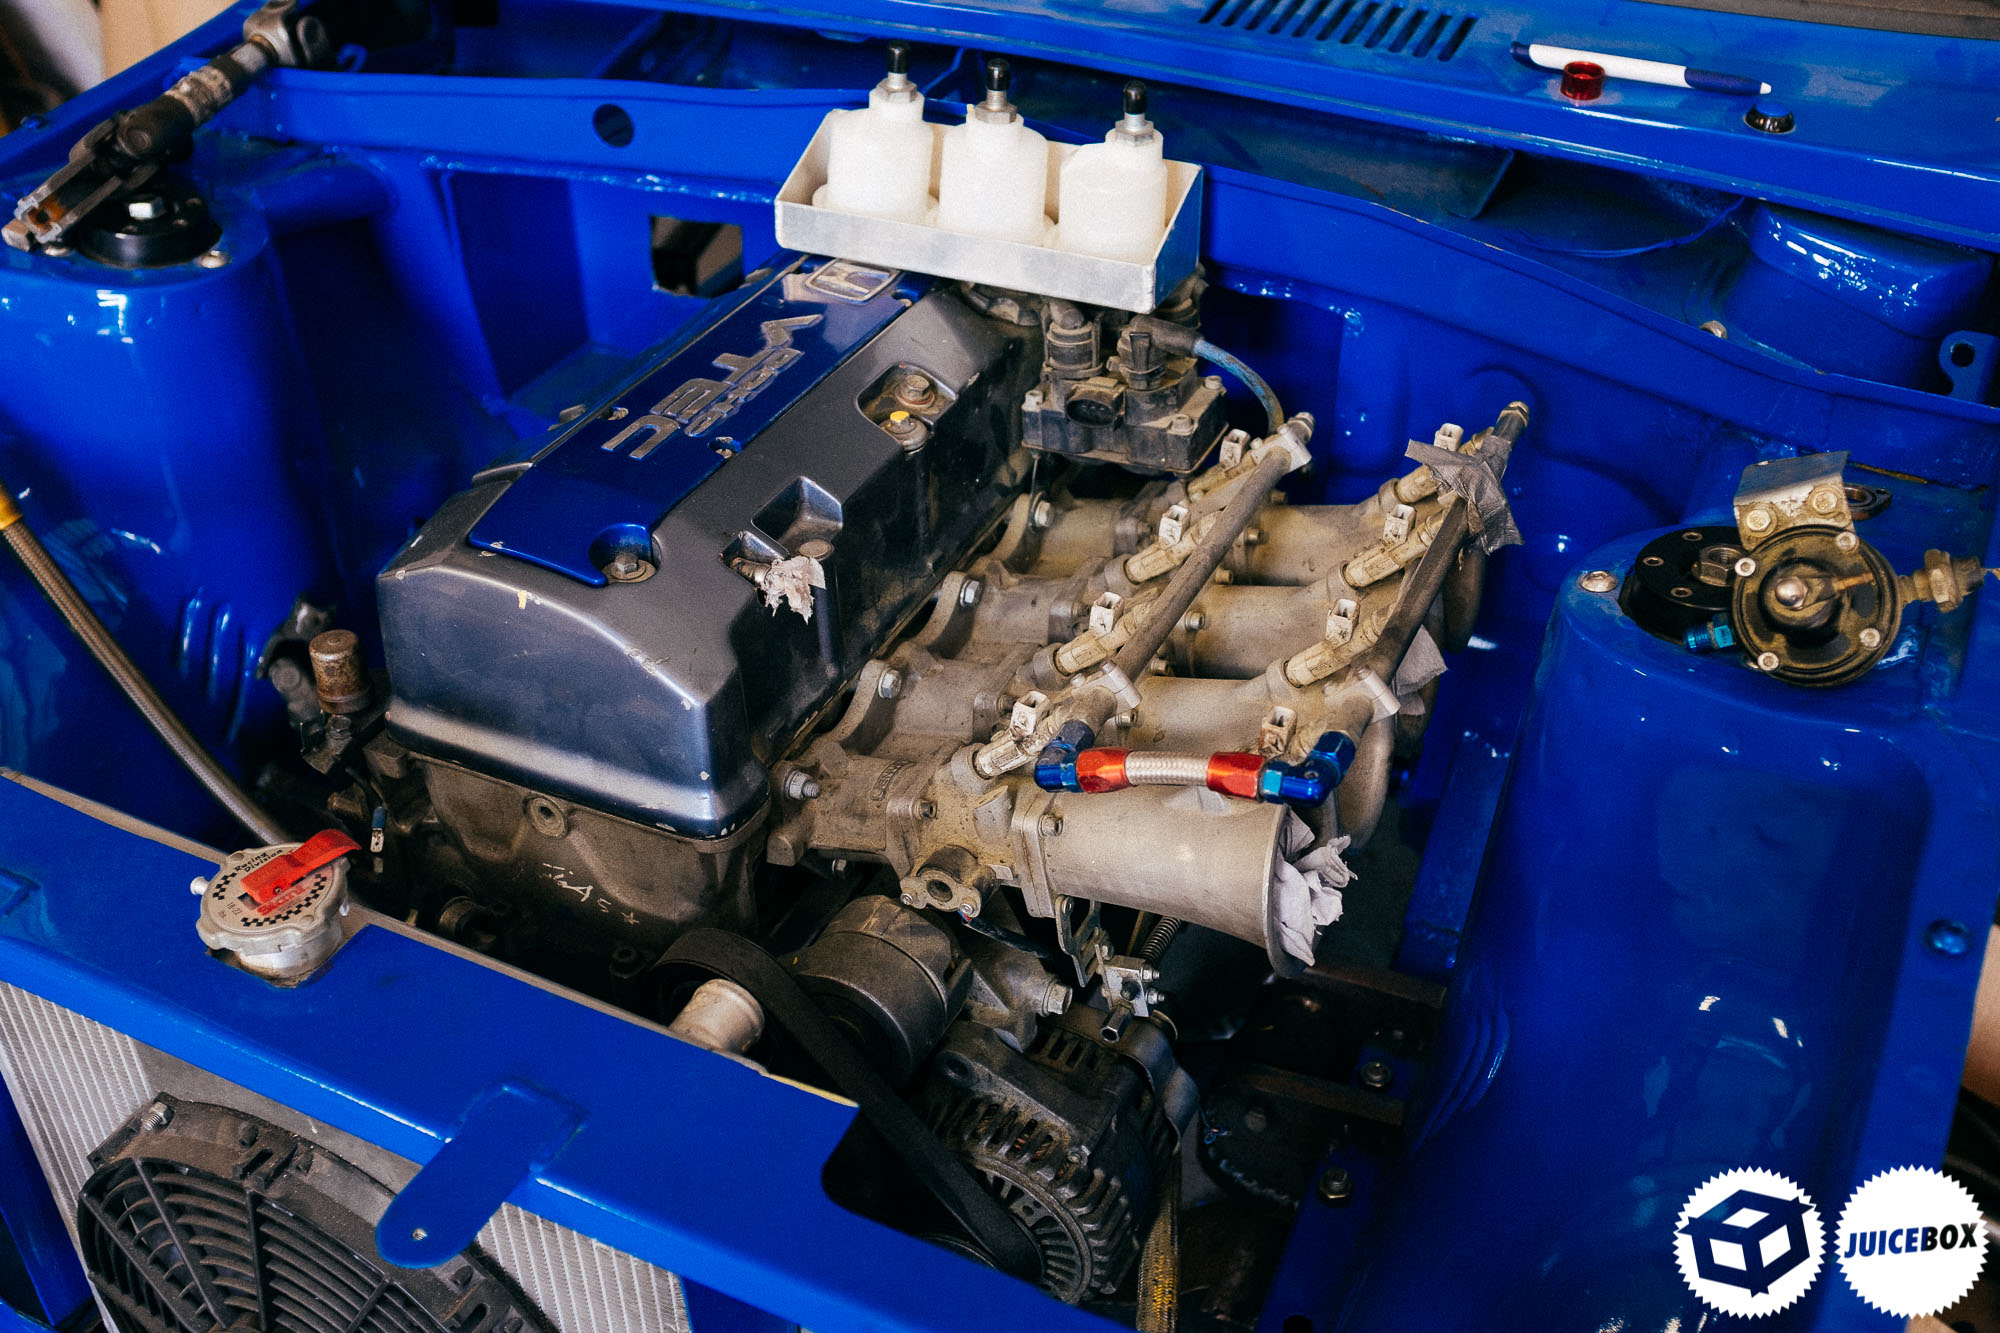
The heart for the Starlet was going to be this F20c from an S2000 fitted with some screaming ITB’s. I bet this thing would be an absolute riot when complete.
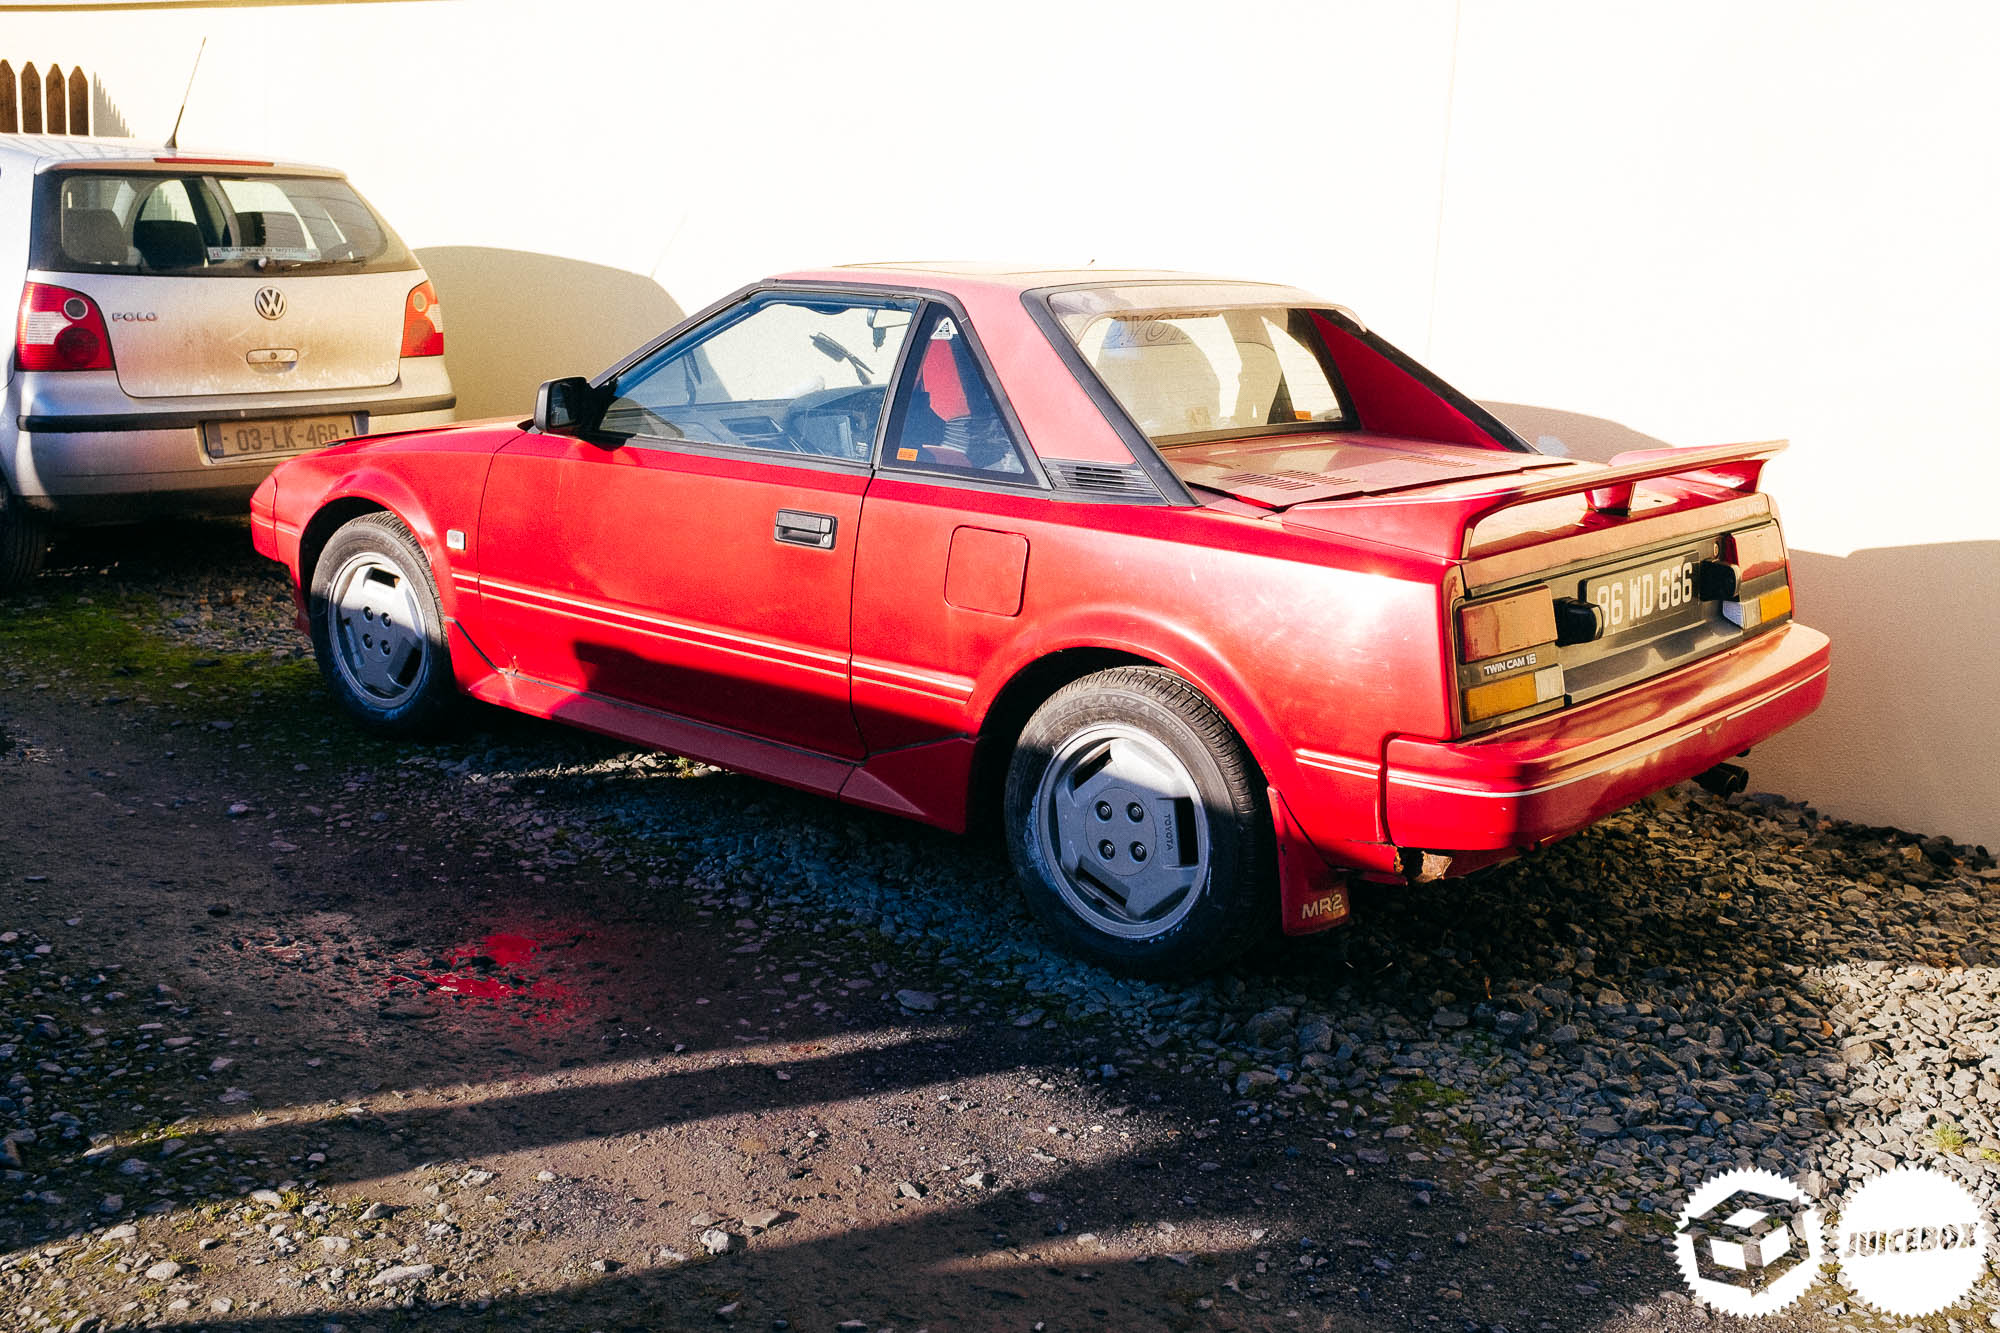
At the side of the shed was my AE86’s brother. The AW11 which pretty much came out at the same time as the 86 and shares similar parts. I’ve only noticed that registration plate now! Its last digits are the number of the beast. It was great to see one of these still alive and kicking, especially for an original Irish machine from my hometown, these cars suffer from rust, much more than the AE86’s.
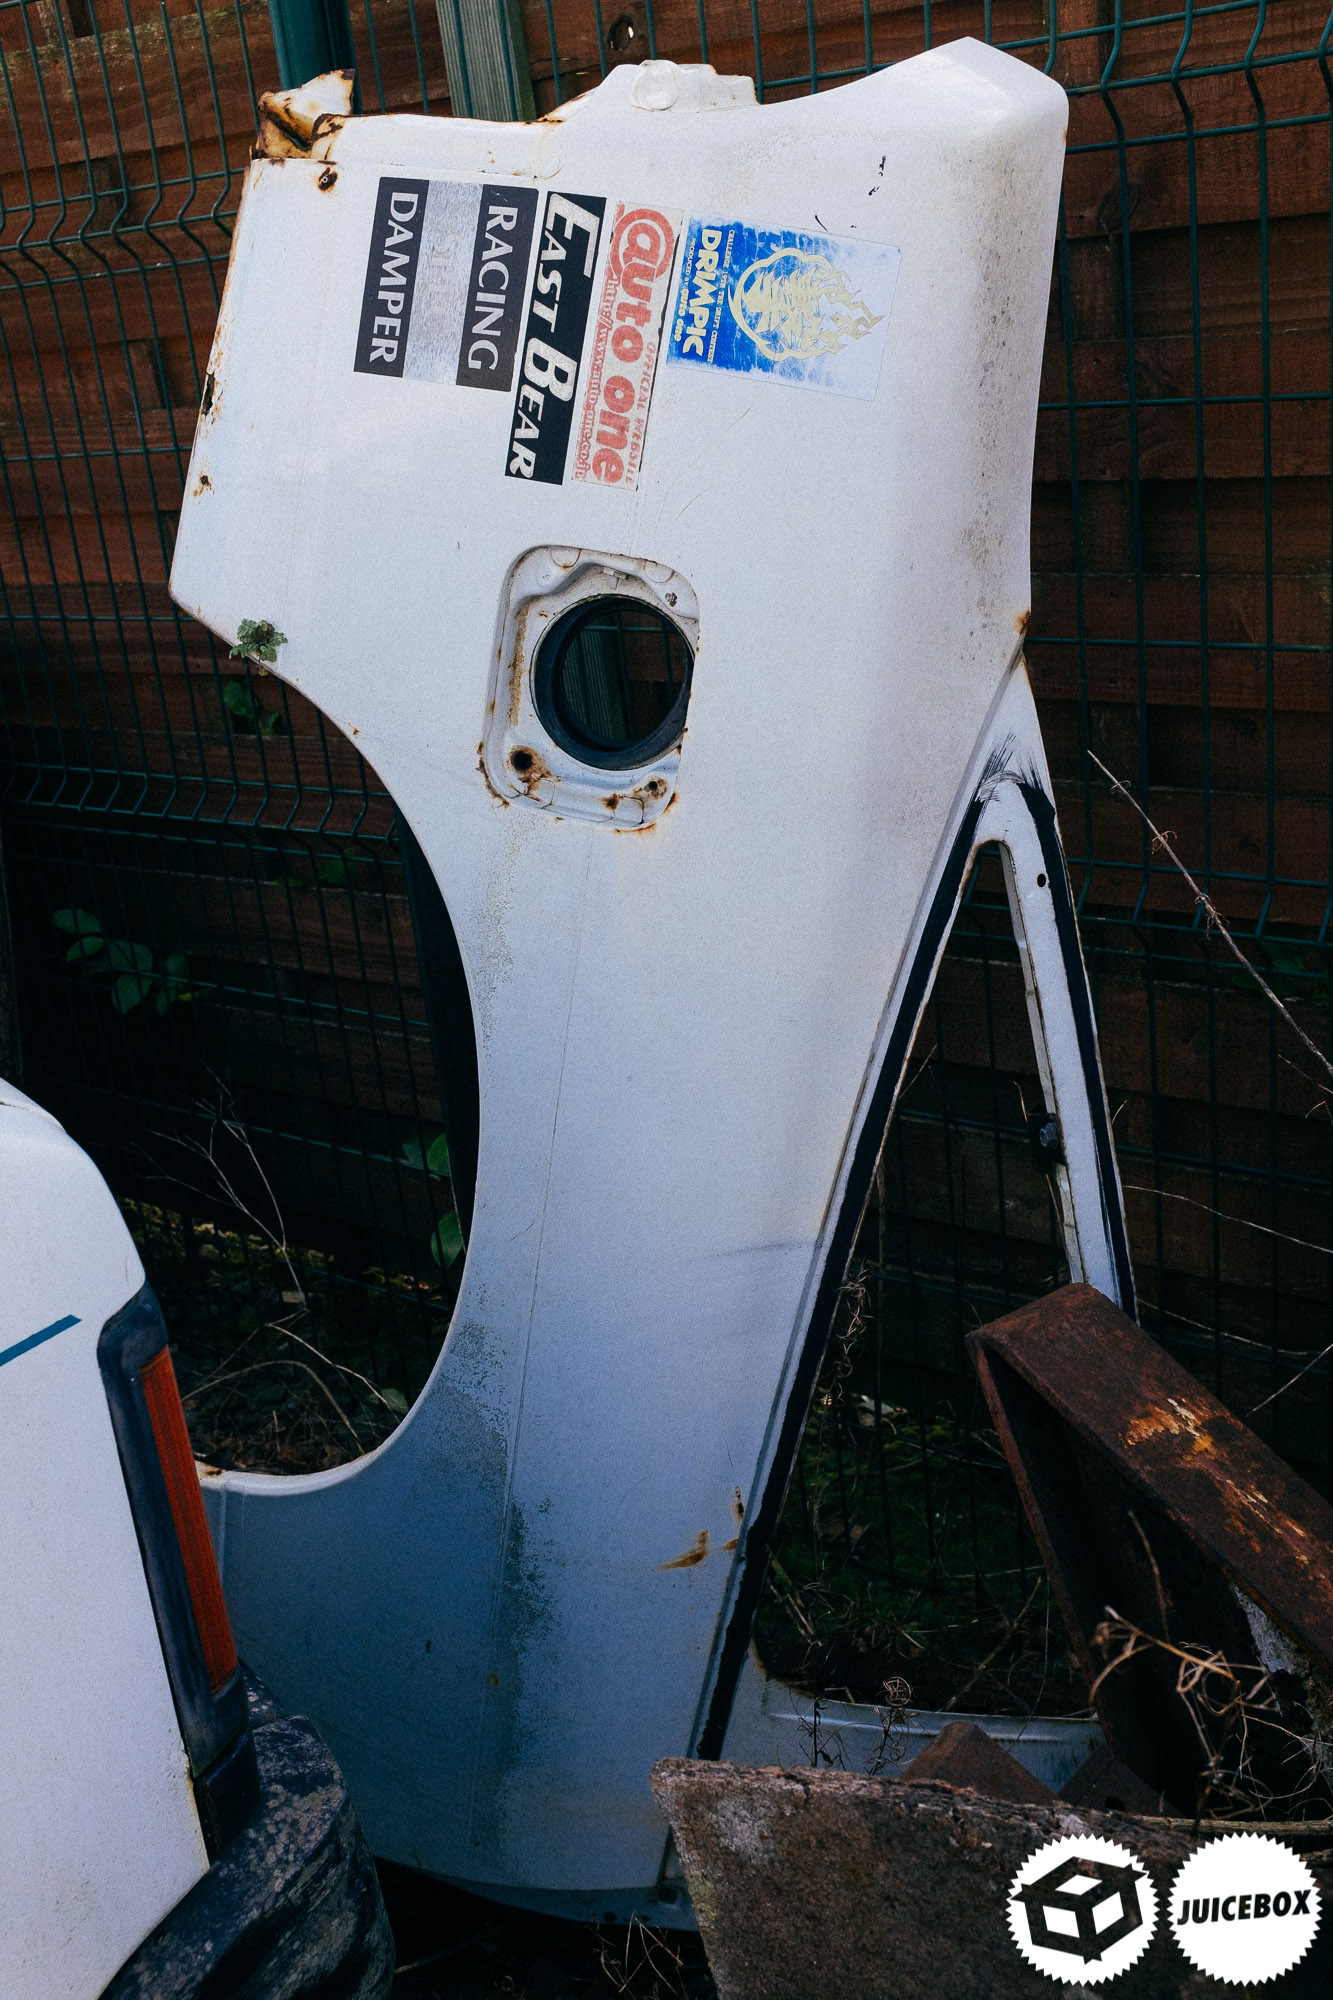
Nigel used to import cars from Japan back in the day, and there were a few bits and pieces laid around the garage to remind us.
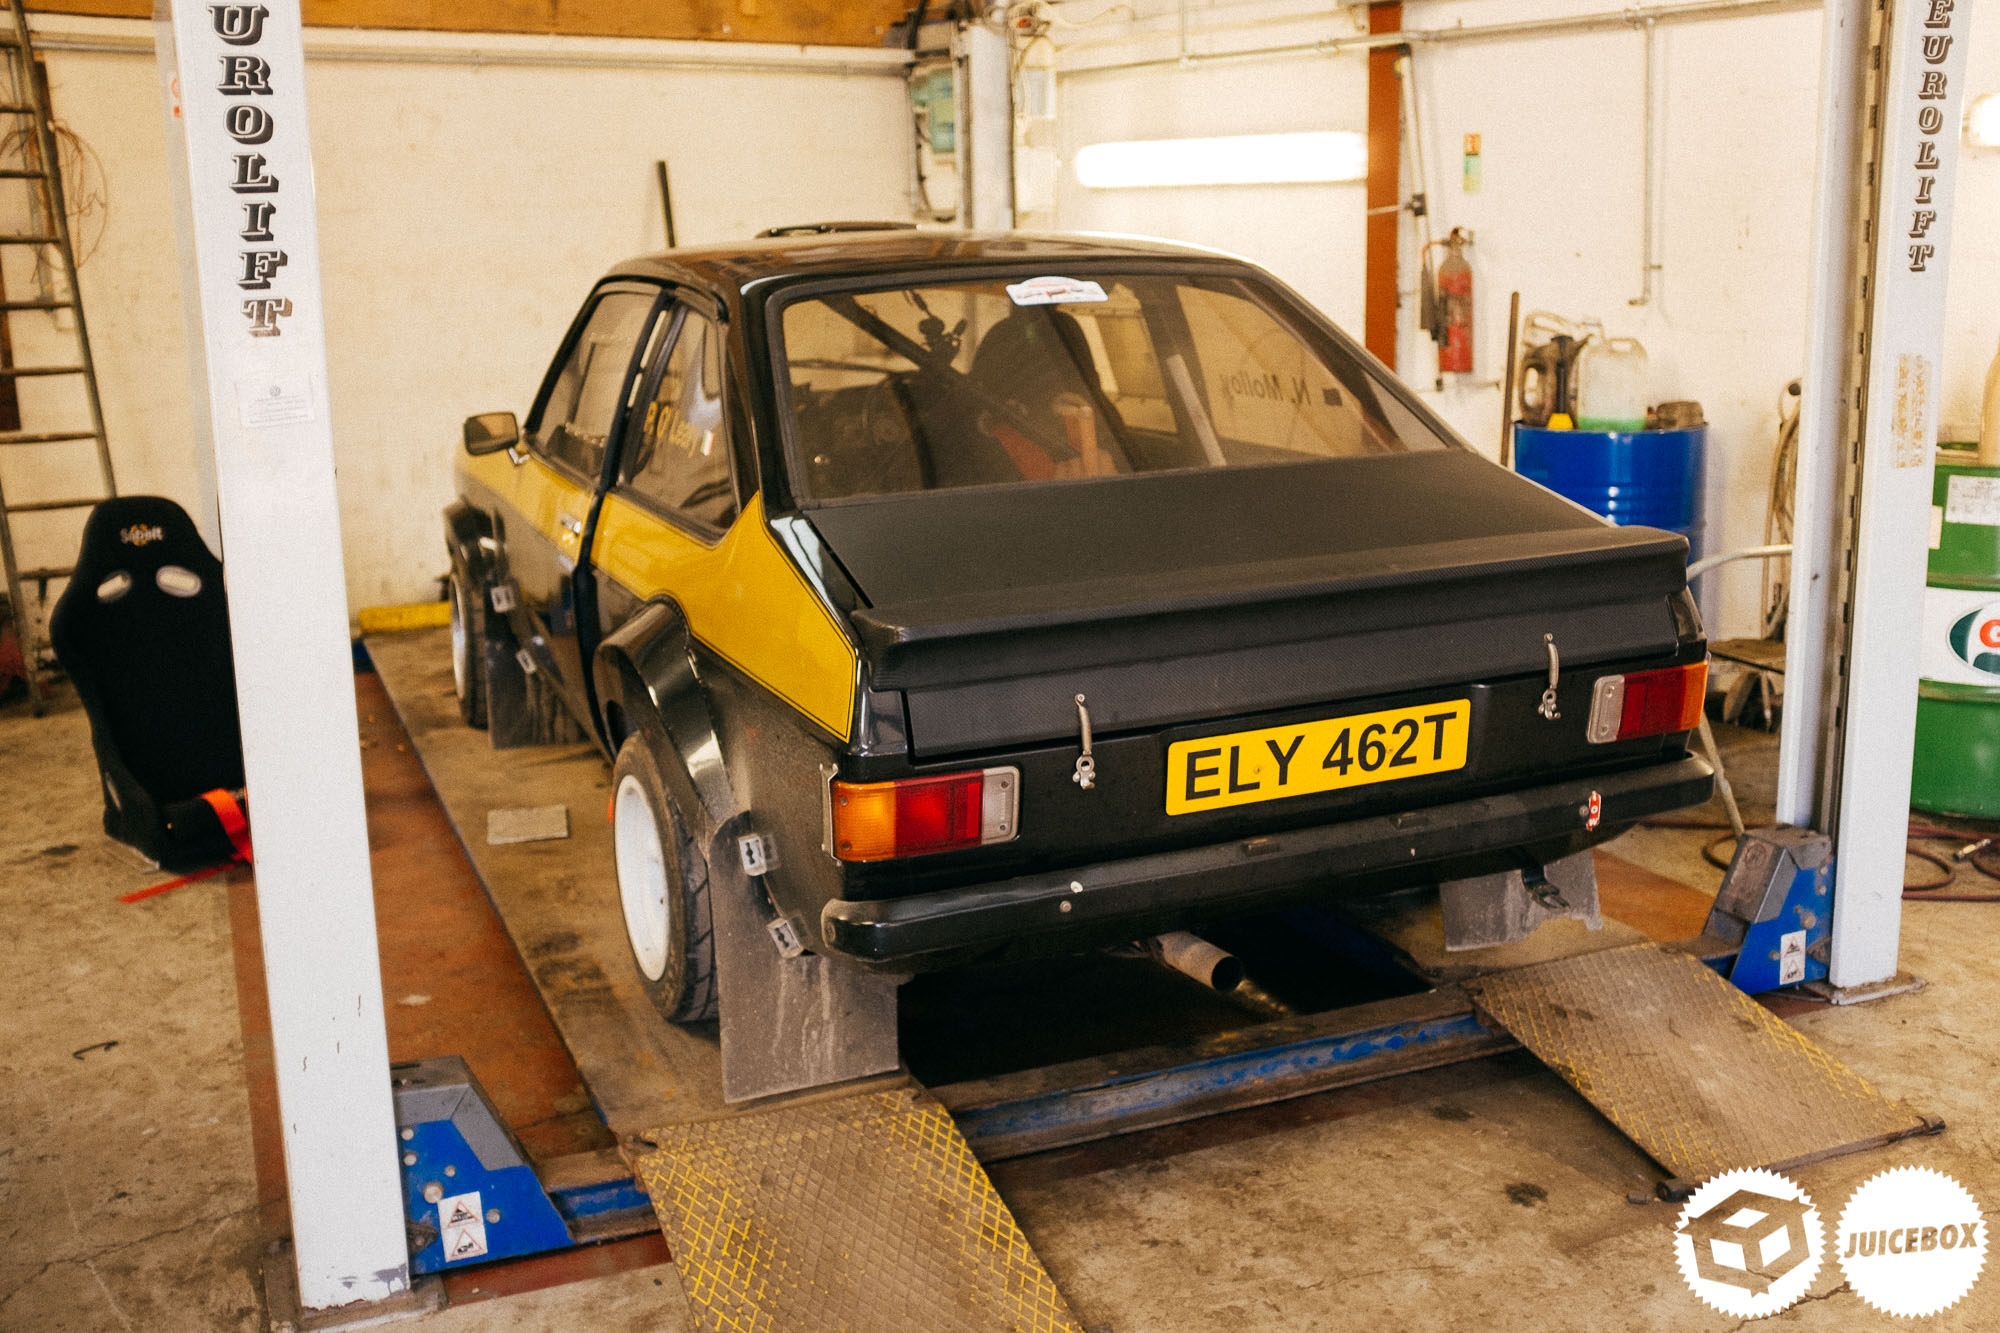
Above is Nigel’s MK2 rally car which he actively competes in all over Ireland and Europe when time allows. Nigel is an avid rally fanatic and Ford Enthusiast.

He’s currently building a Sierra Cosworth and has a few more Escorts dotted around the premises.

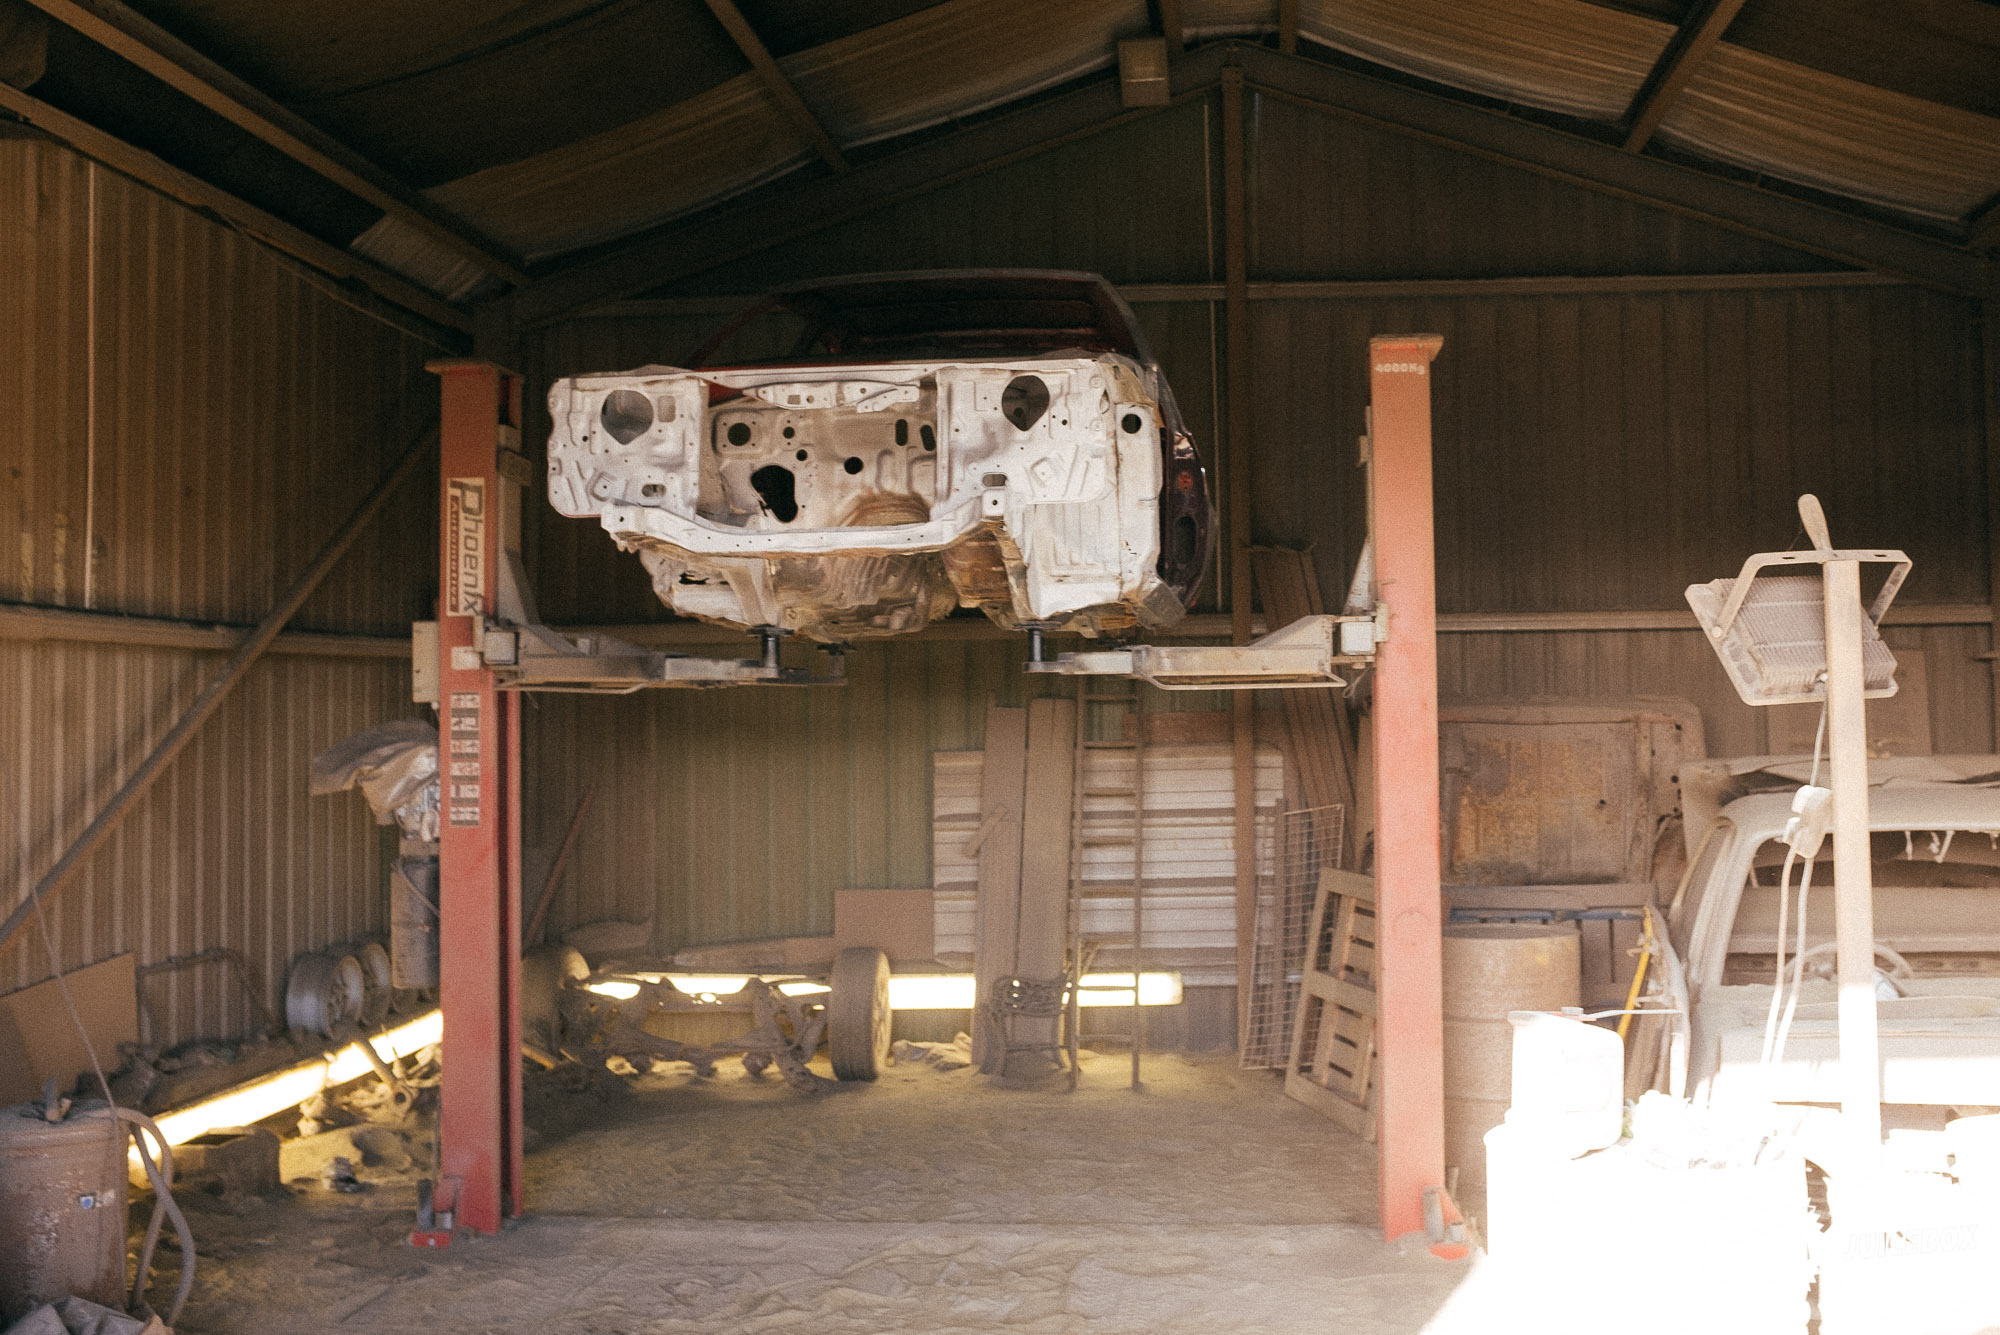
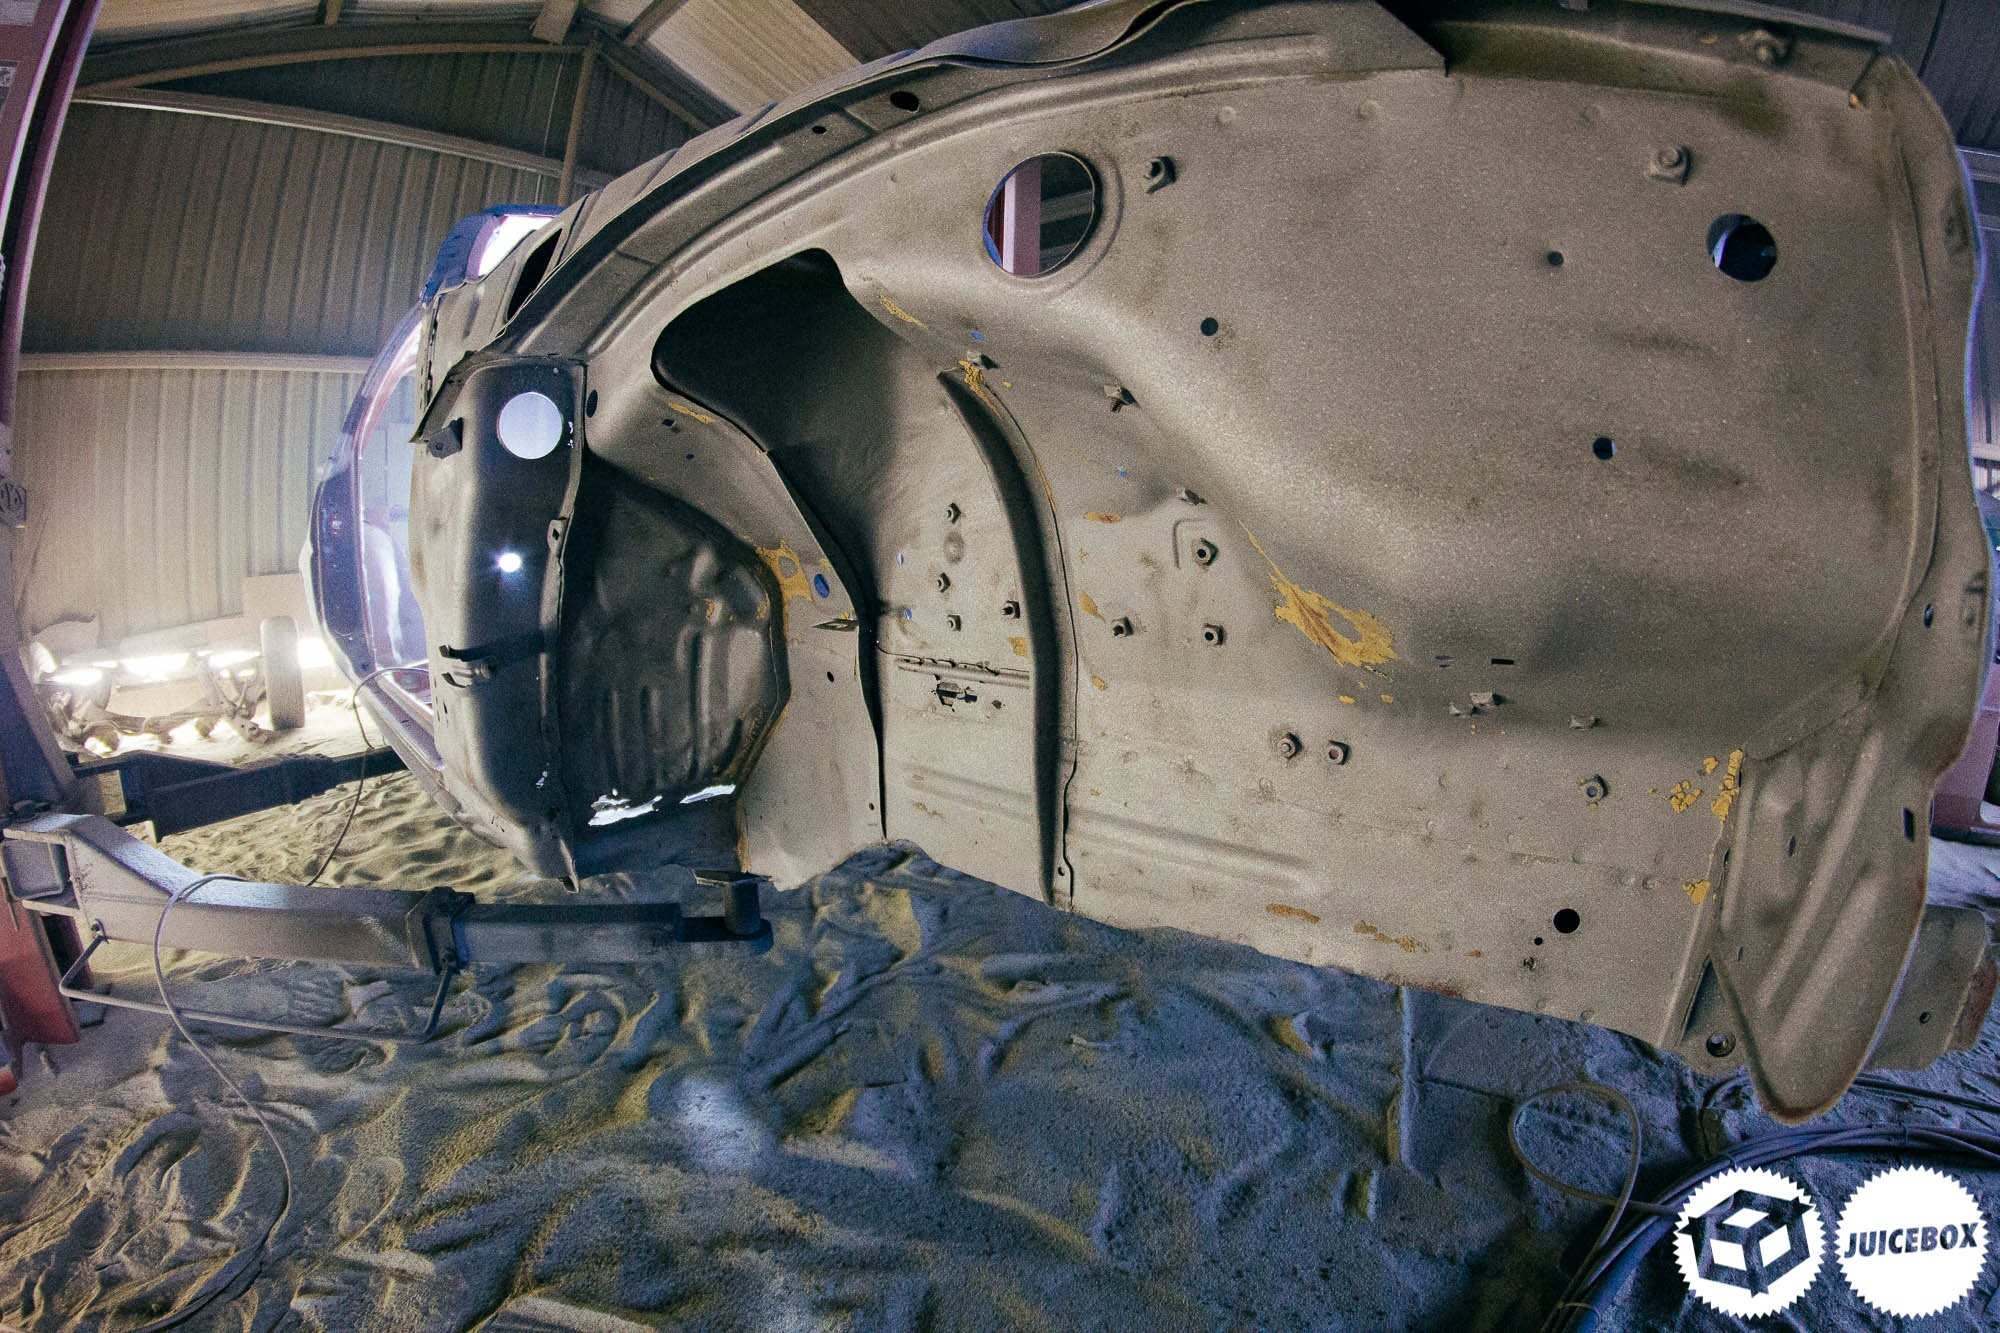
Once the dust settled in the shed, we popped in for a look at the shell up on the lift. I’ll never forget the feeling of relief I got when I walked under that chassis.

The crusty floor and chassis legs, all that rust and grime, it was pretty much all at a surface level. The car was in much better shape than we could have ever imagined. Well, at least that’s what we thought at the time. The pockets looked mint!
We lowered the shell back down to a manageable height, and Nigel blasted the inside, along the bulkhead and the boot floor, anywhere we saw corrosion.
I’ll be cleaning sand out of this thing for the rest of my life!
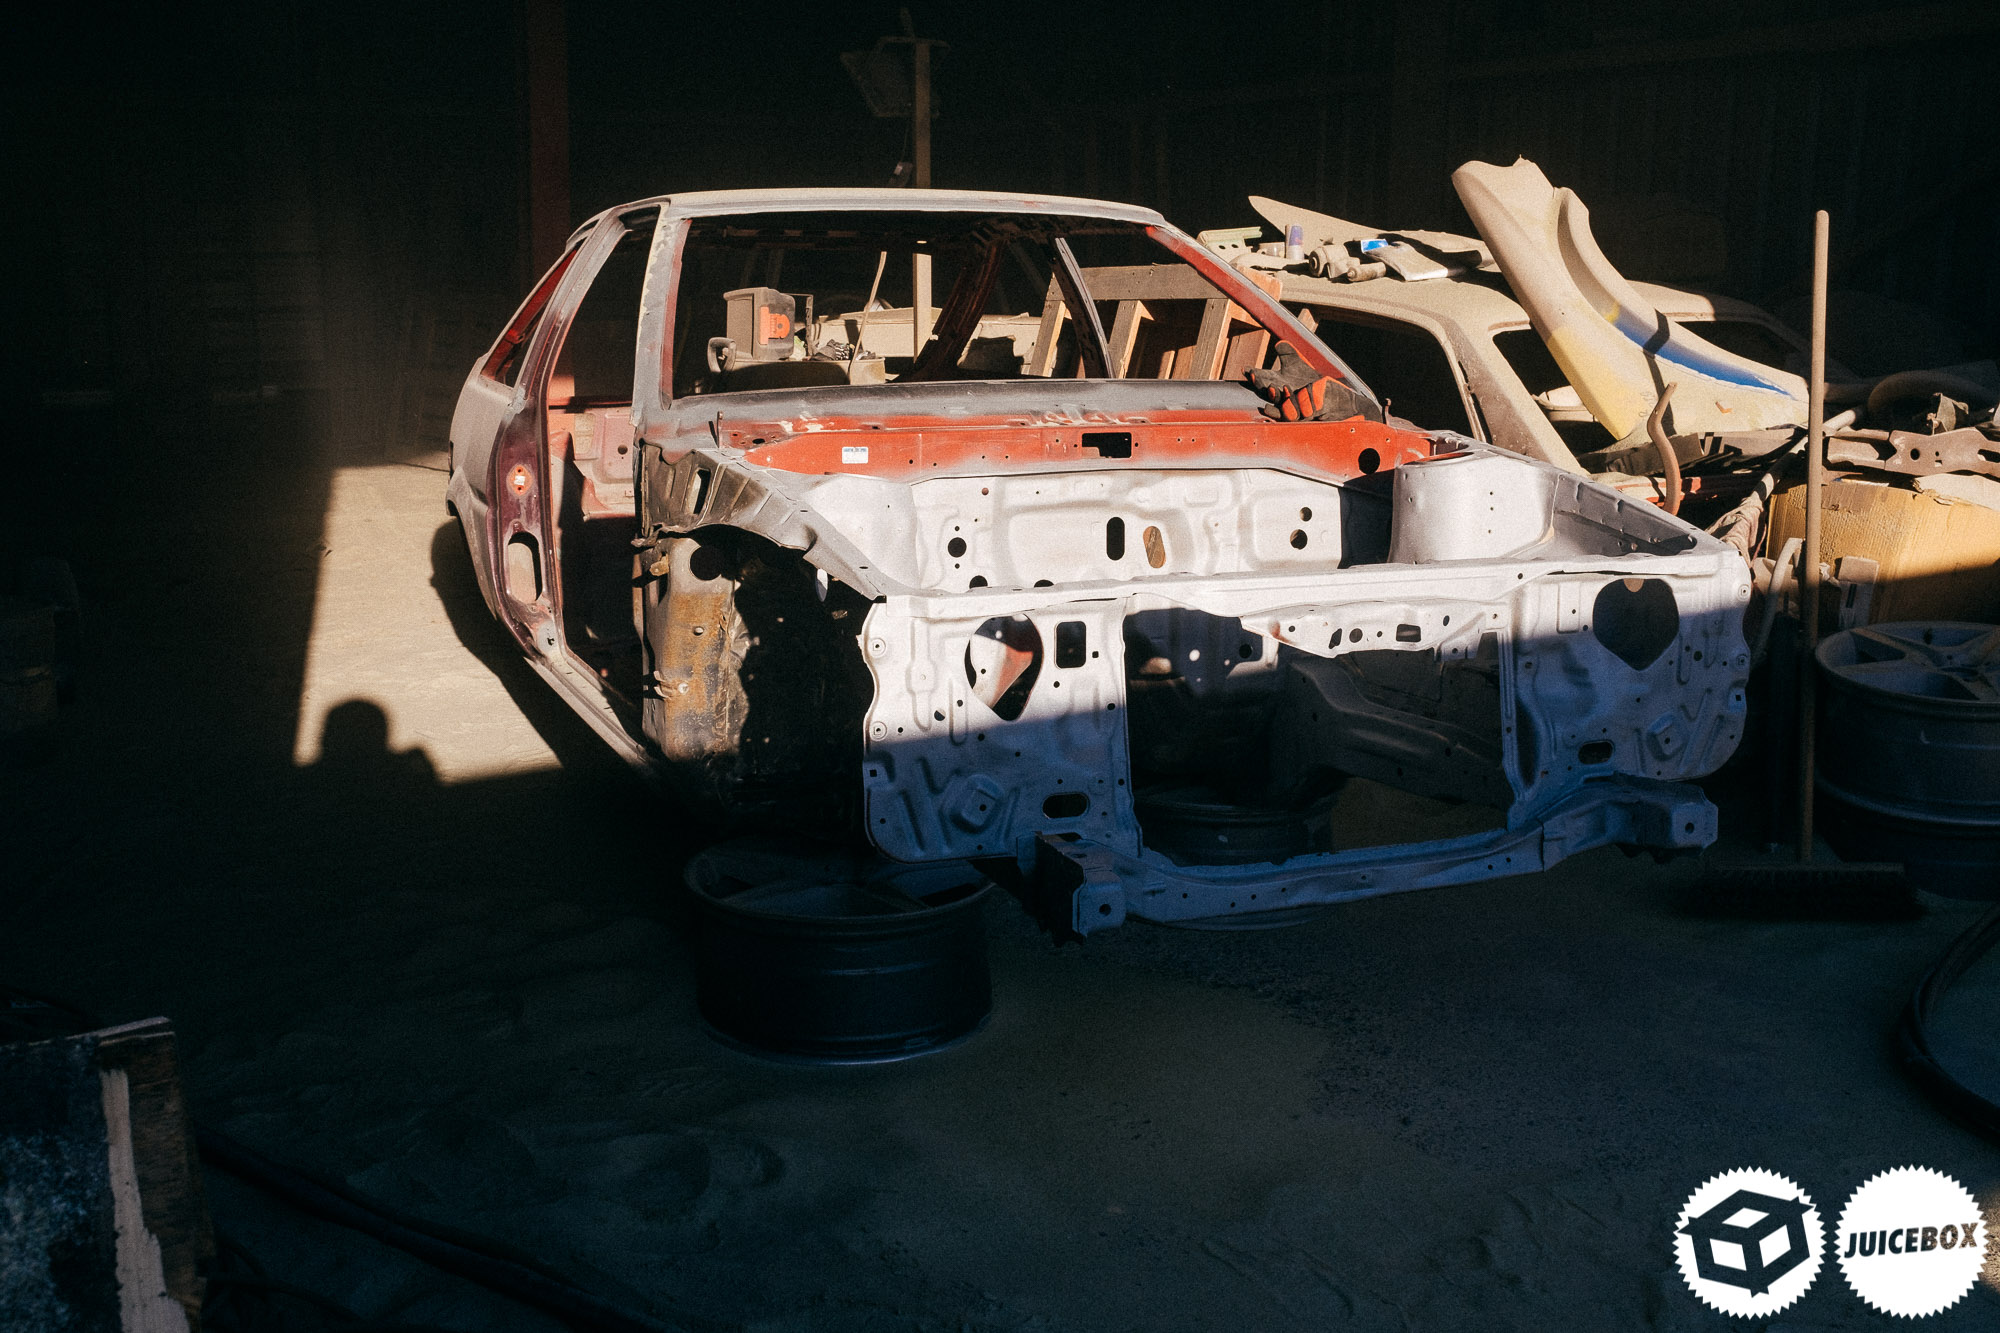
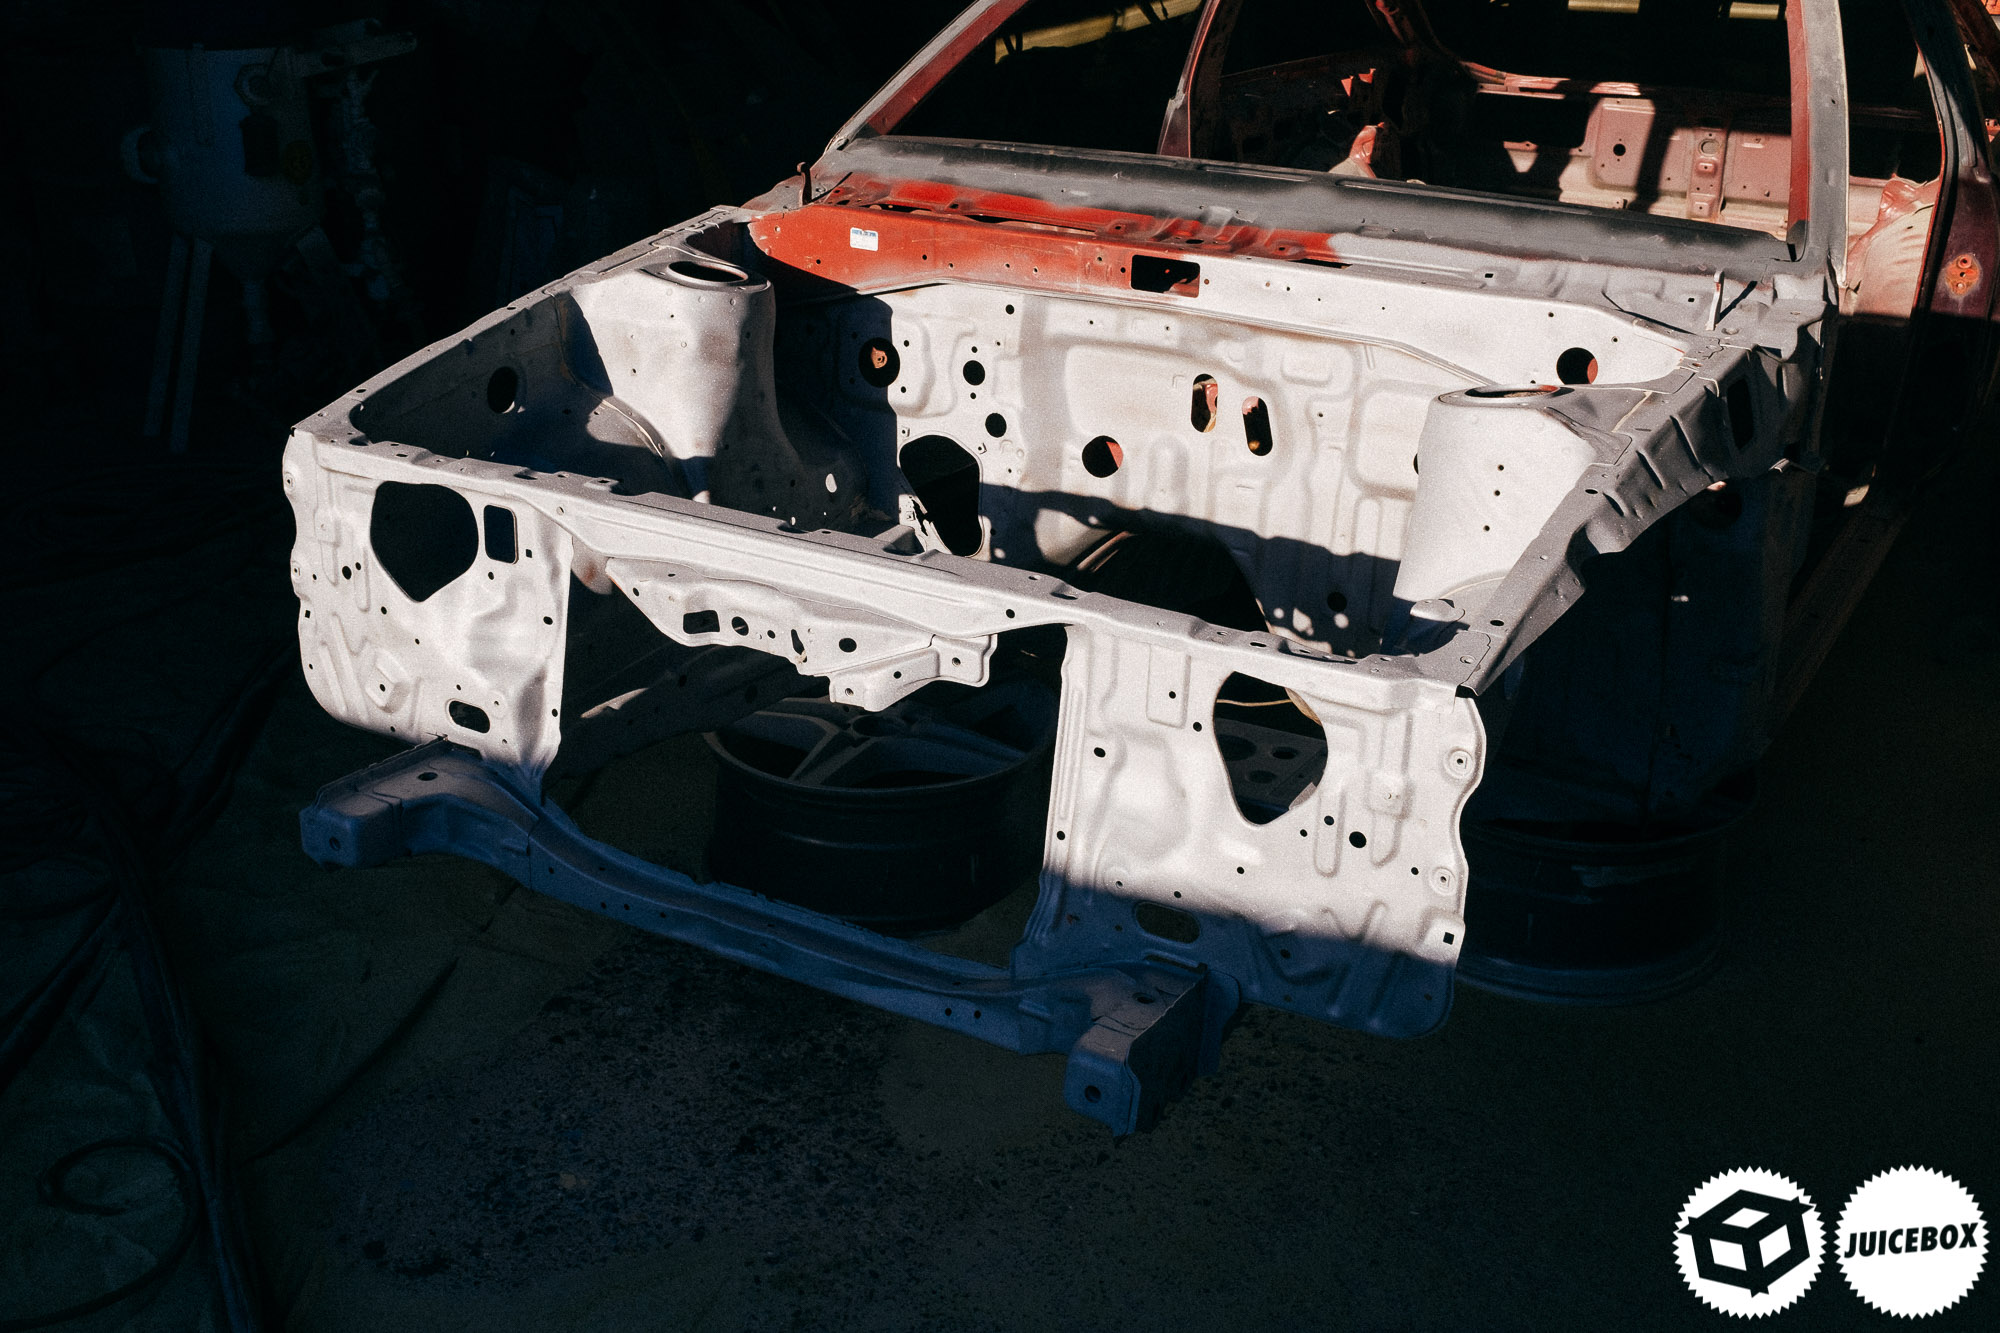
The raw metal looked impressive; it gave us an indication of what was to come. You can see a bit of body sealer which I missed in these photos, but at least we knew the rust was gone. In its place were a few new holes in the shell!

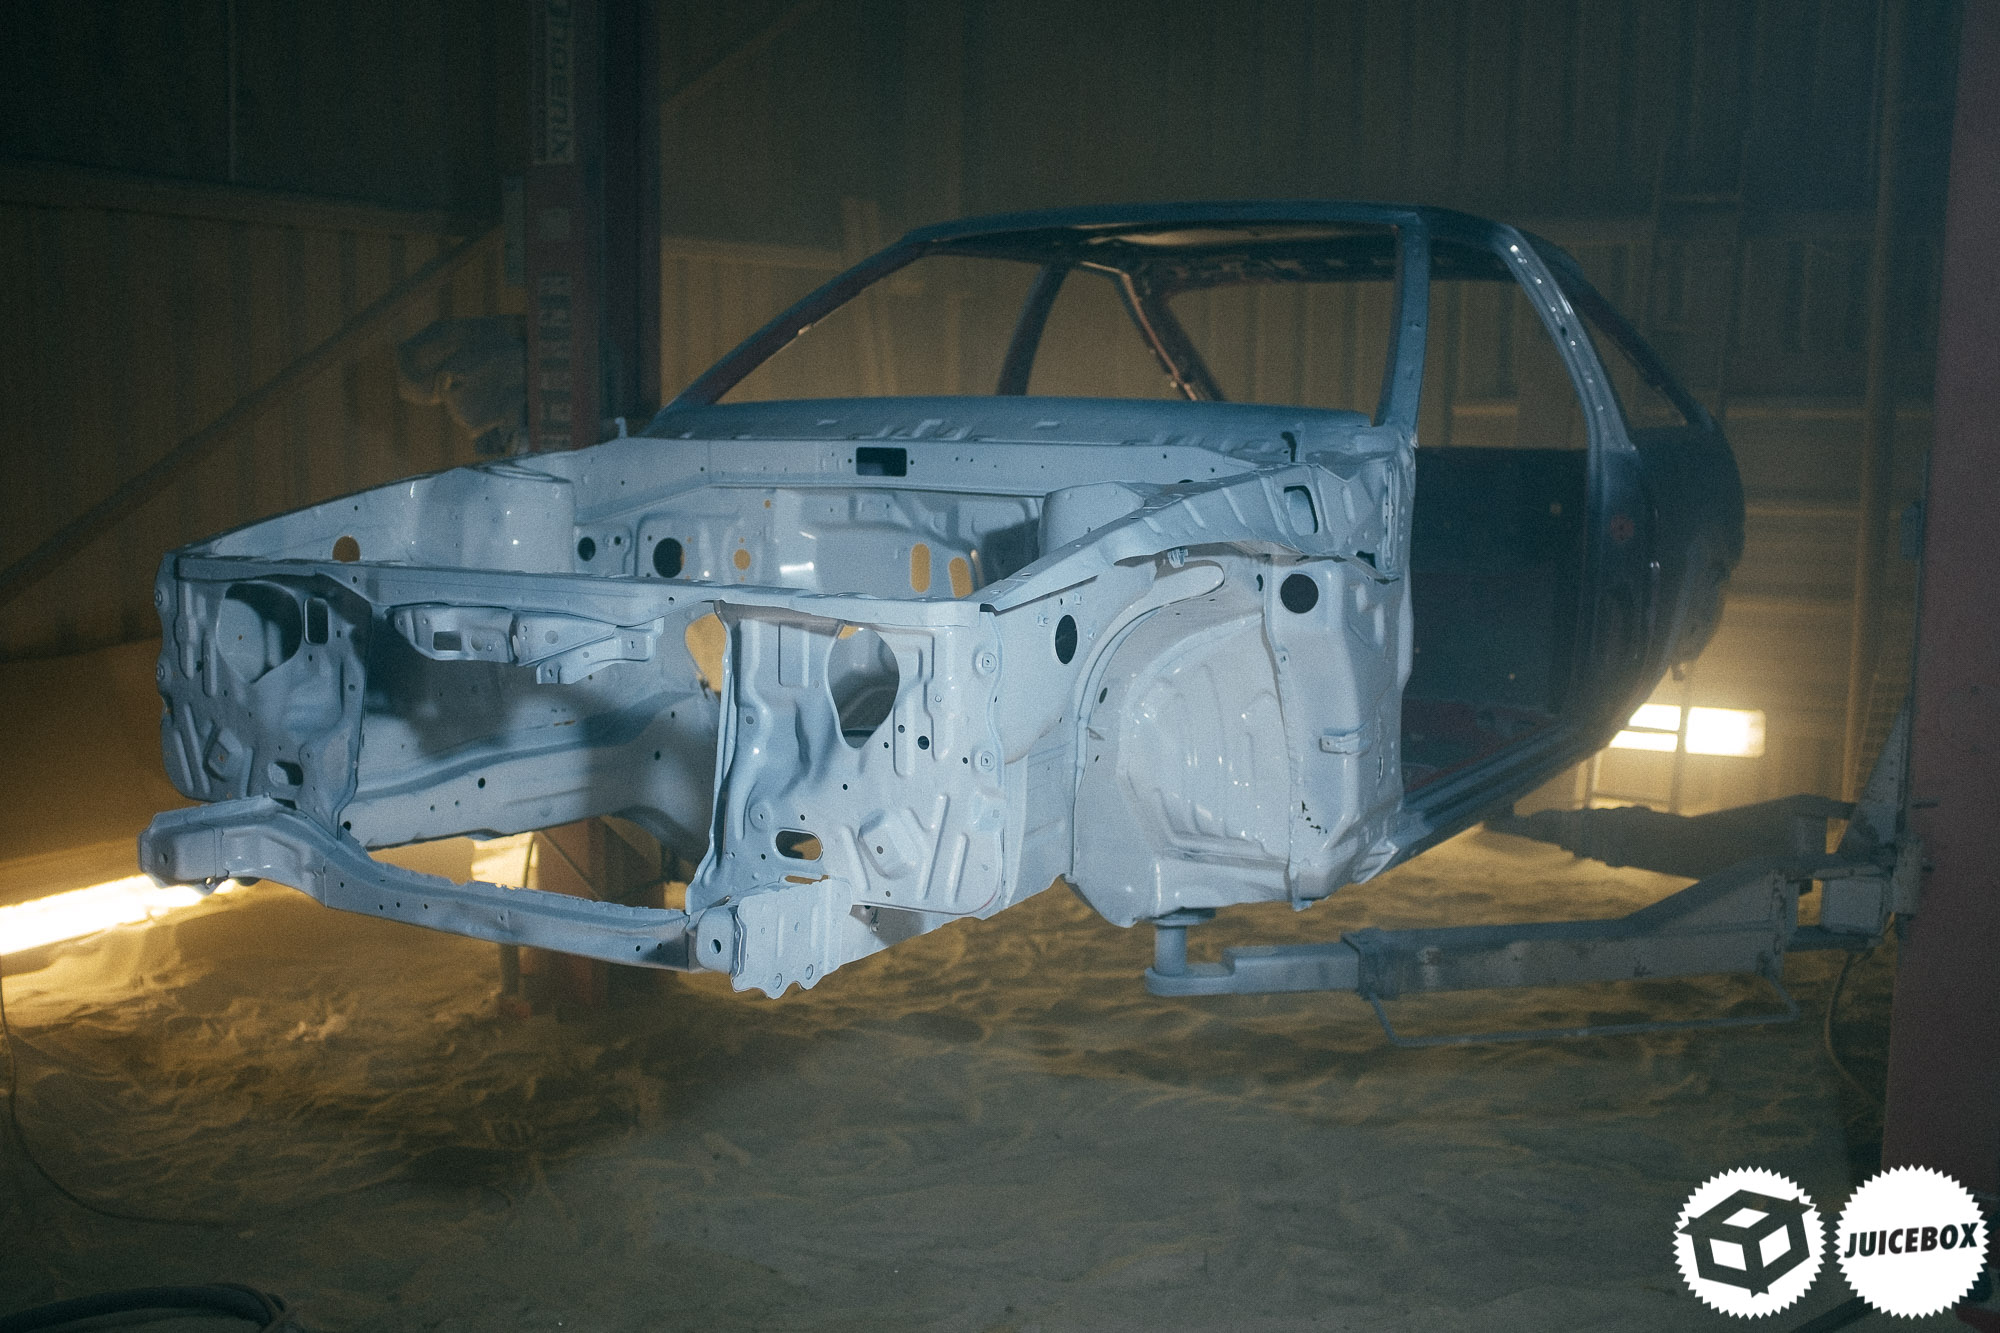
After blasting, we had a good look around to ensure everywhere was hit. The shell was going to be lifted and painted with an epoxy primer; this is a watertight primer which would give the freshly blasted metal the best chance of surviving while the metalwork was being carried out.
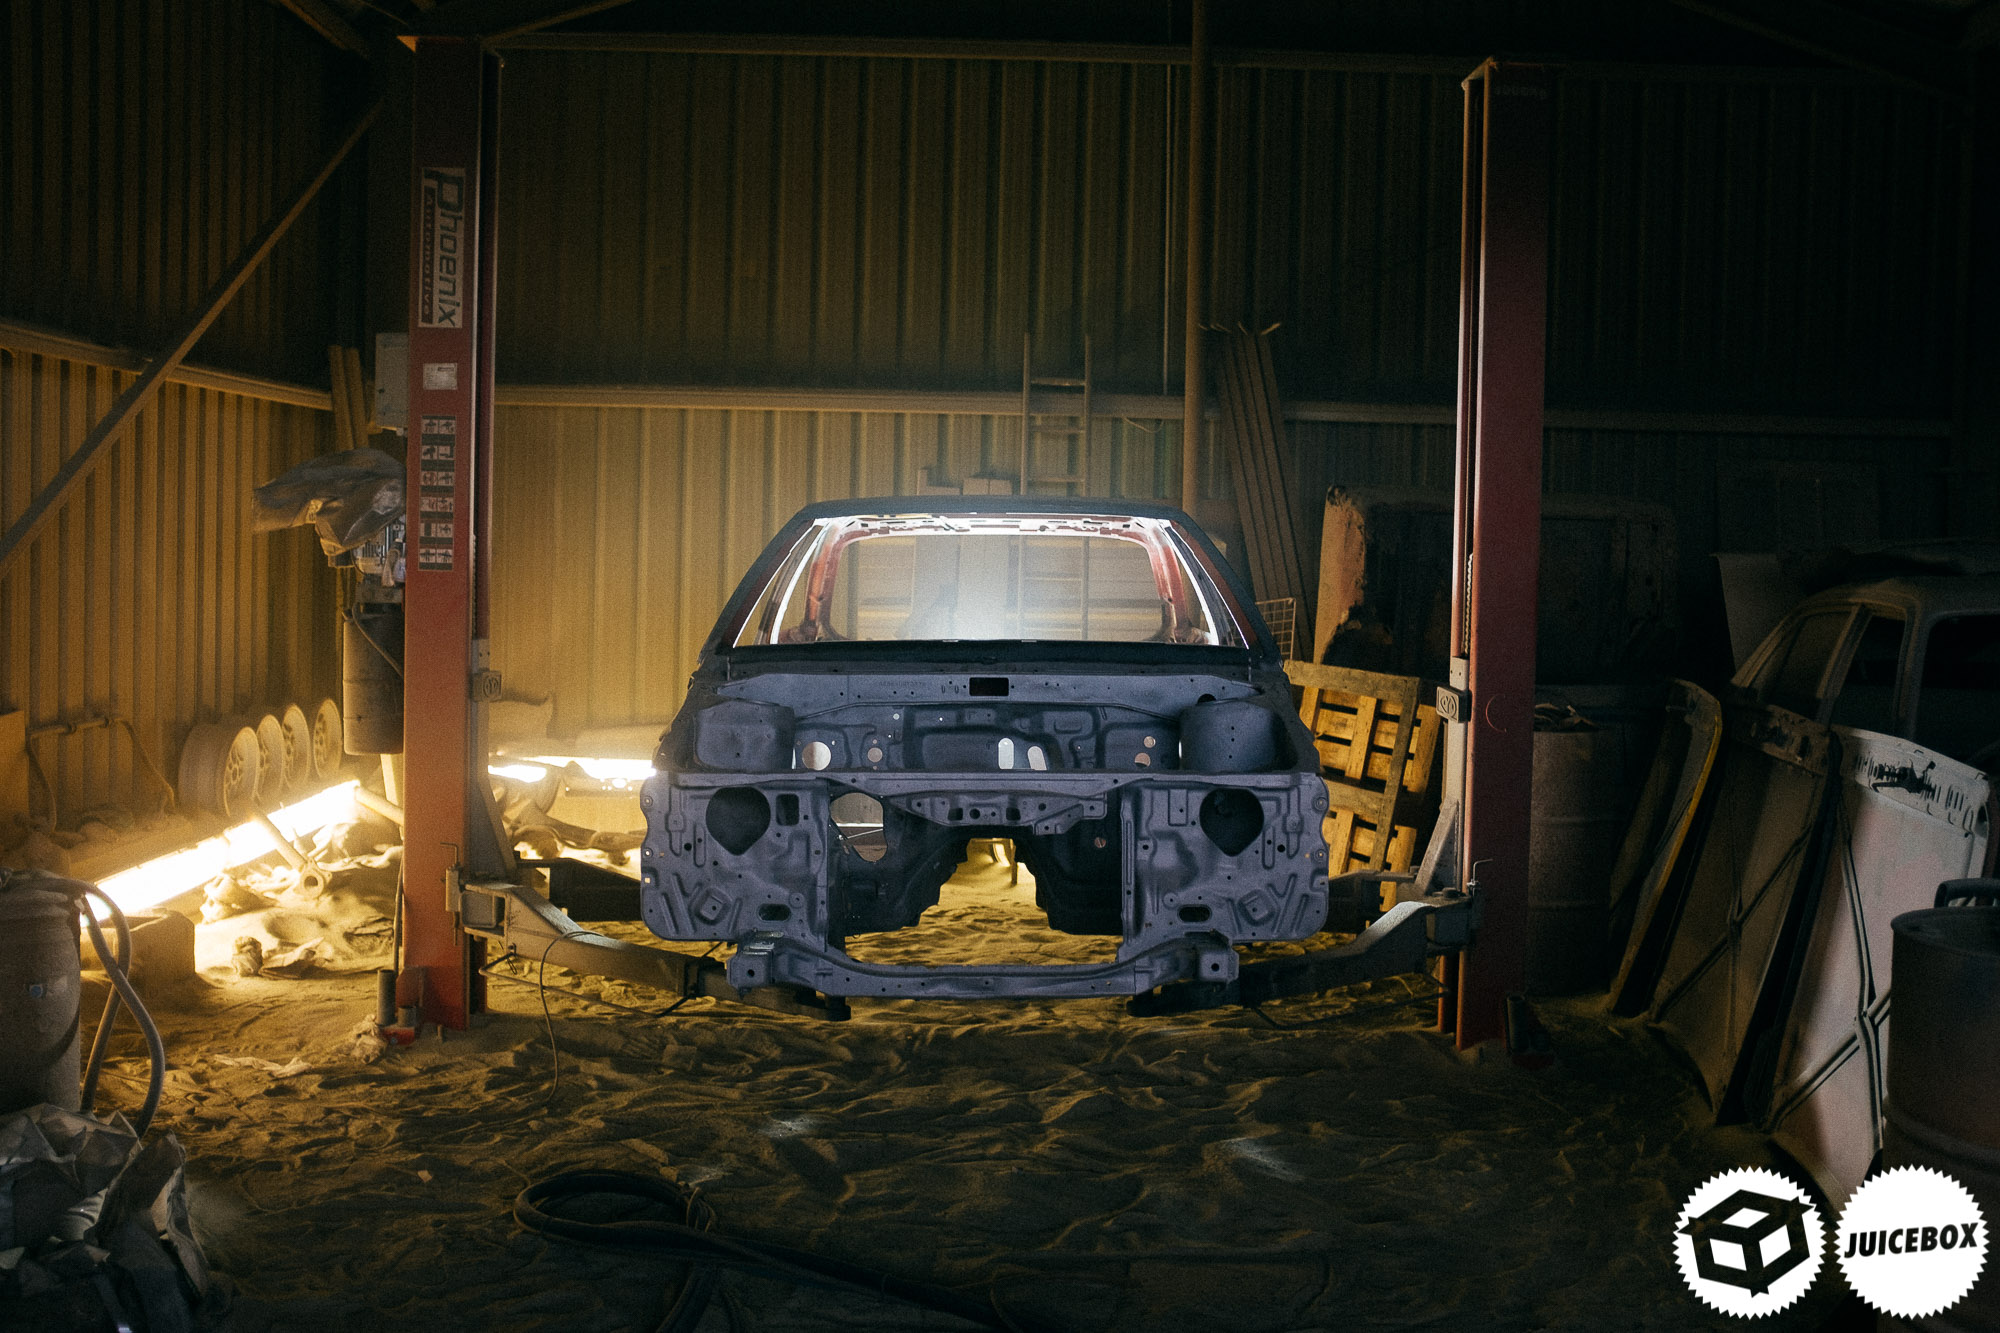
We light the shed up as the sunlight left us, this made for an epic lighting setup to shoot the shell. Being honest, I felt like I was in over my head at this point, but there was no turning back, I was excited to push forward and let barry start hacking up the shell. Well sort of.
Nigel didn’t hang around, that exposed metal wouldn’t stay fresh for long in the damp Irish climate. We decided to hit the car with a primer about an hour after blasting to give it the best chance possible.
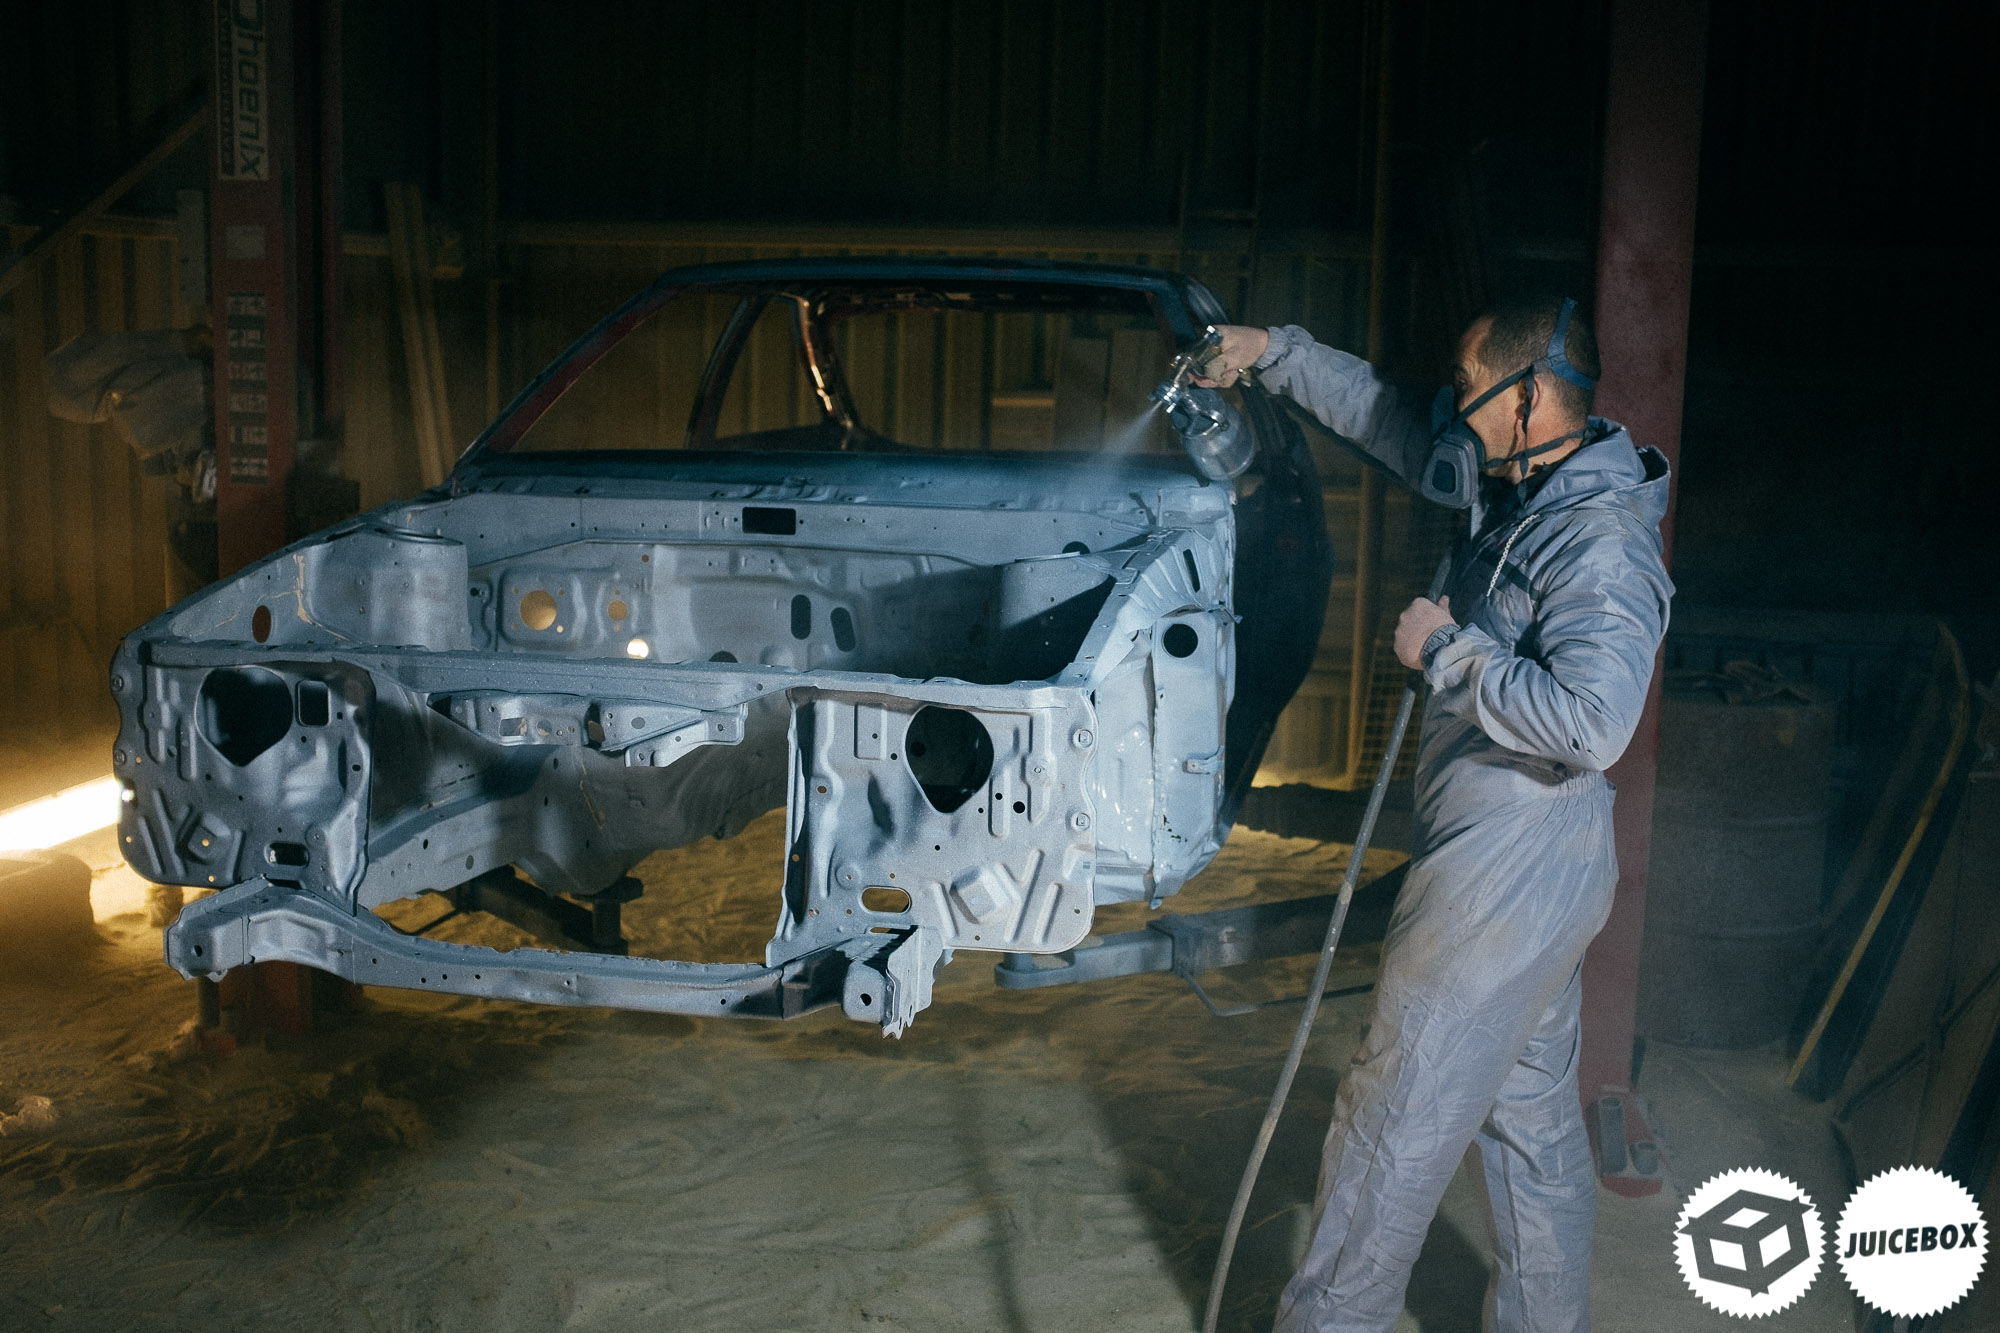
Seeing that primer land on places that were incredibly crusty just a few days before was such a beautiful sight to behold. Nigel was a wizard with the spray gun and lay the Epoxy on thick, getting it pretty much everywhere it needed to be. Seeing this was a massive inspiration as we had managed not to blow too many holes in the chassis. We were starting with a pretty decent base.

You can see all the holes in the photo, but that fresh epoxy makes it look like everything is going to be just fine! The Epoxy is better than factory, so I’m hoping this stuff will last at least three or four years!
The shell looks excellent here. I thought we were on the home stretch when I took this image, a couple of days with Barry and the car would be ready for paint, oh boy was I wrong, very wrong. As good as the shell looks here, little did I know it would stay this way for the next two years.
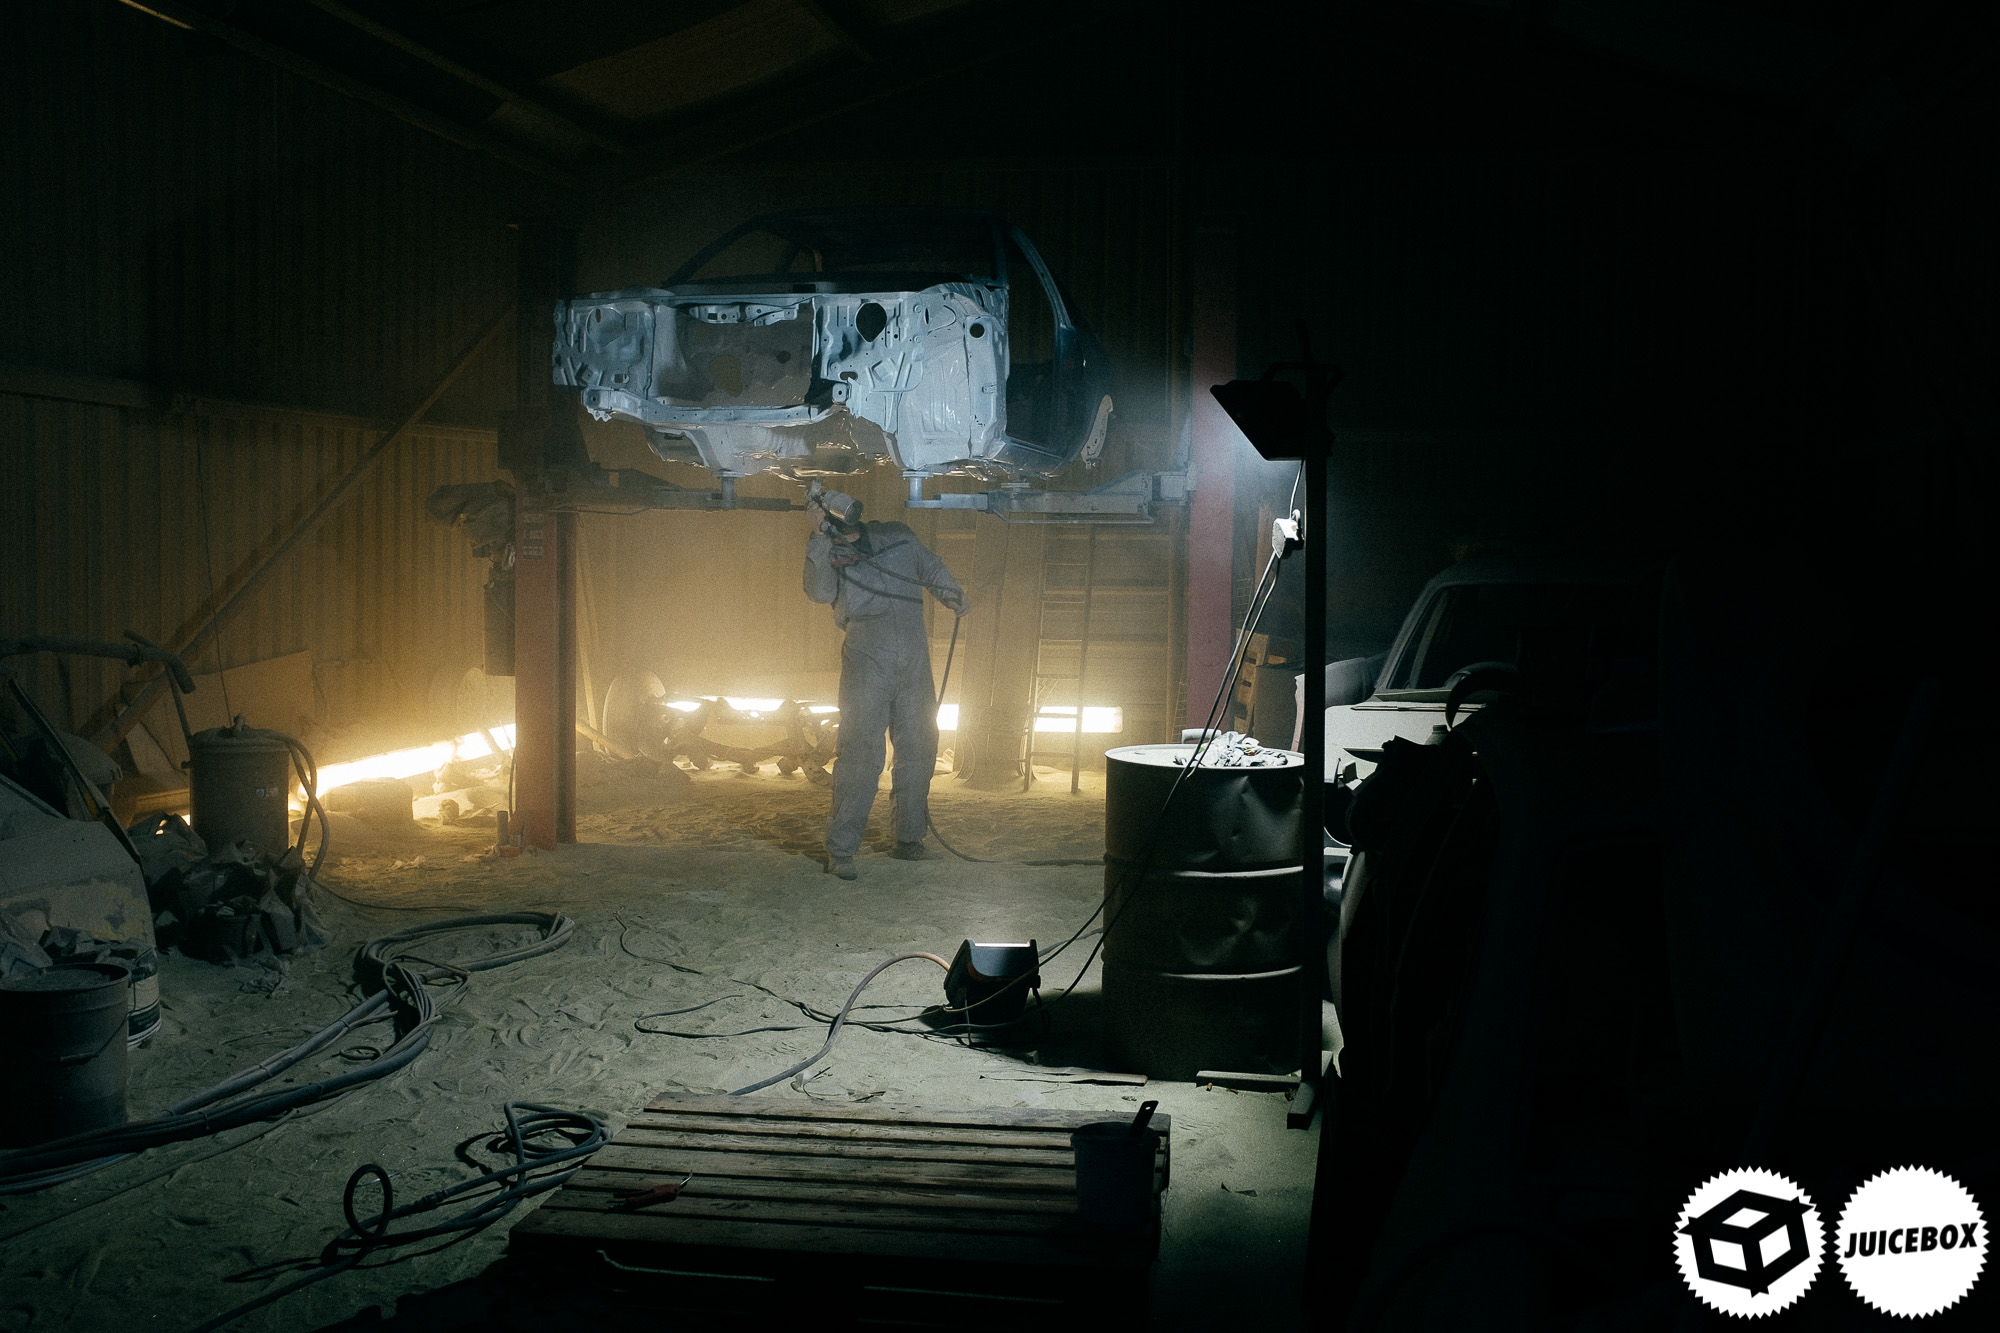
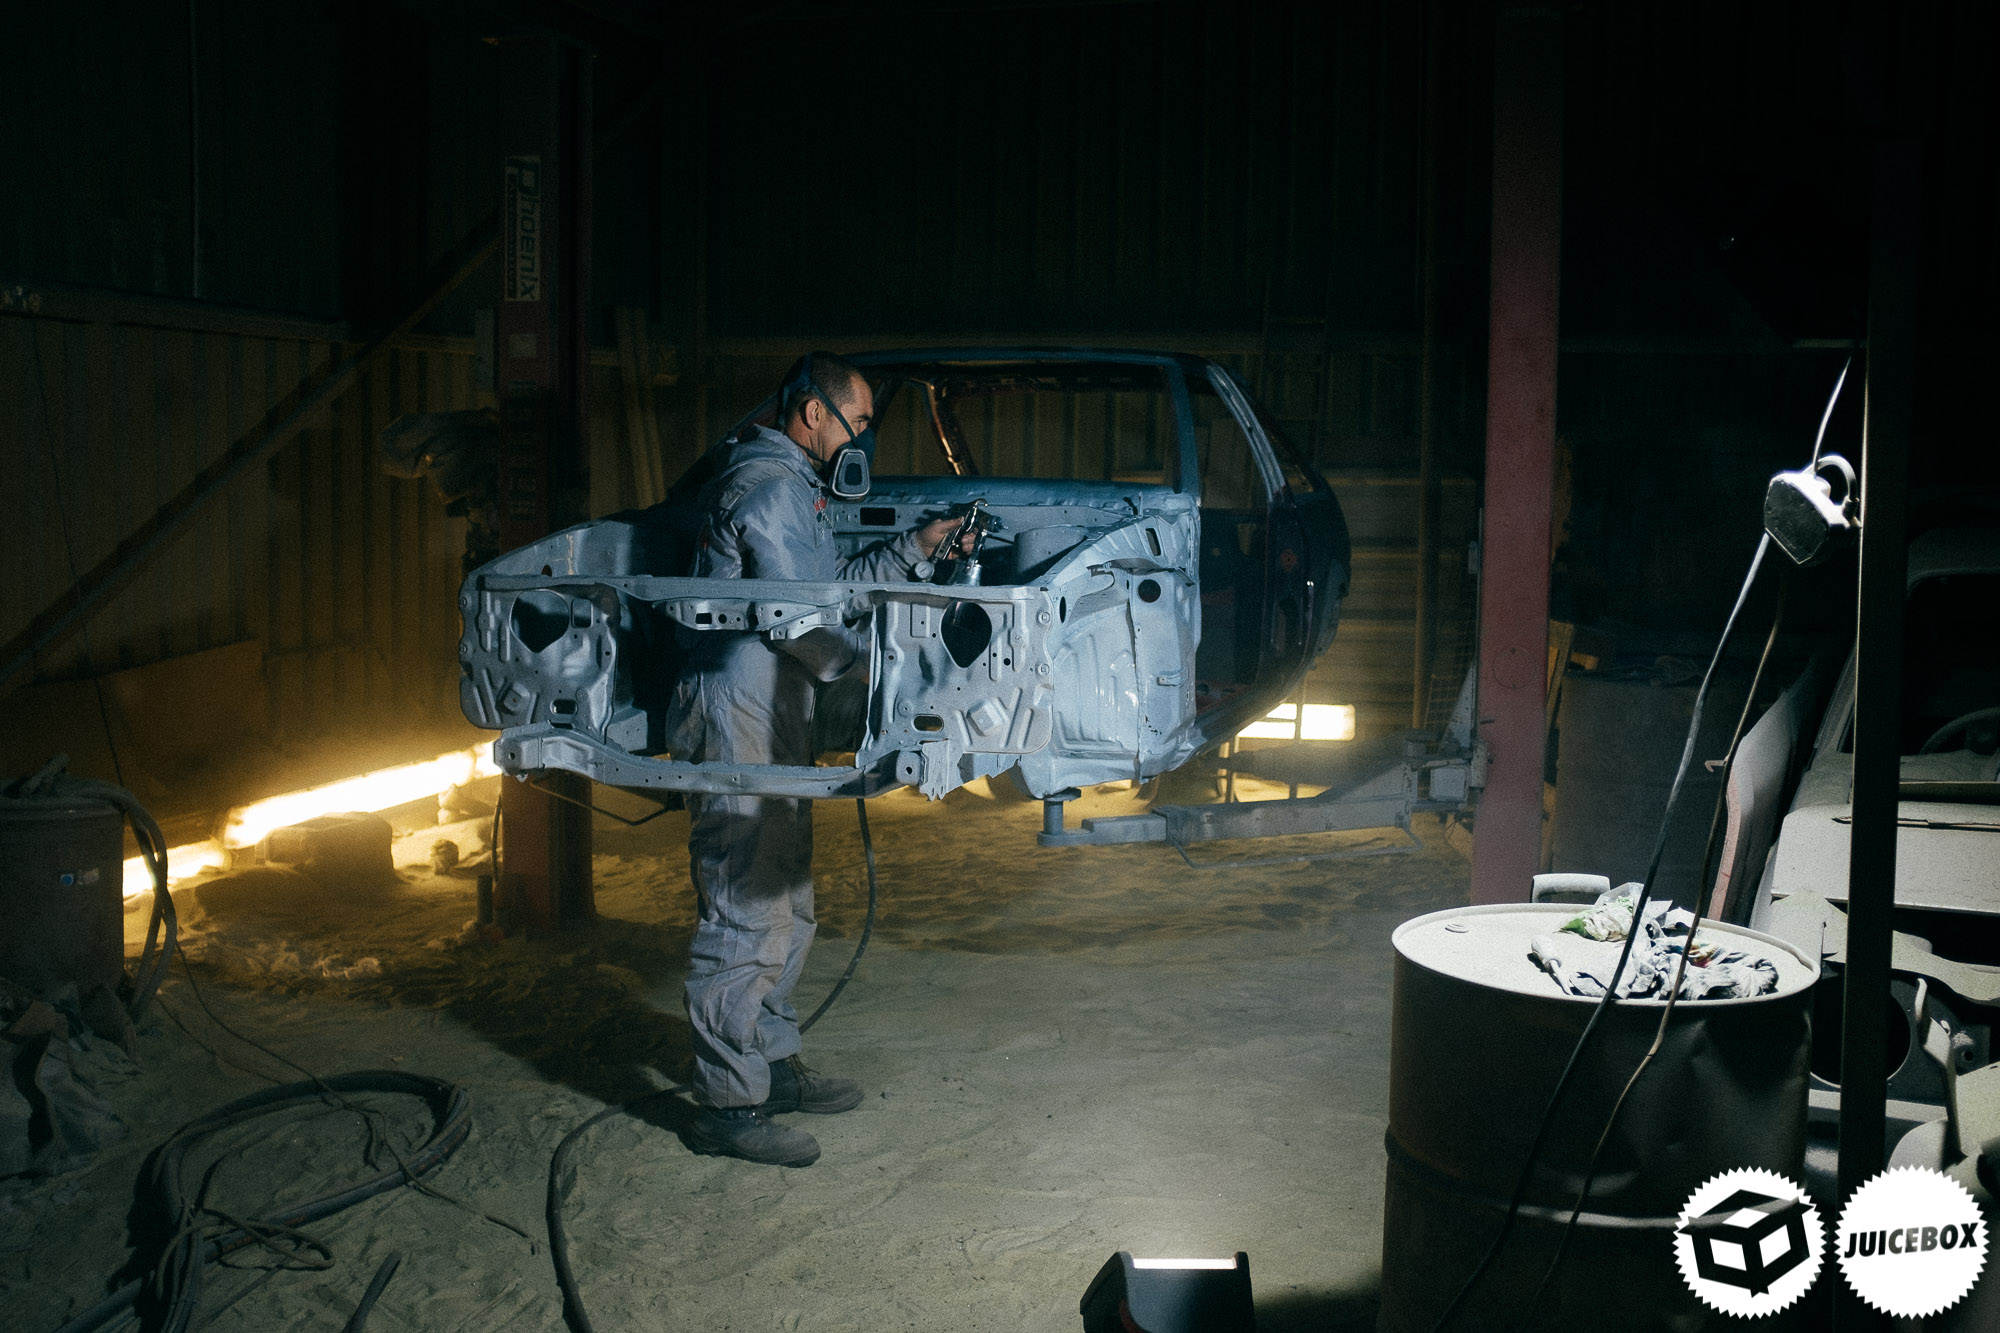
I grabbed a few more shots of Nigel as he soaked the bottom with of the shell with epoxy. These AE86 shells came with just a light coat of paint from factory, and the fact this one lasted this long and still managed to keep its floor intact is a micrale. In the end, we had to replace some parts, but overall there was no heavy work carried out on the bottom of the car which is incredible for something that sat a grassy back yard for such a long time.
We finished up about eight o clock; it was a long day, almost 12 hours between blasting and painting. Still, I was a pleased camper, this was the first proper piece of progress with the restoration and pretty much the start of that large flood gate of pain and misery which was soon to follow. Massive shout out to Nigel at Ace again for sorting me out on this one, it was one of the most crucial parts of the build and made this restoration that bit easier.