Photos Unboxed: Undersealing the AE86 Shell
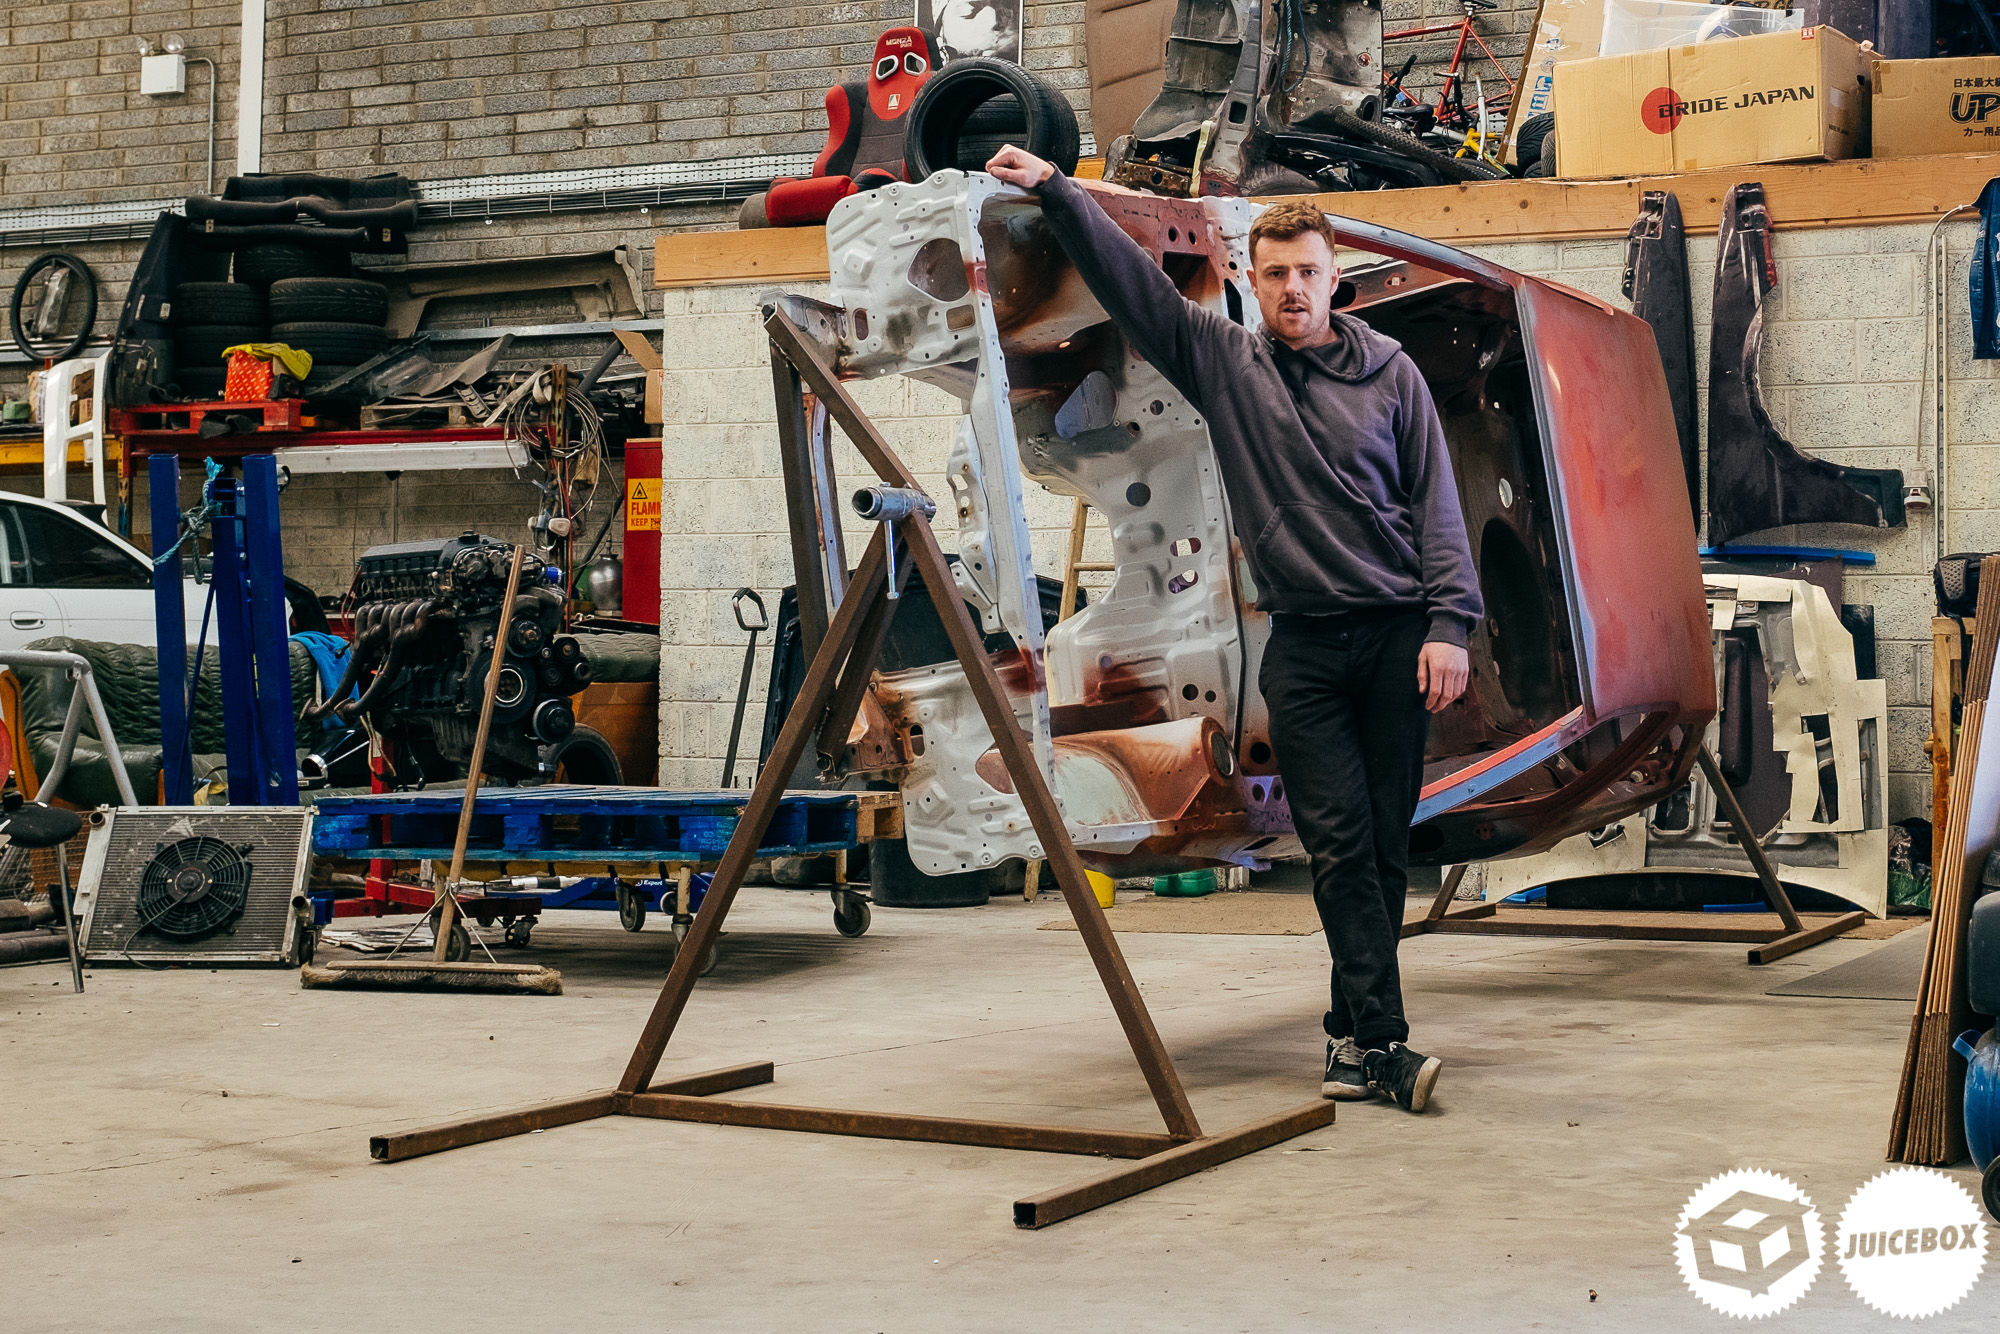
I’ve gone back through the backlog of photos from the AE86 shell progress. My initial idea was to release all of these when the vlog came out to have a nice behind the scenes photo set to accompany the videos.
Unfortunately, time had been against my so ill post older photos most Fridays from here on out until we catch up with relevant pictures posting Wednesday after each video.
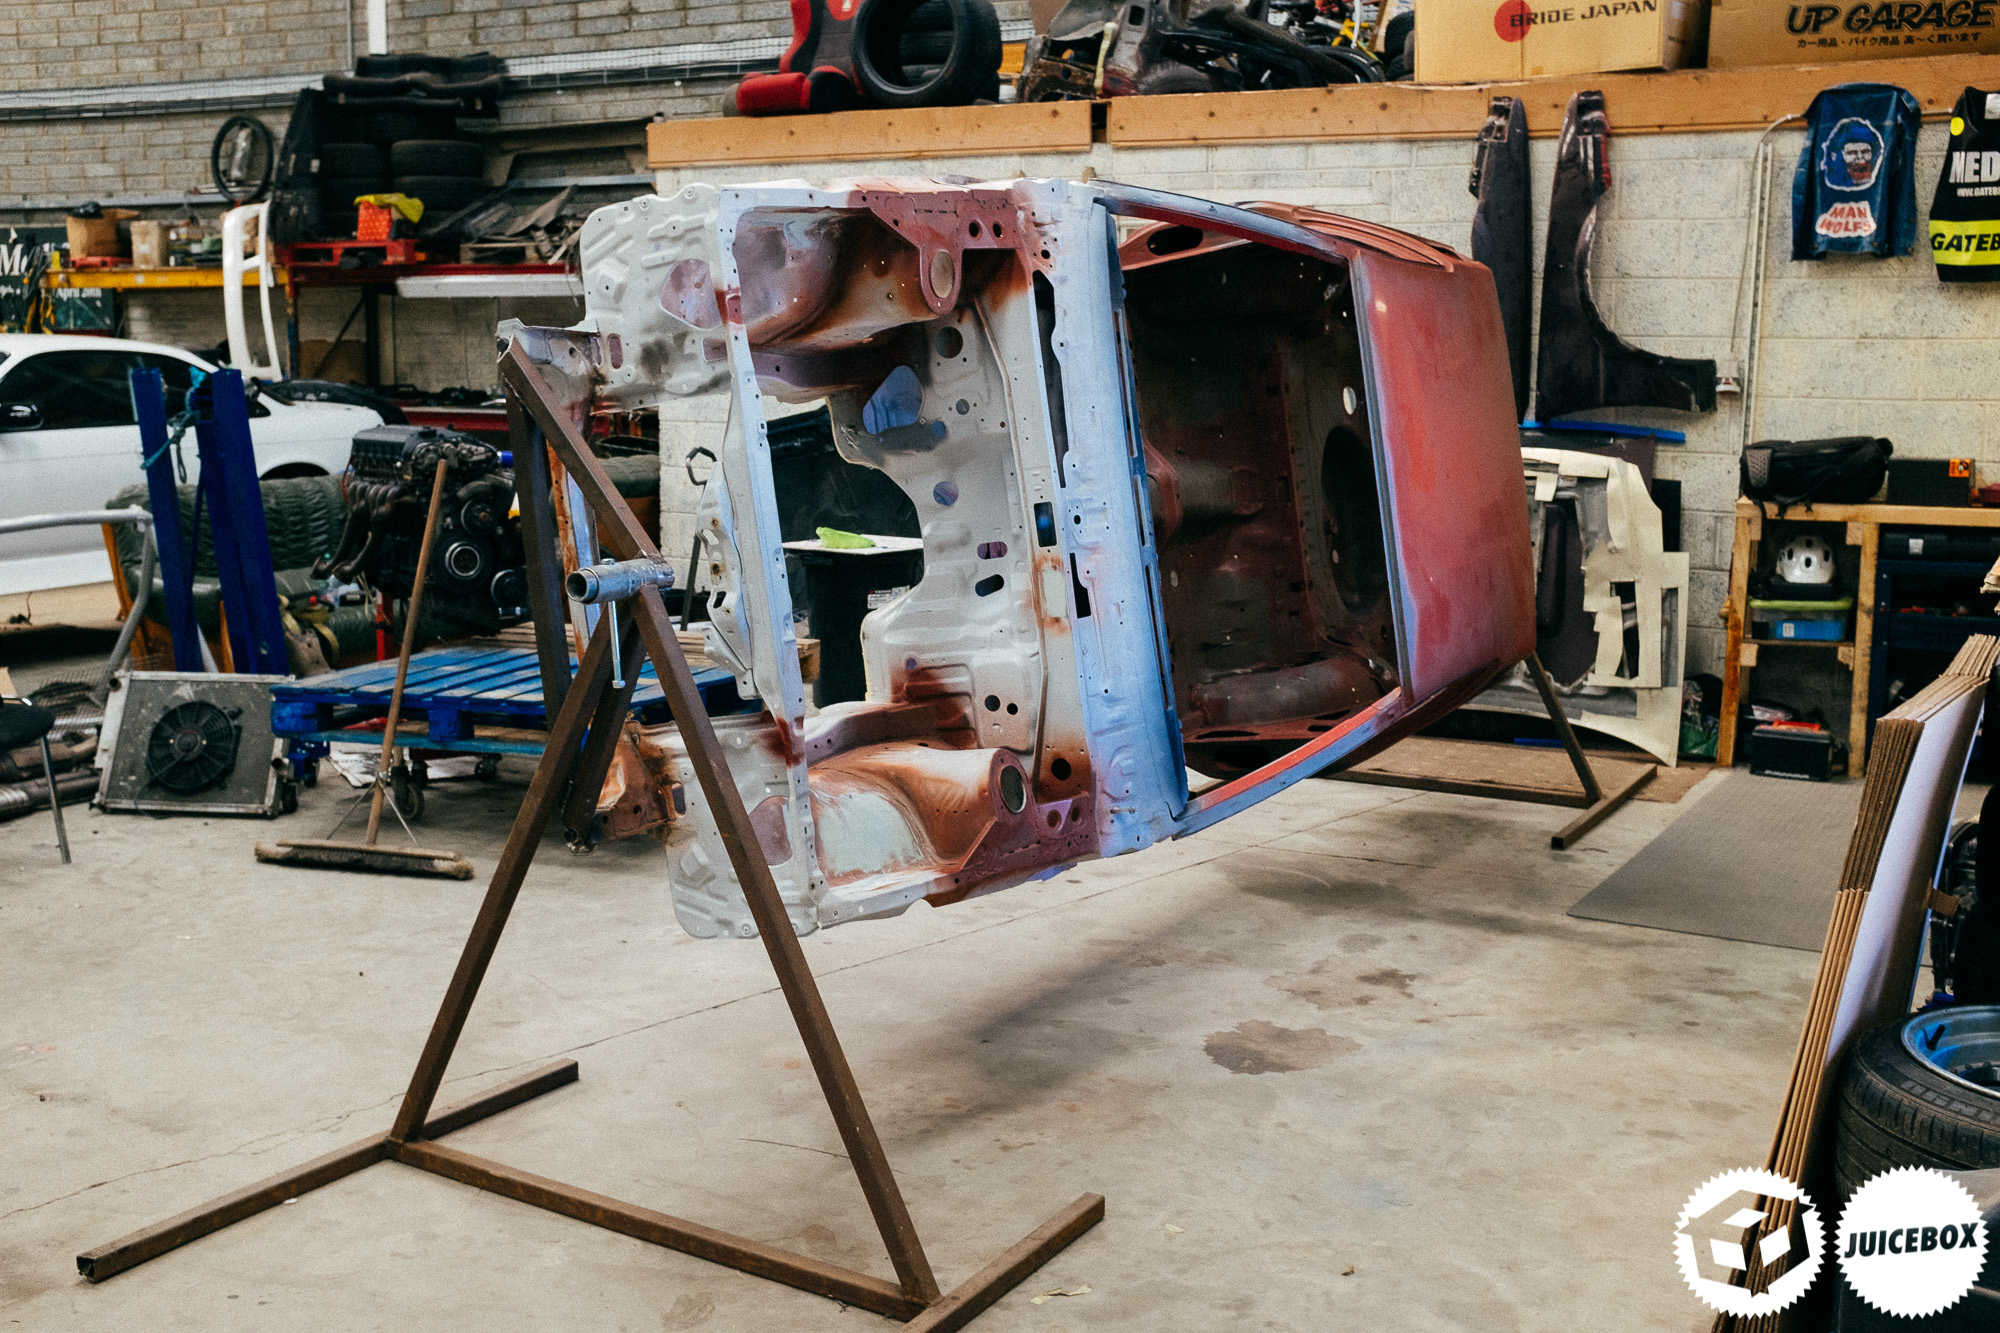
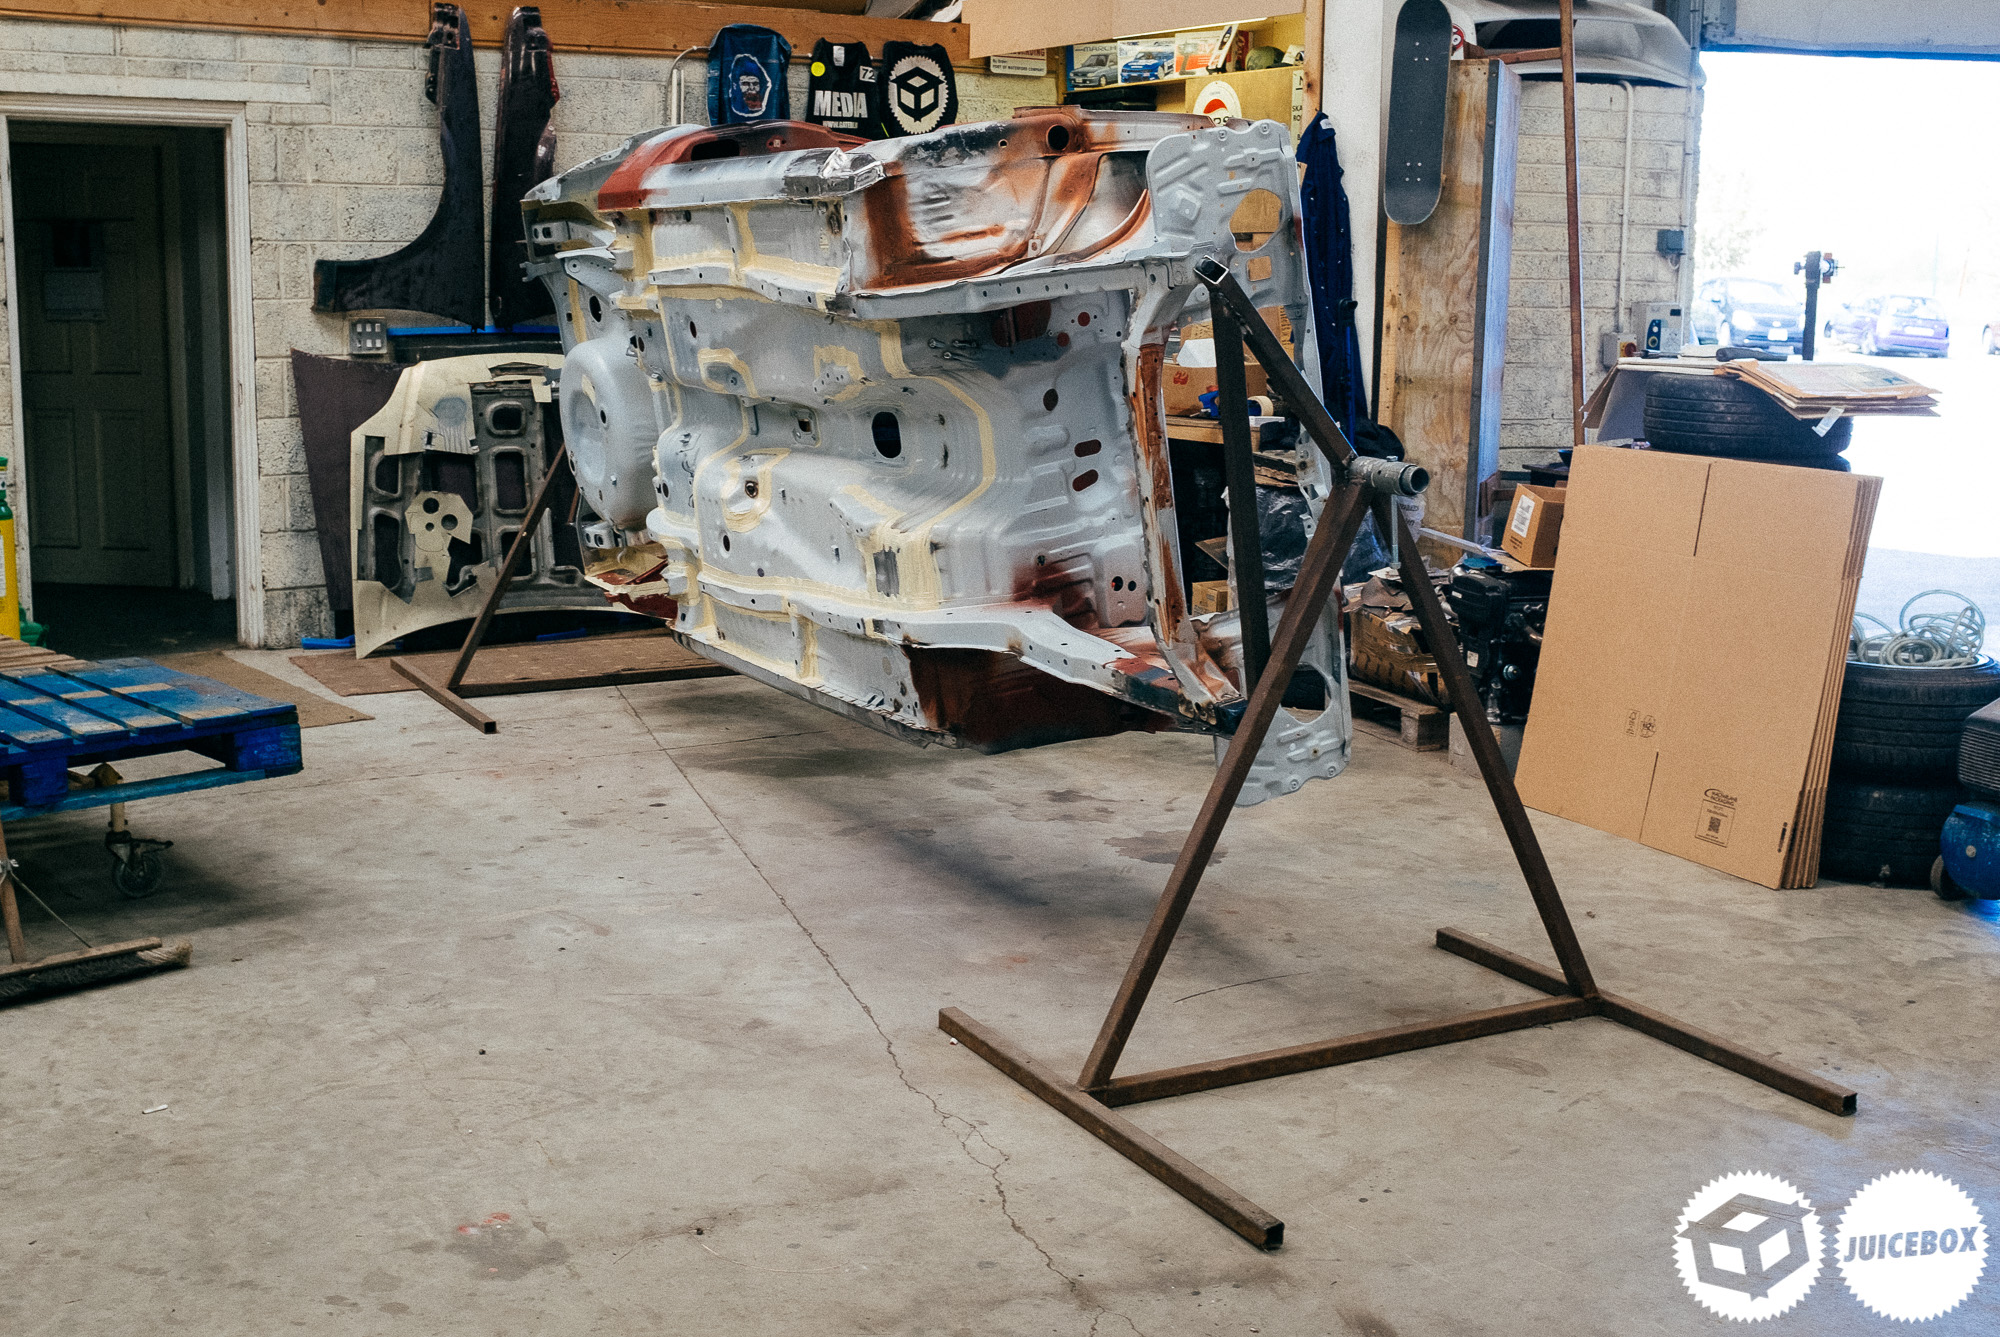
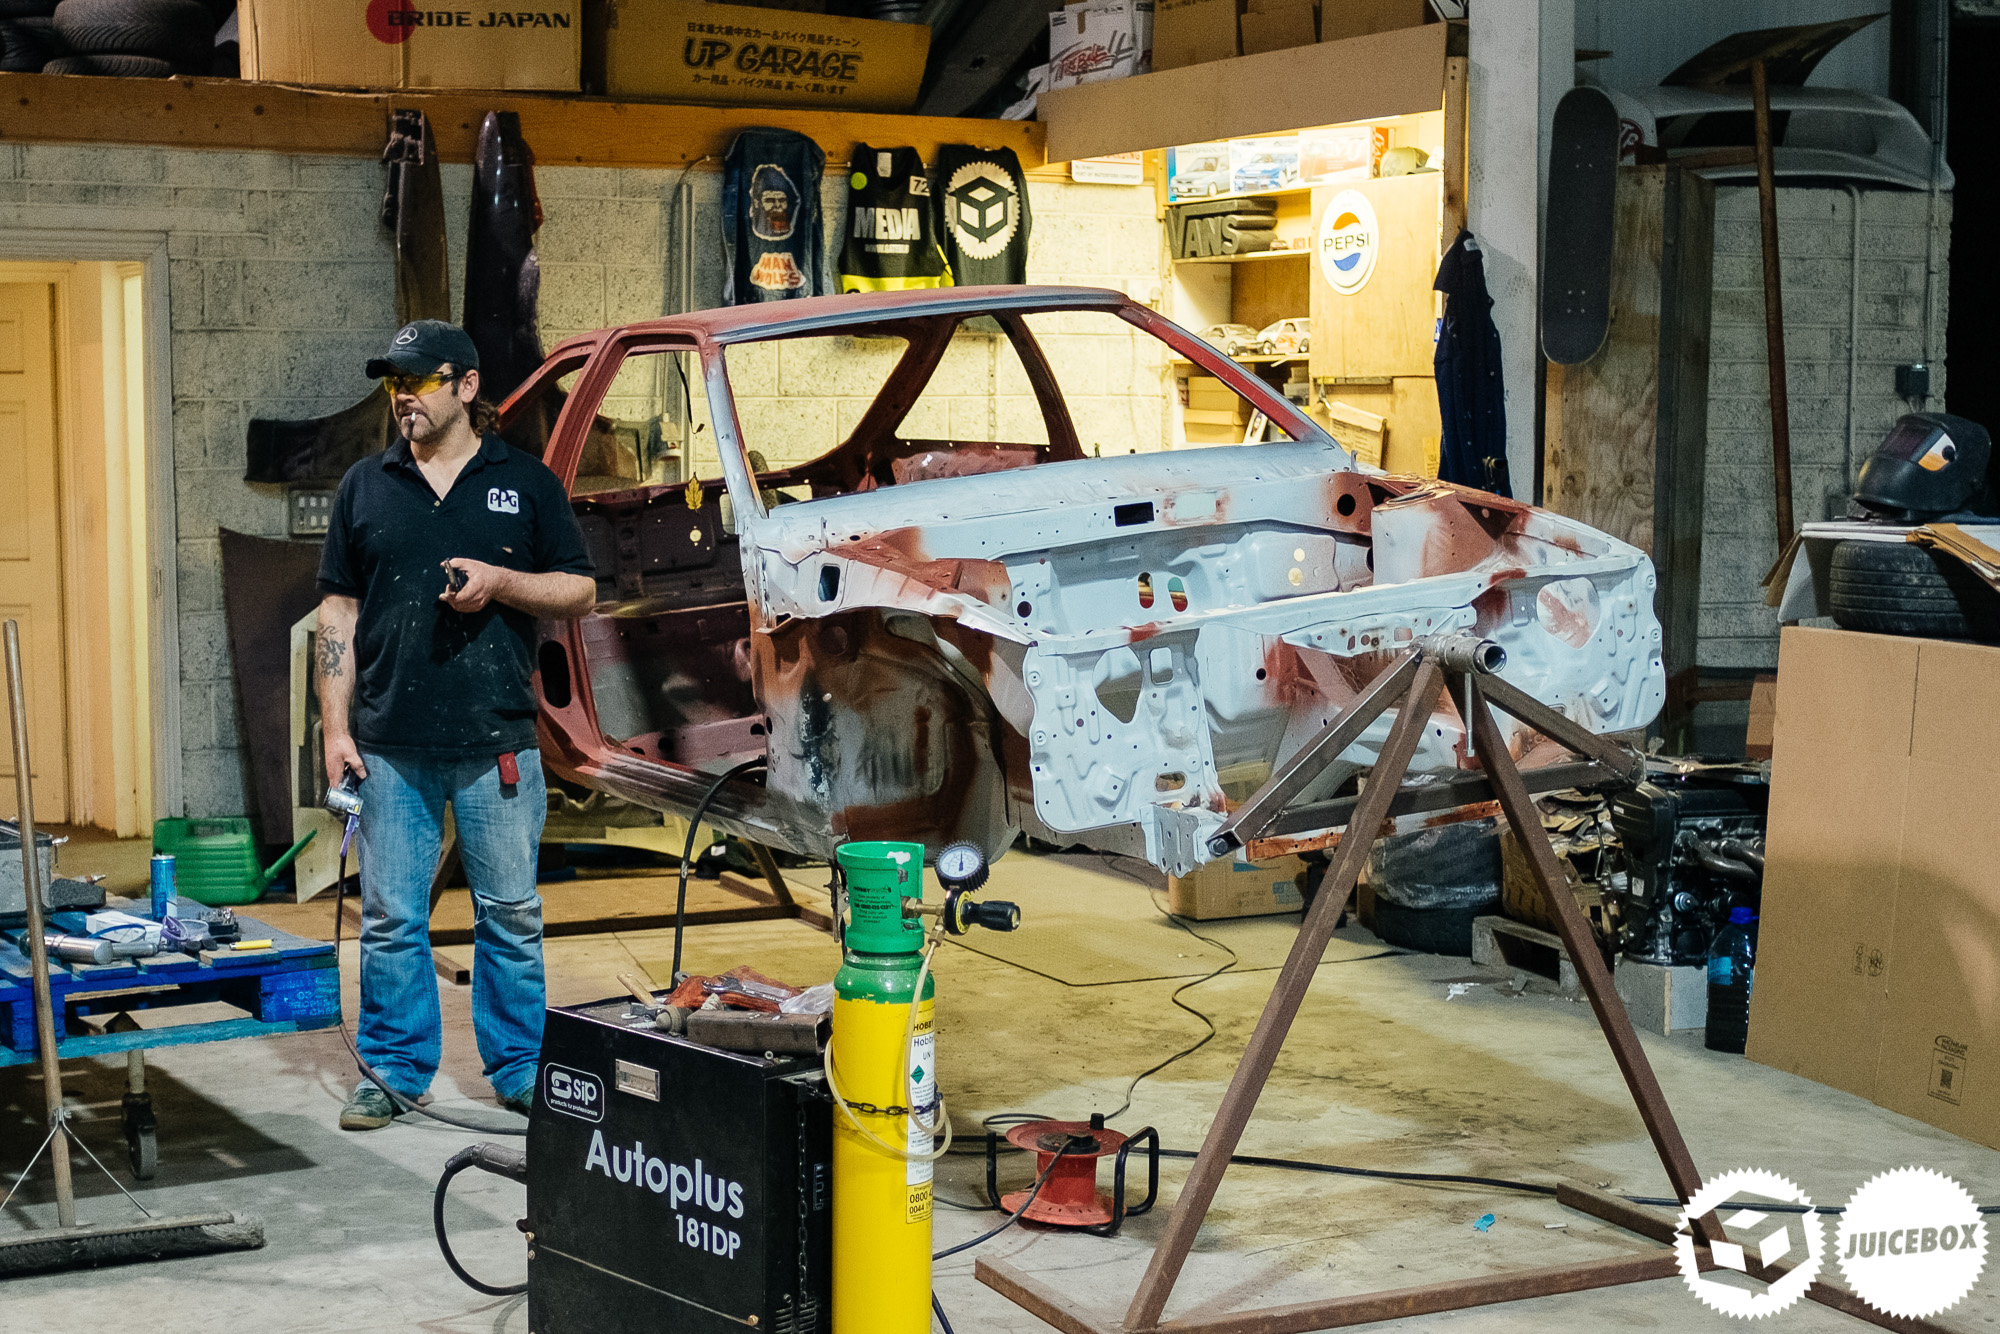
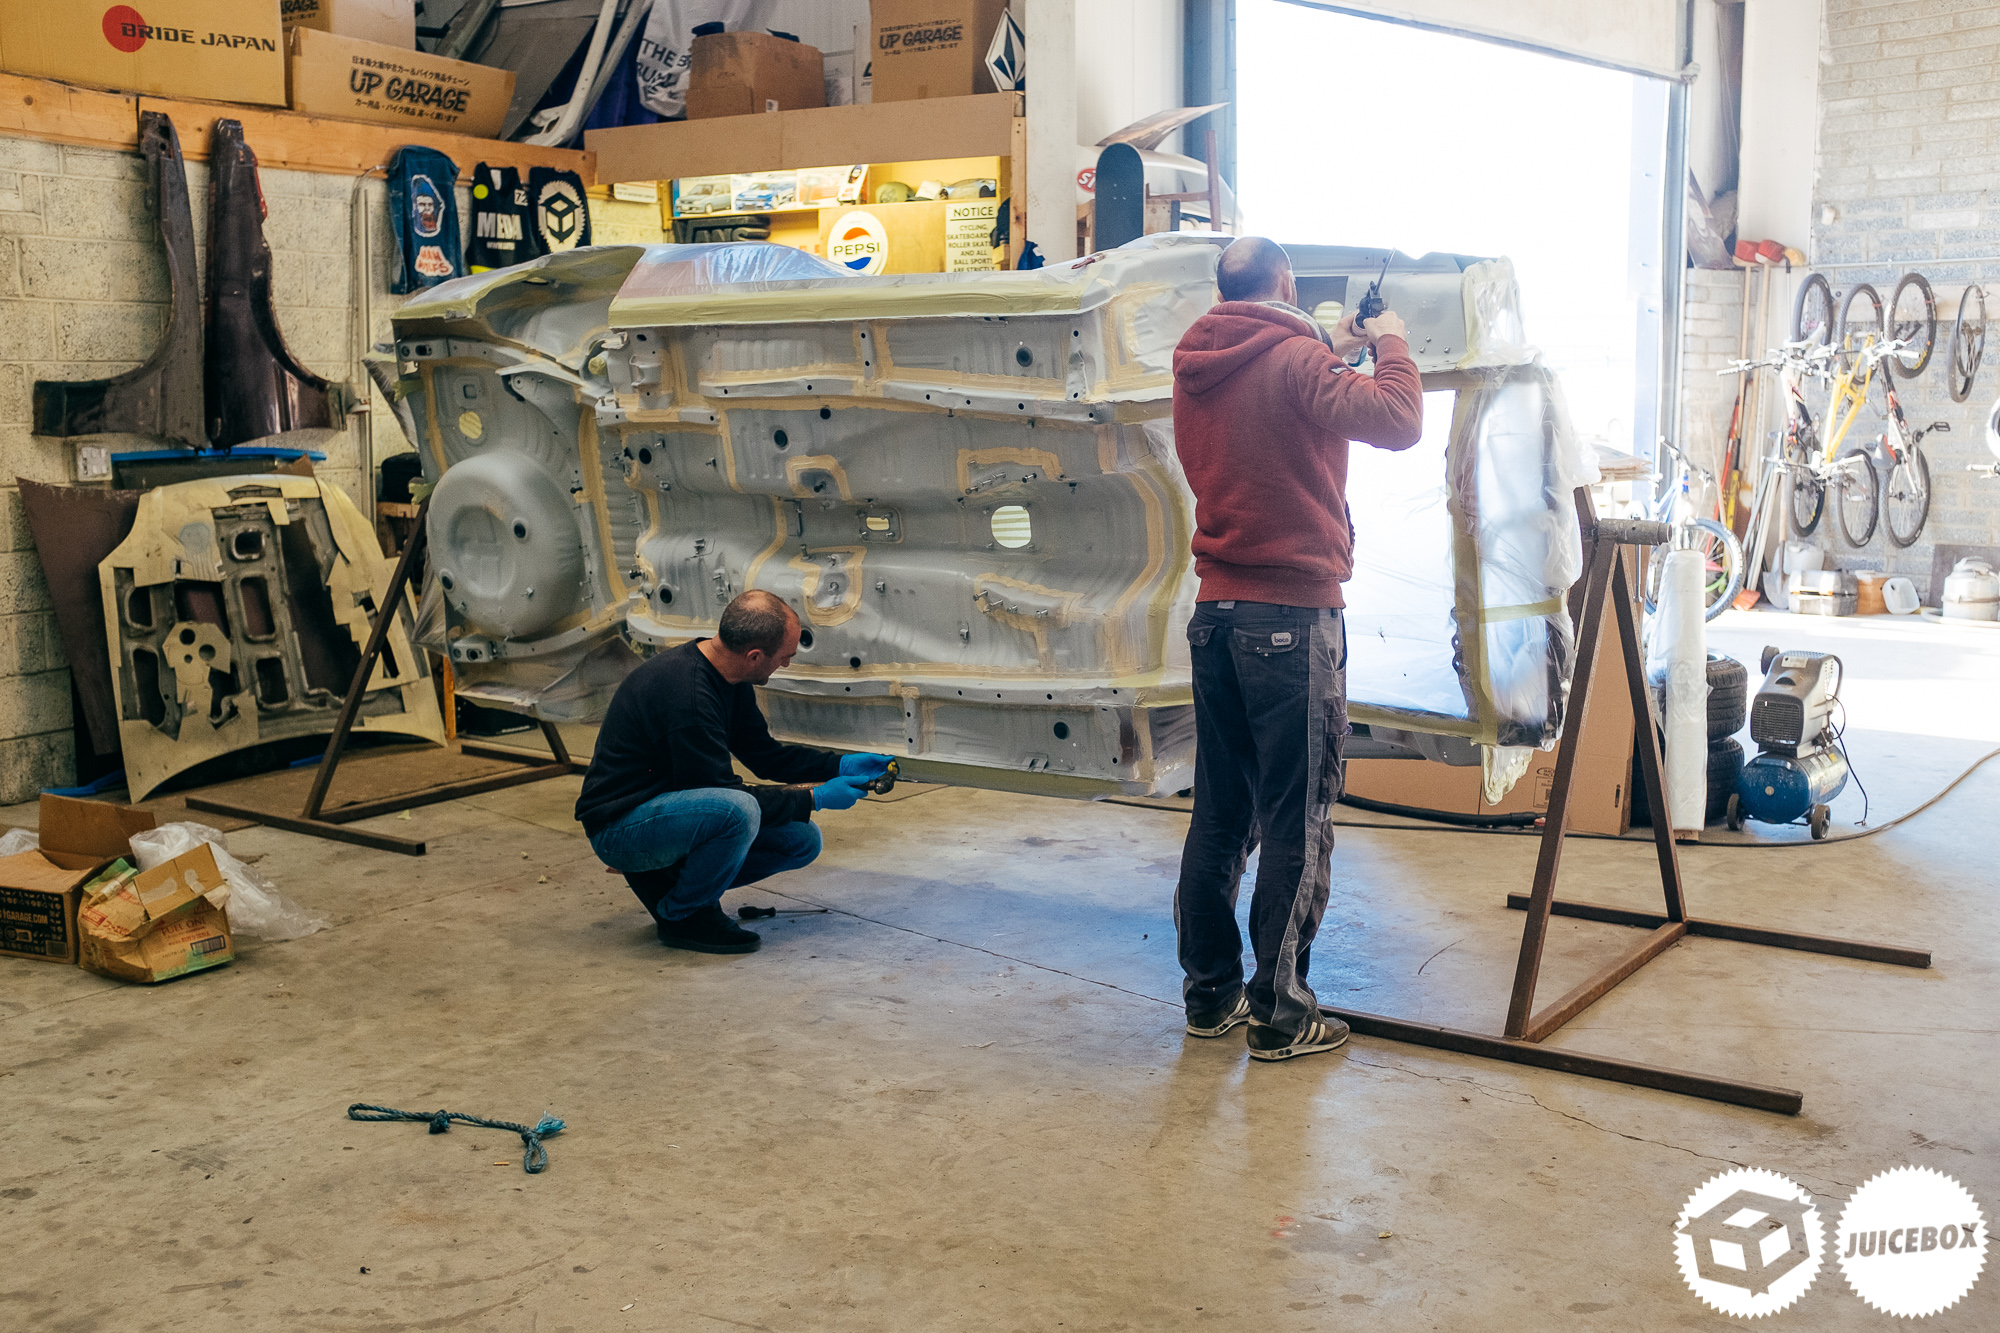
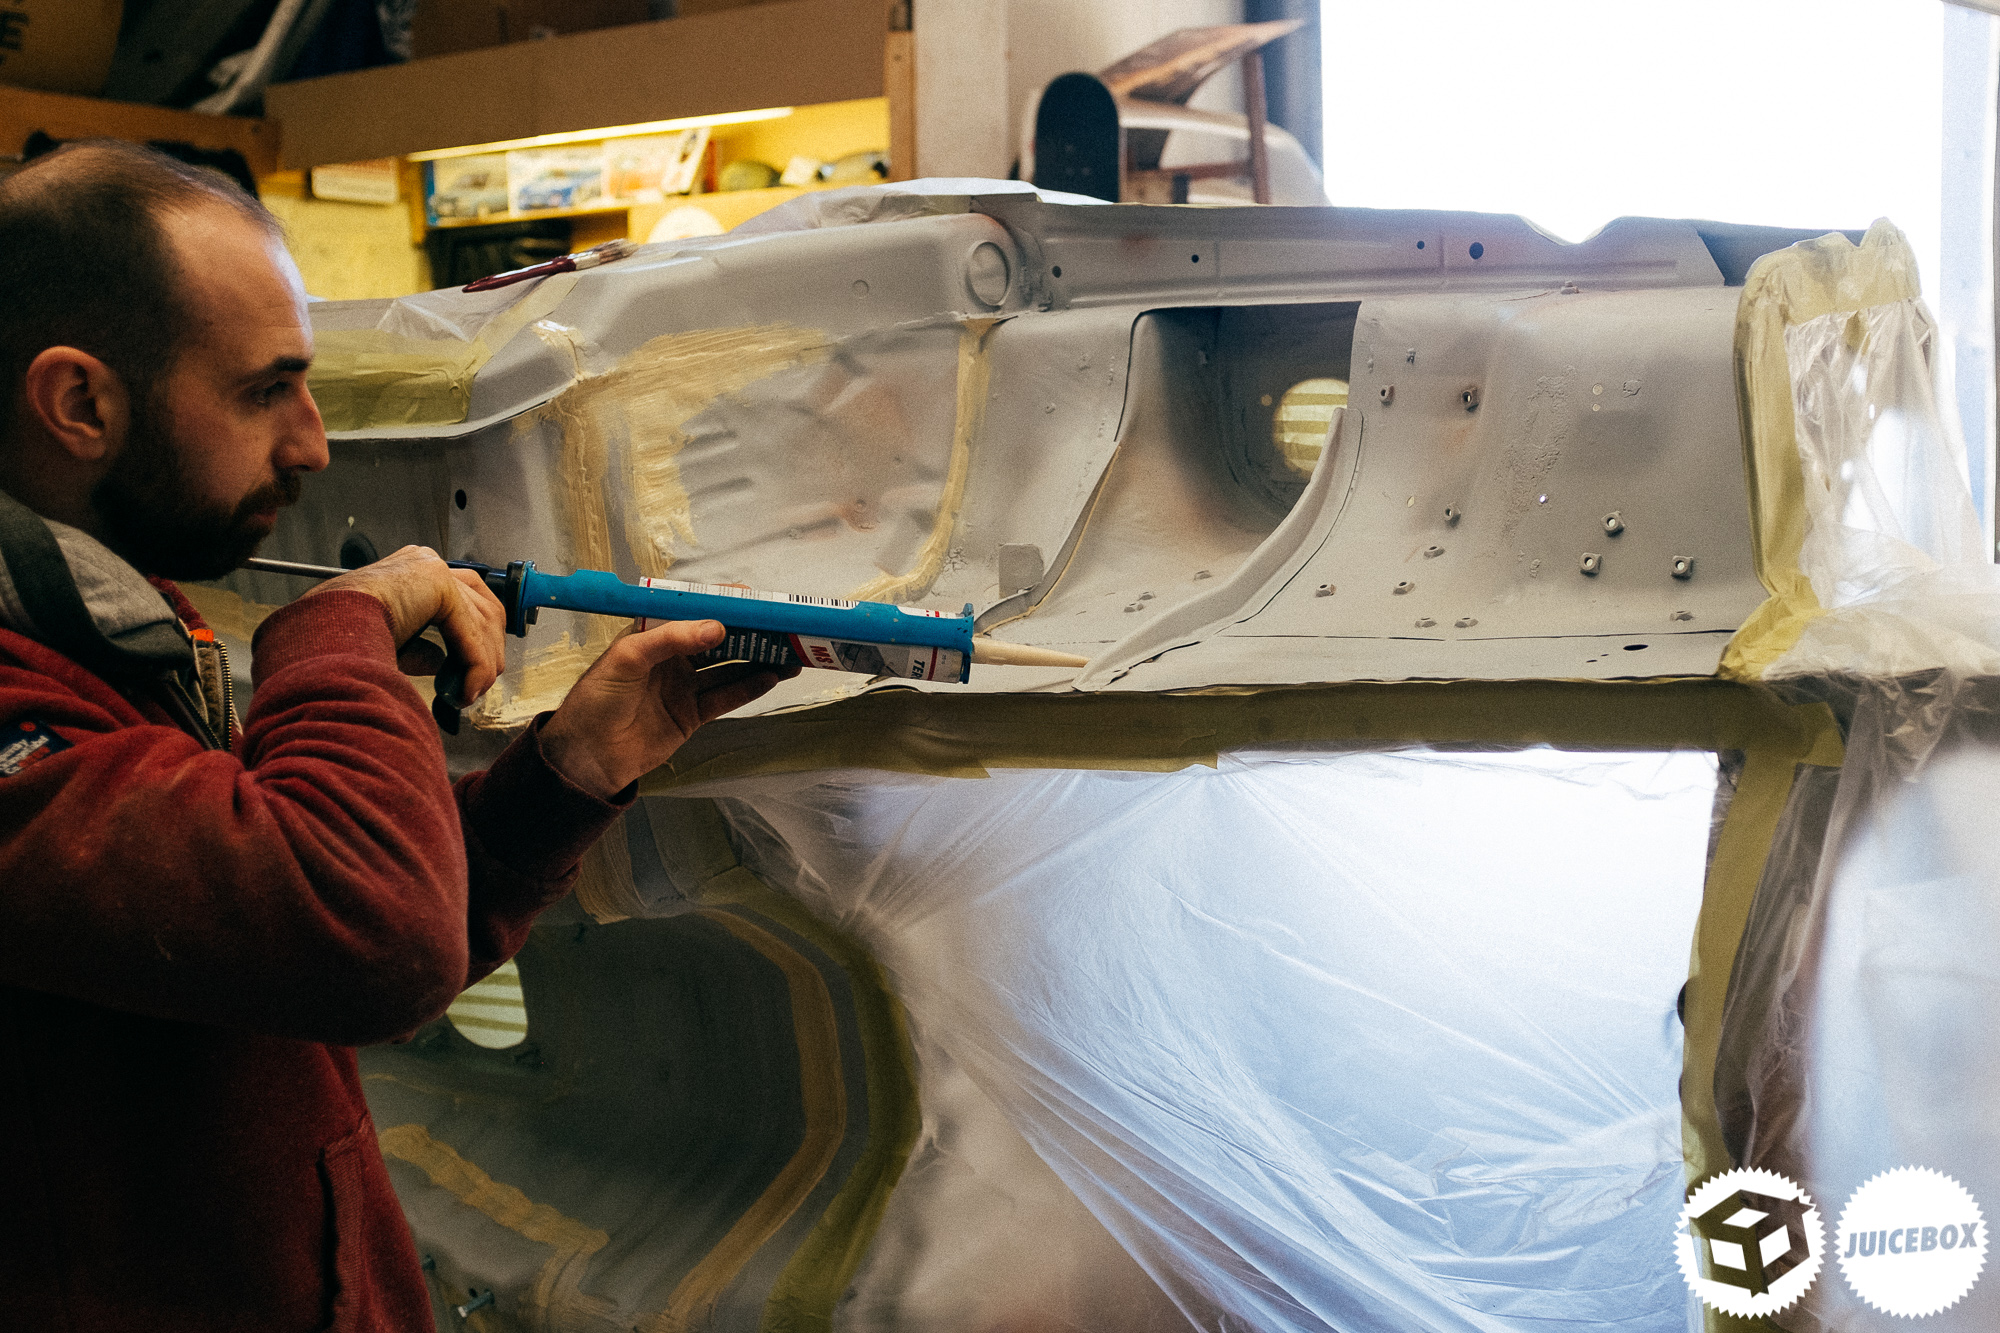
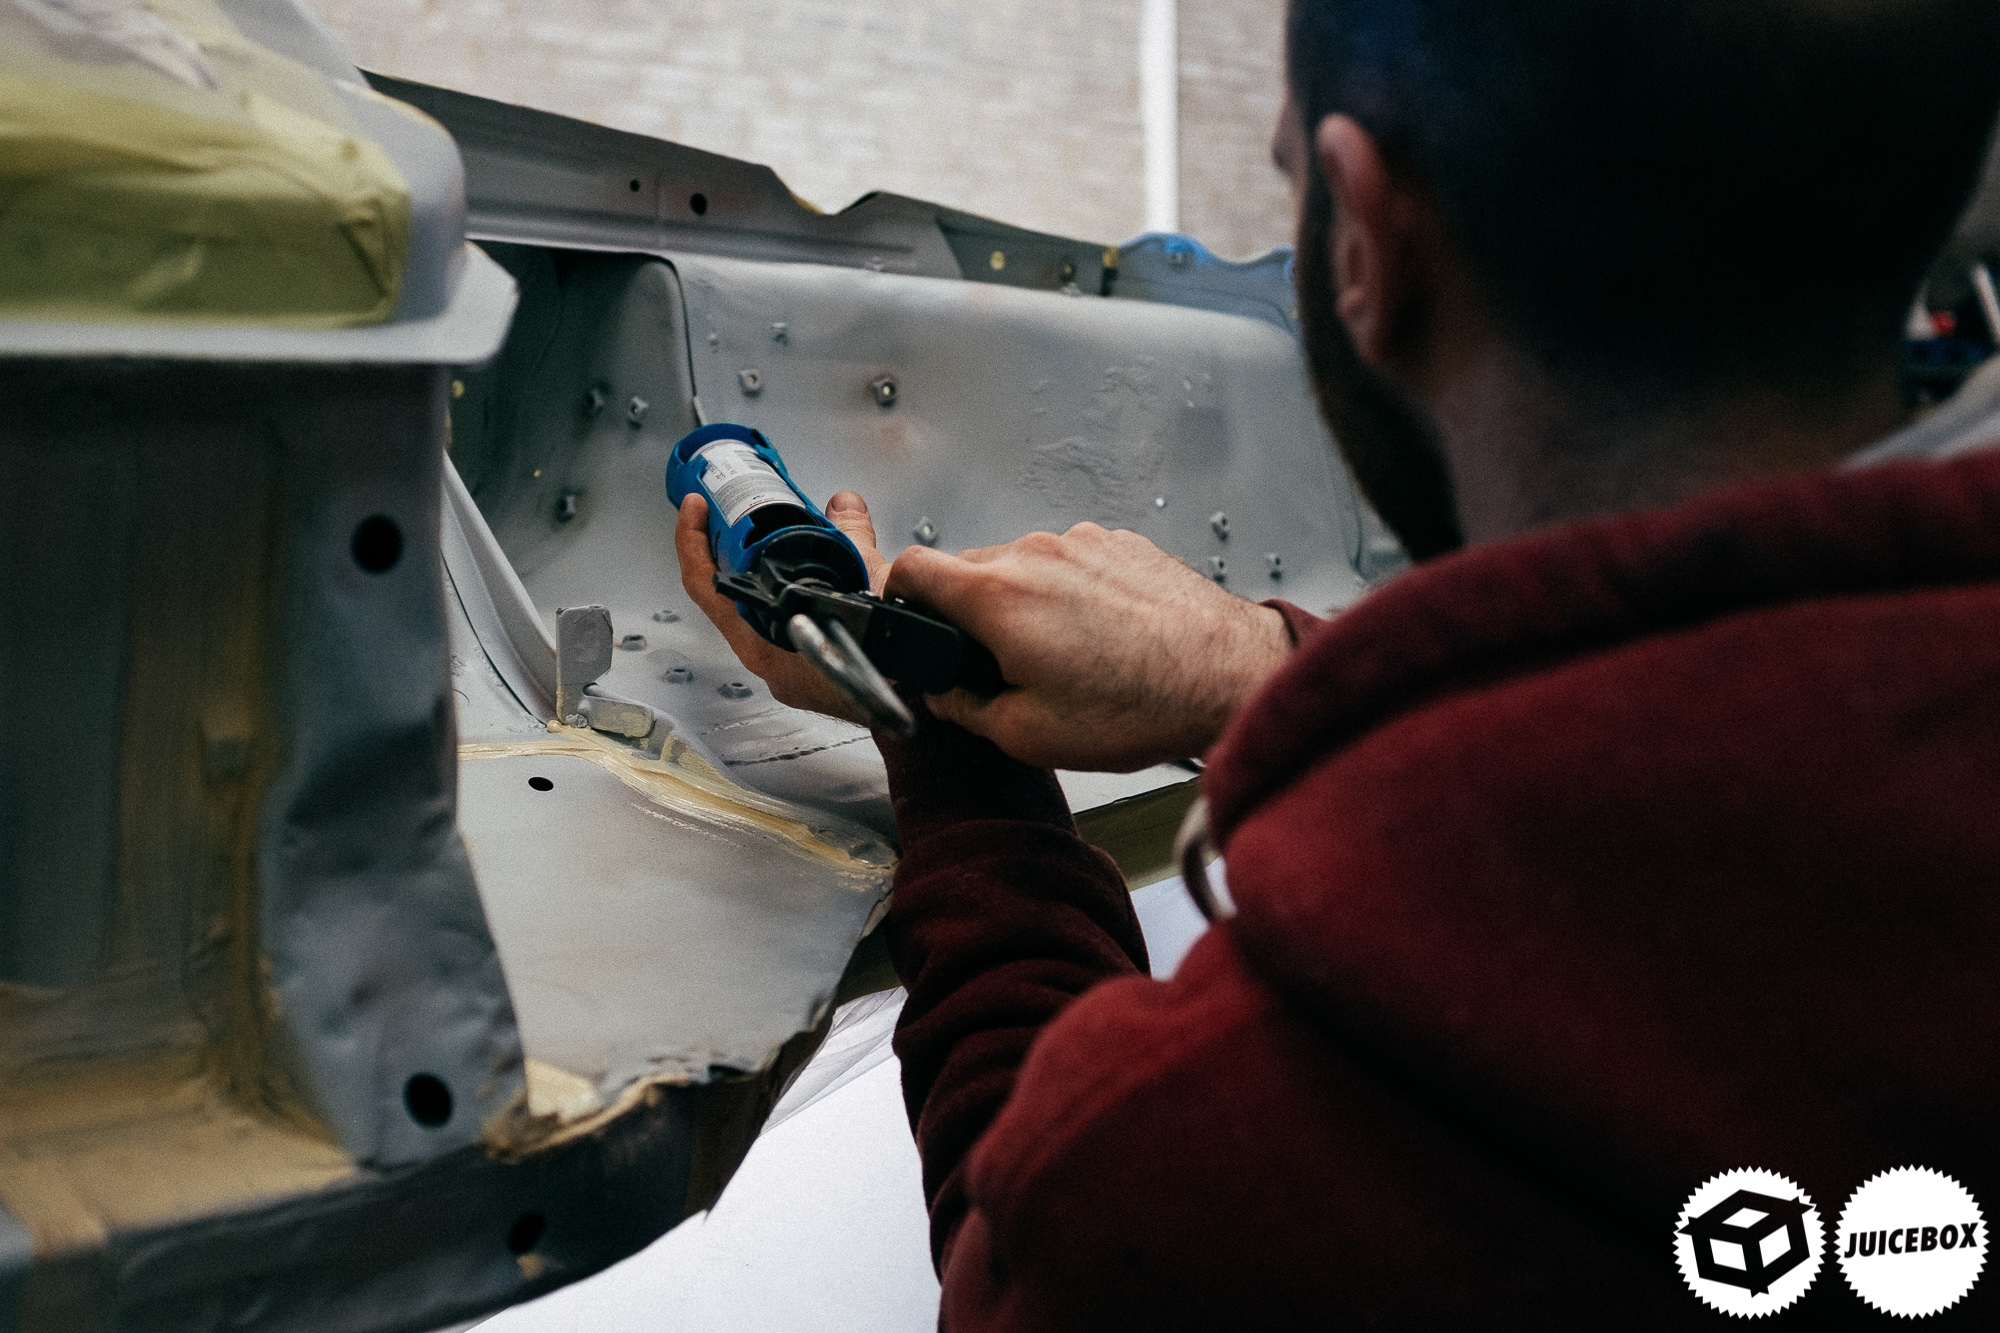
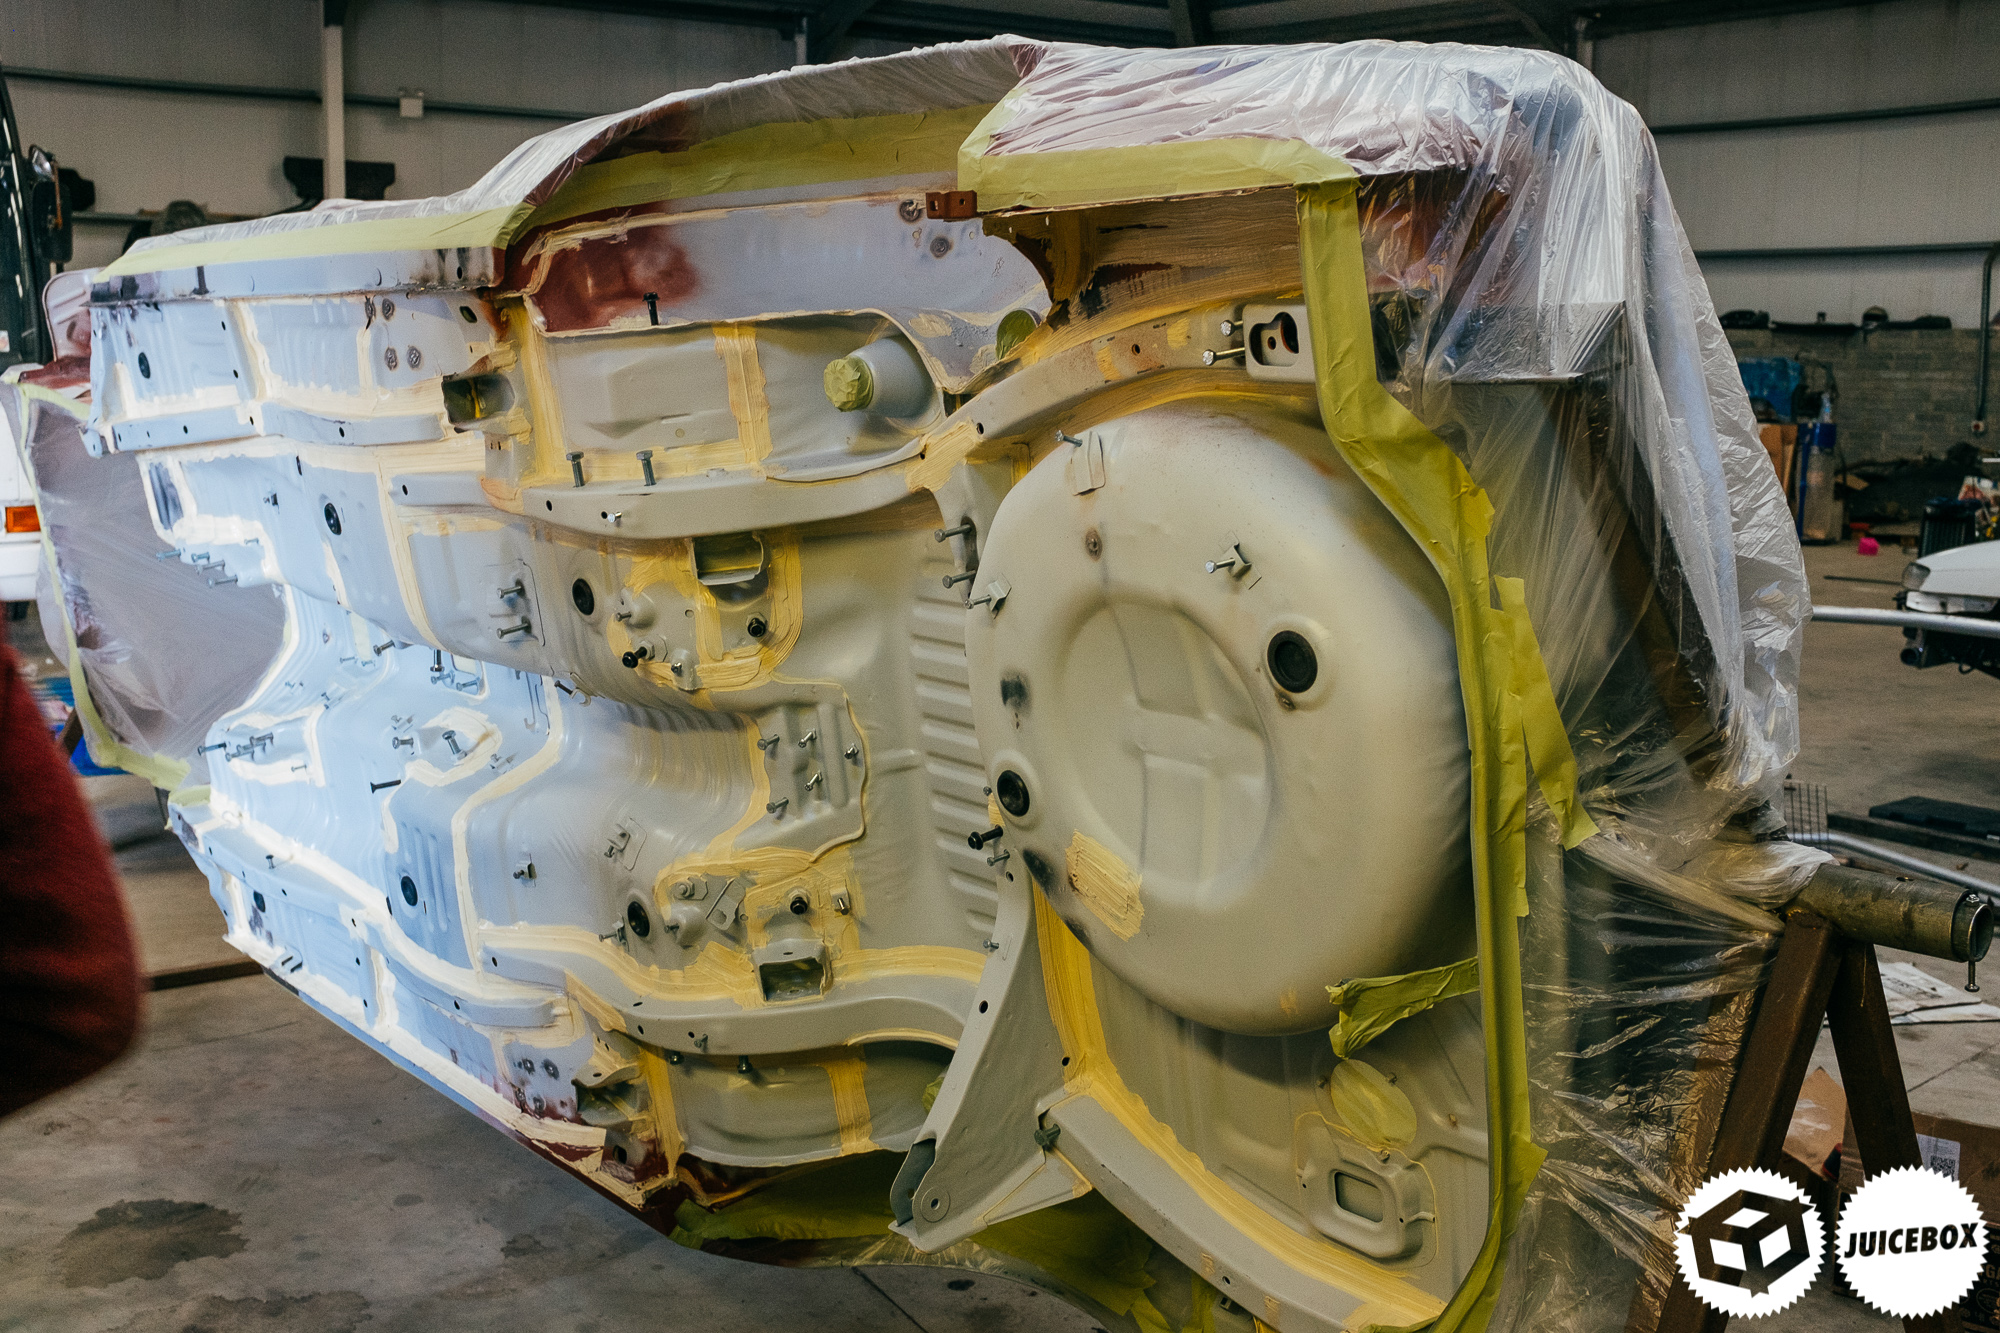
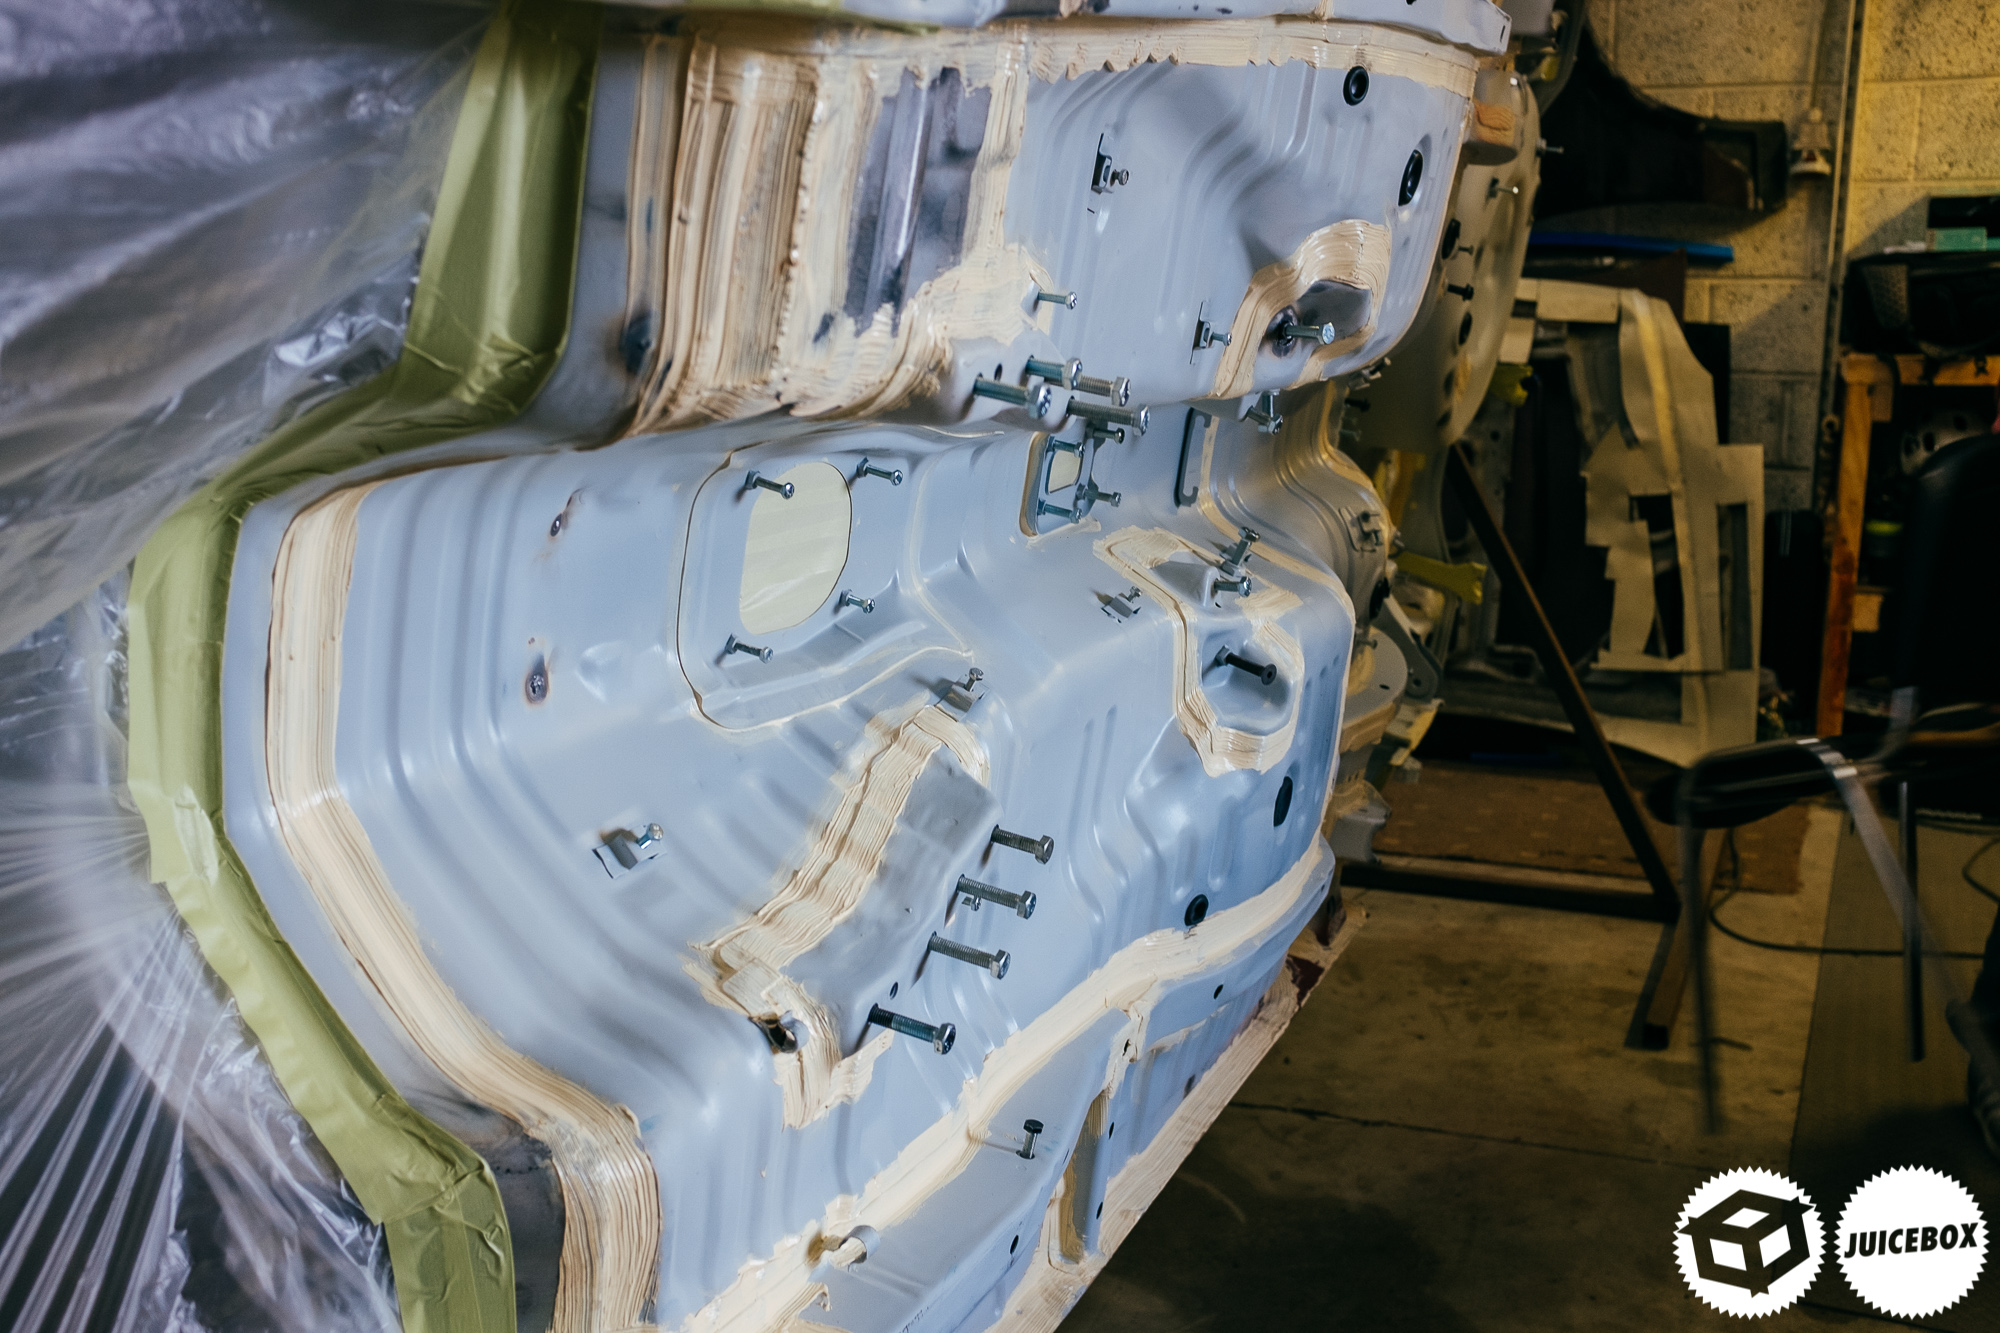
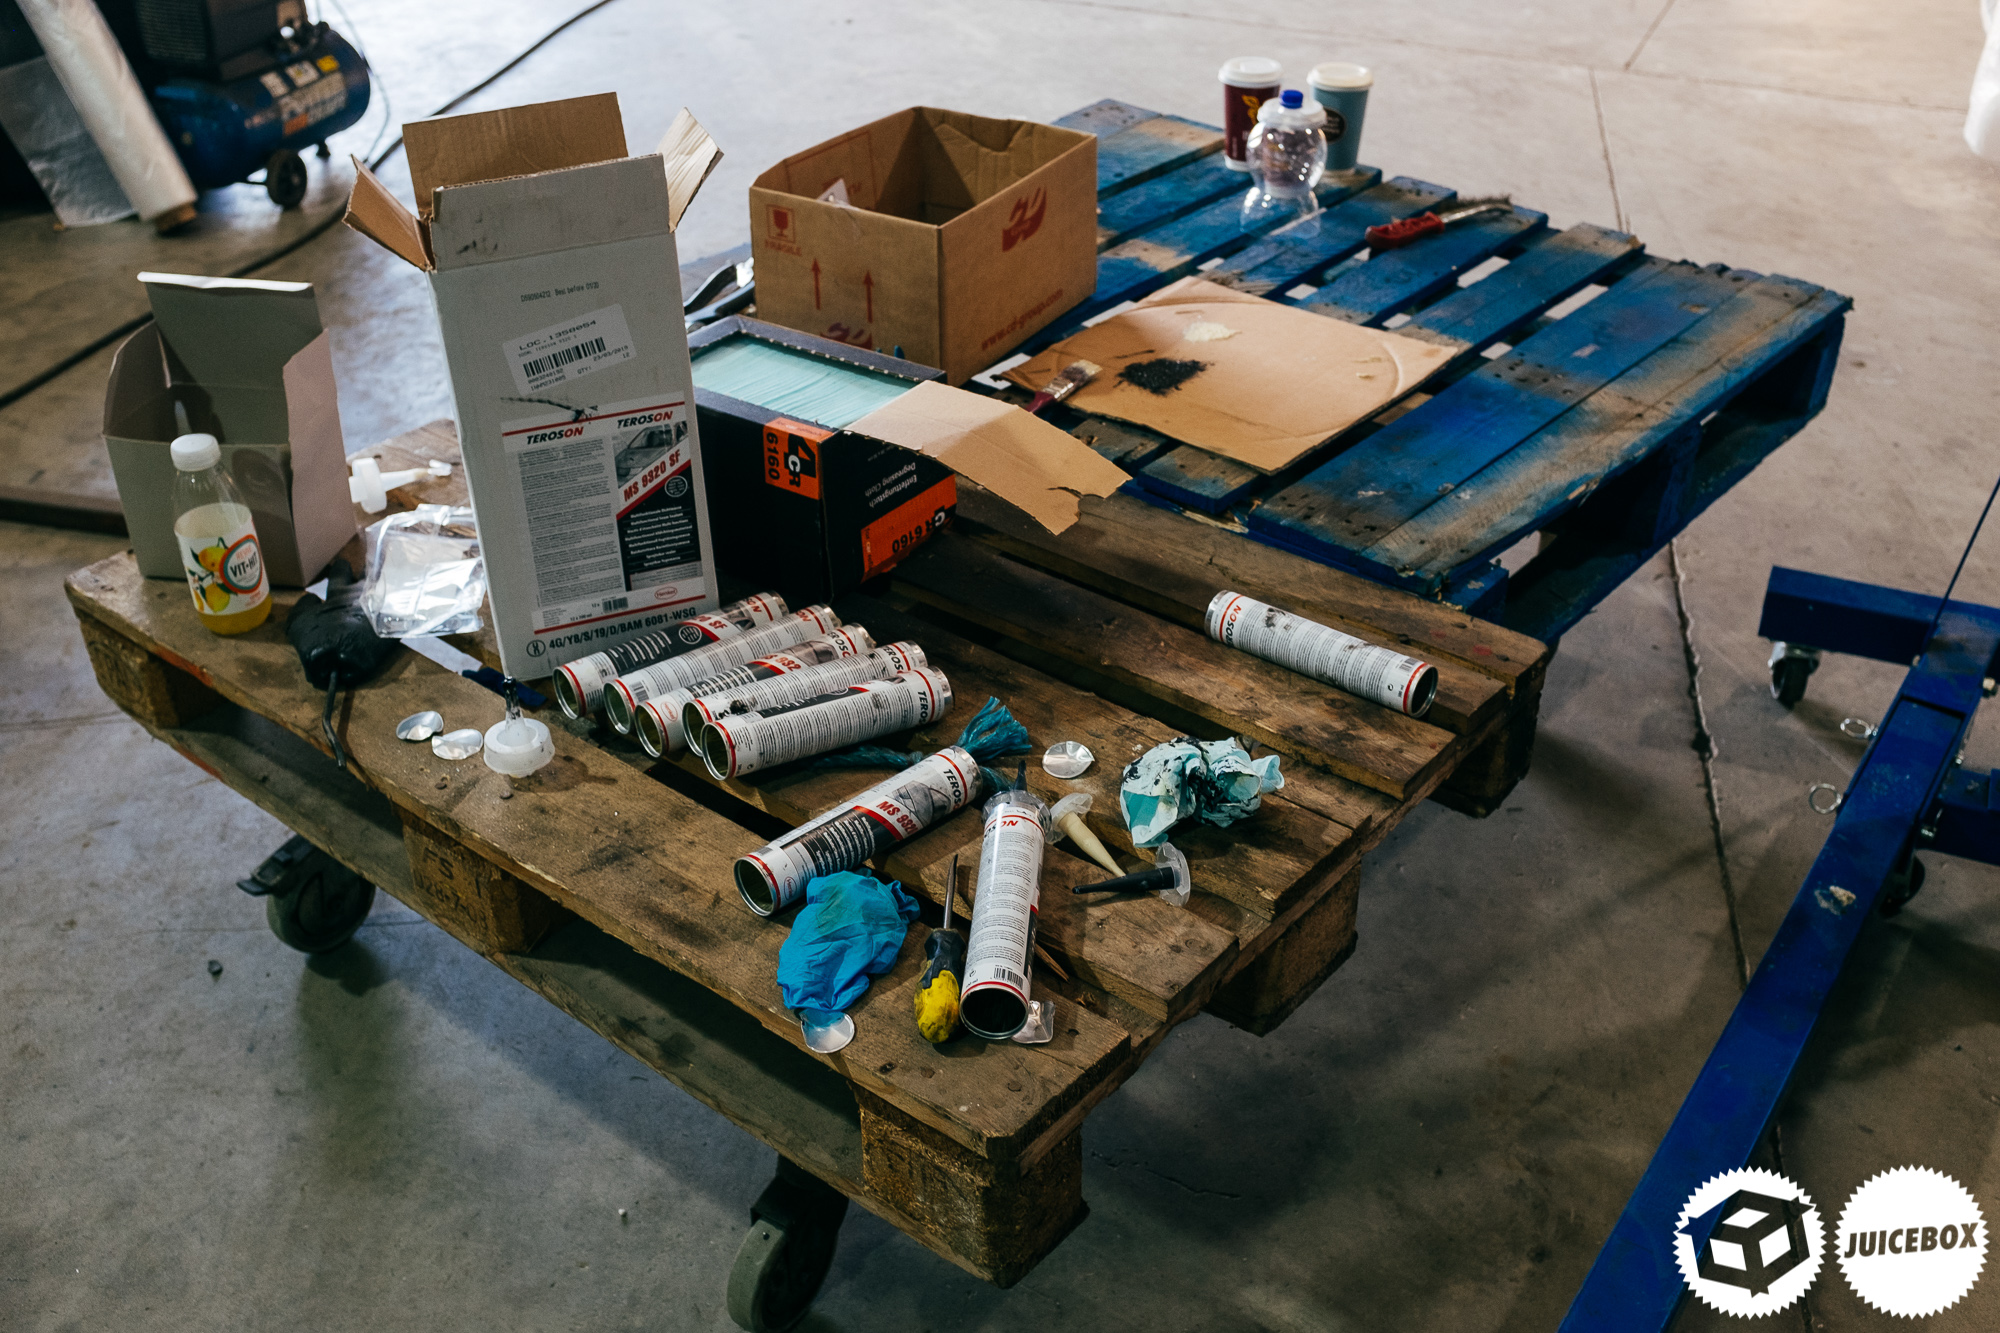
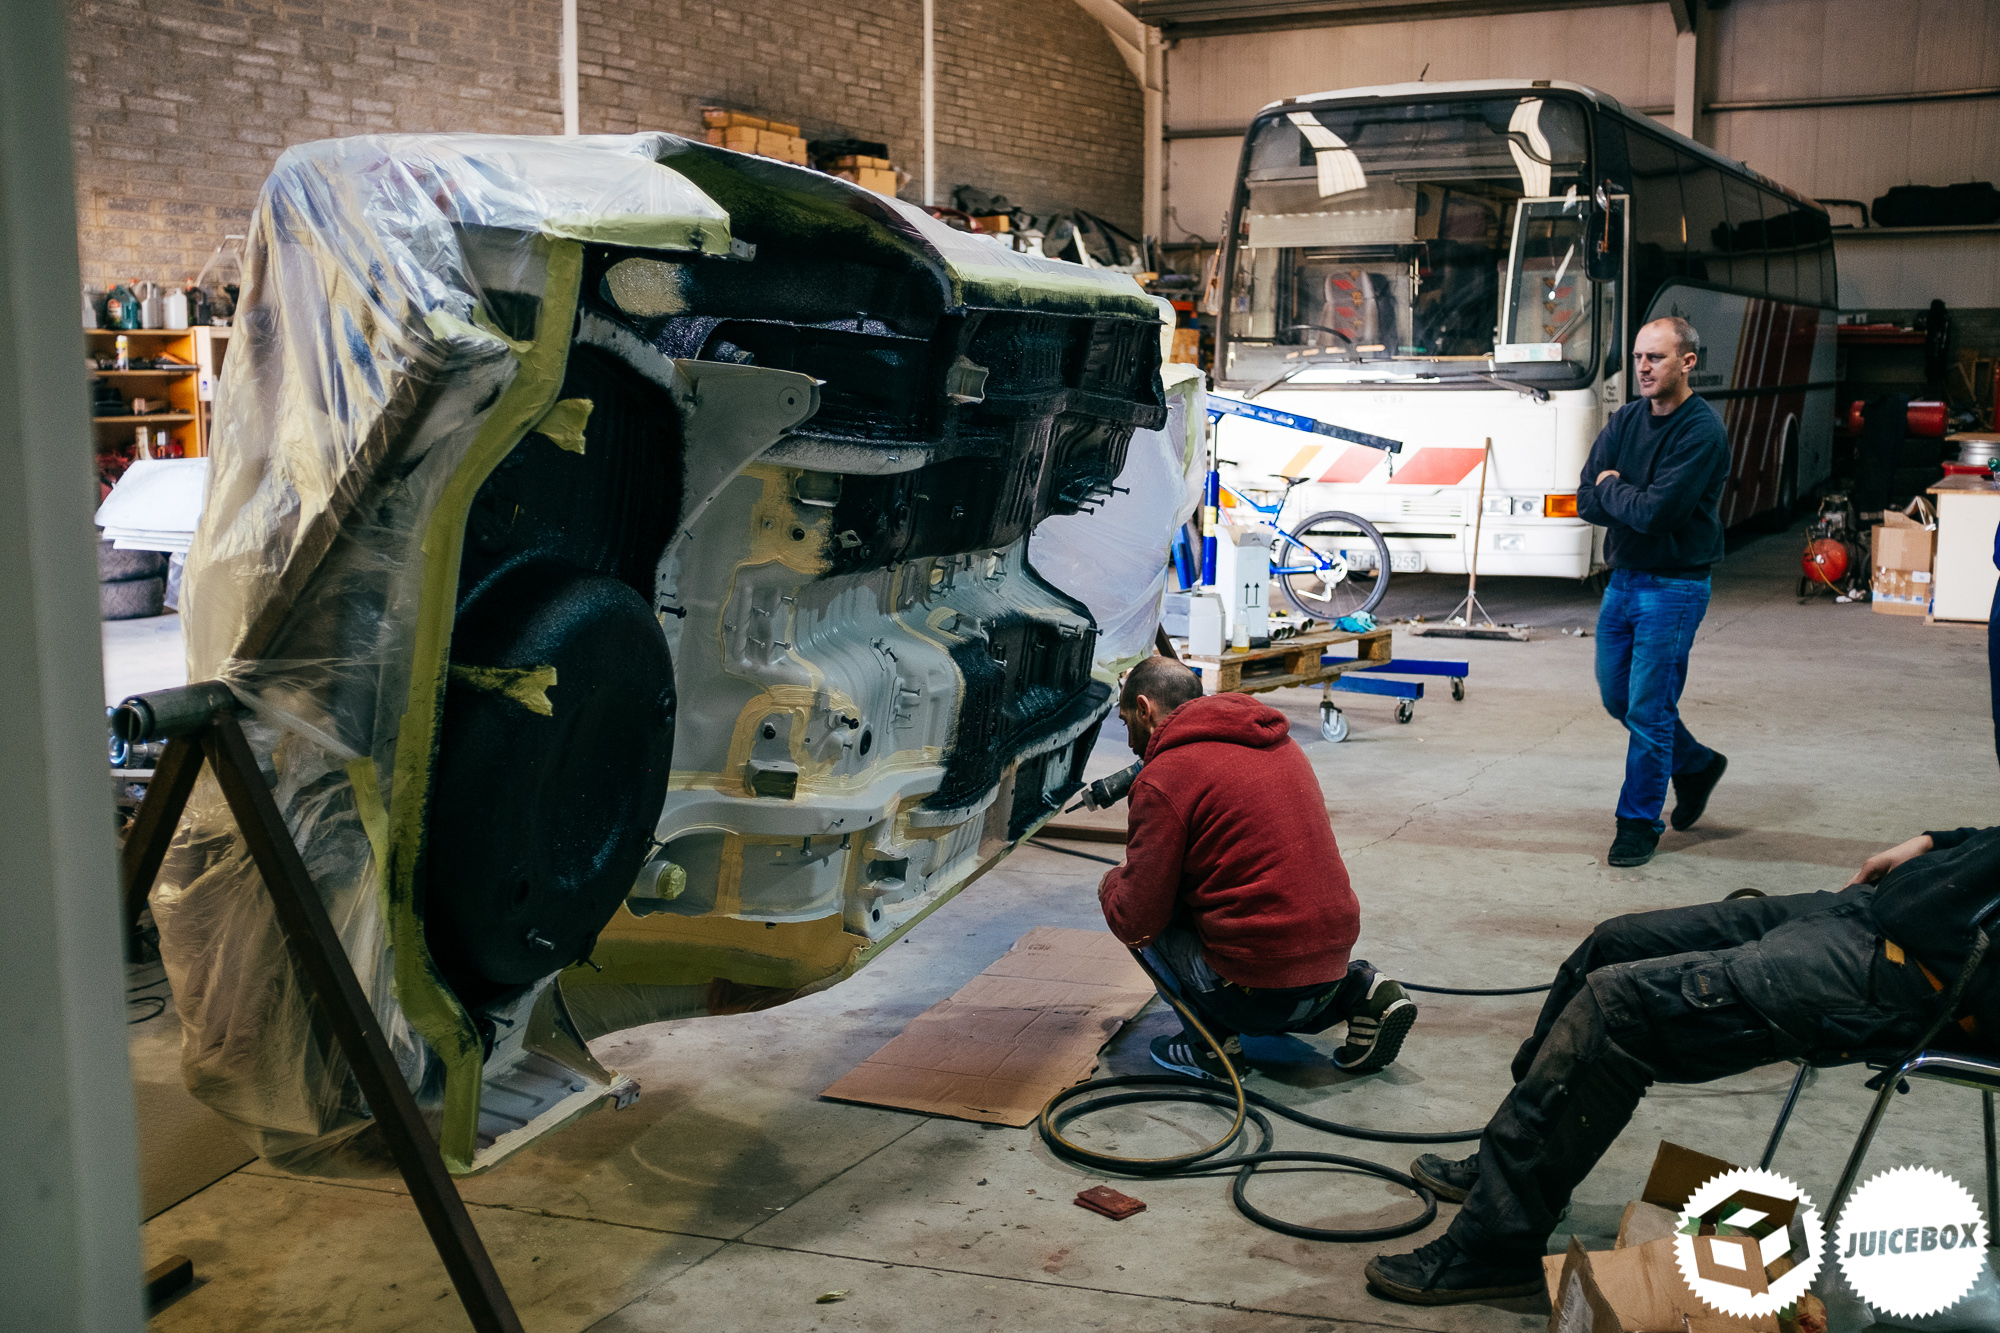
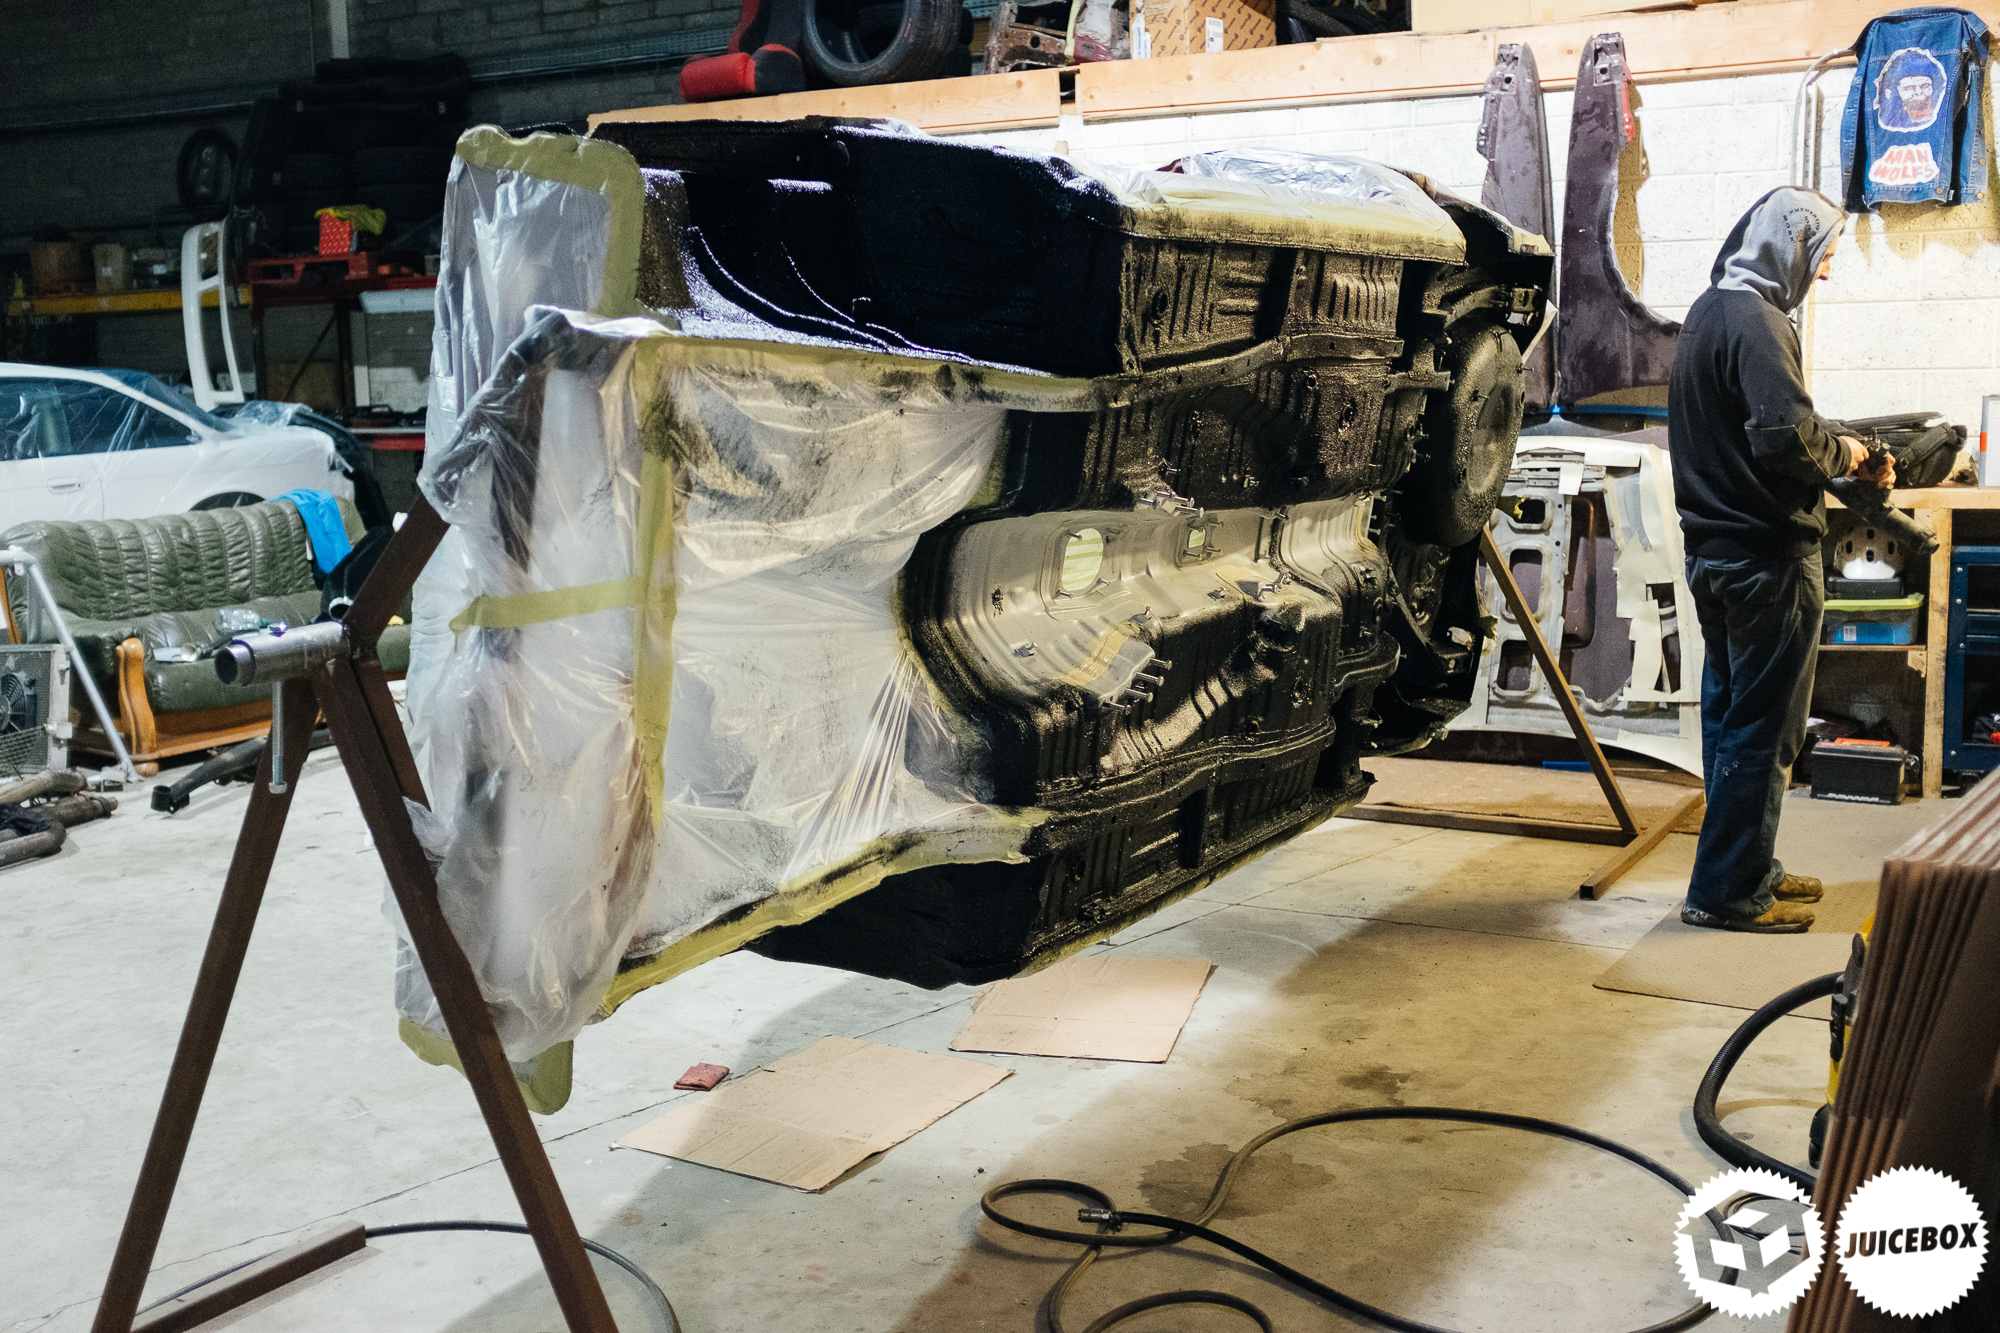
Today we are taking a look back at the weekend we undersealed the car. Barry called down Friday night to finish the last welding, followed by his cousin Jackie, who finished the remaining exposed seals in the arches and under the body. We went complete overkill and sprayed seam sealer all over the high impact parts of the underneath.
The spit made things a lot easier.

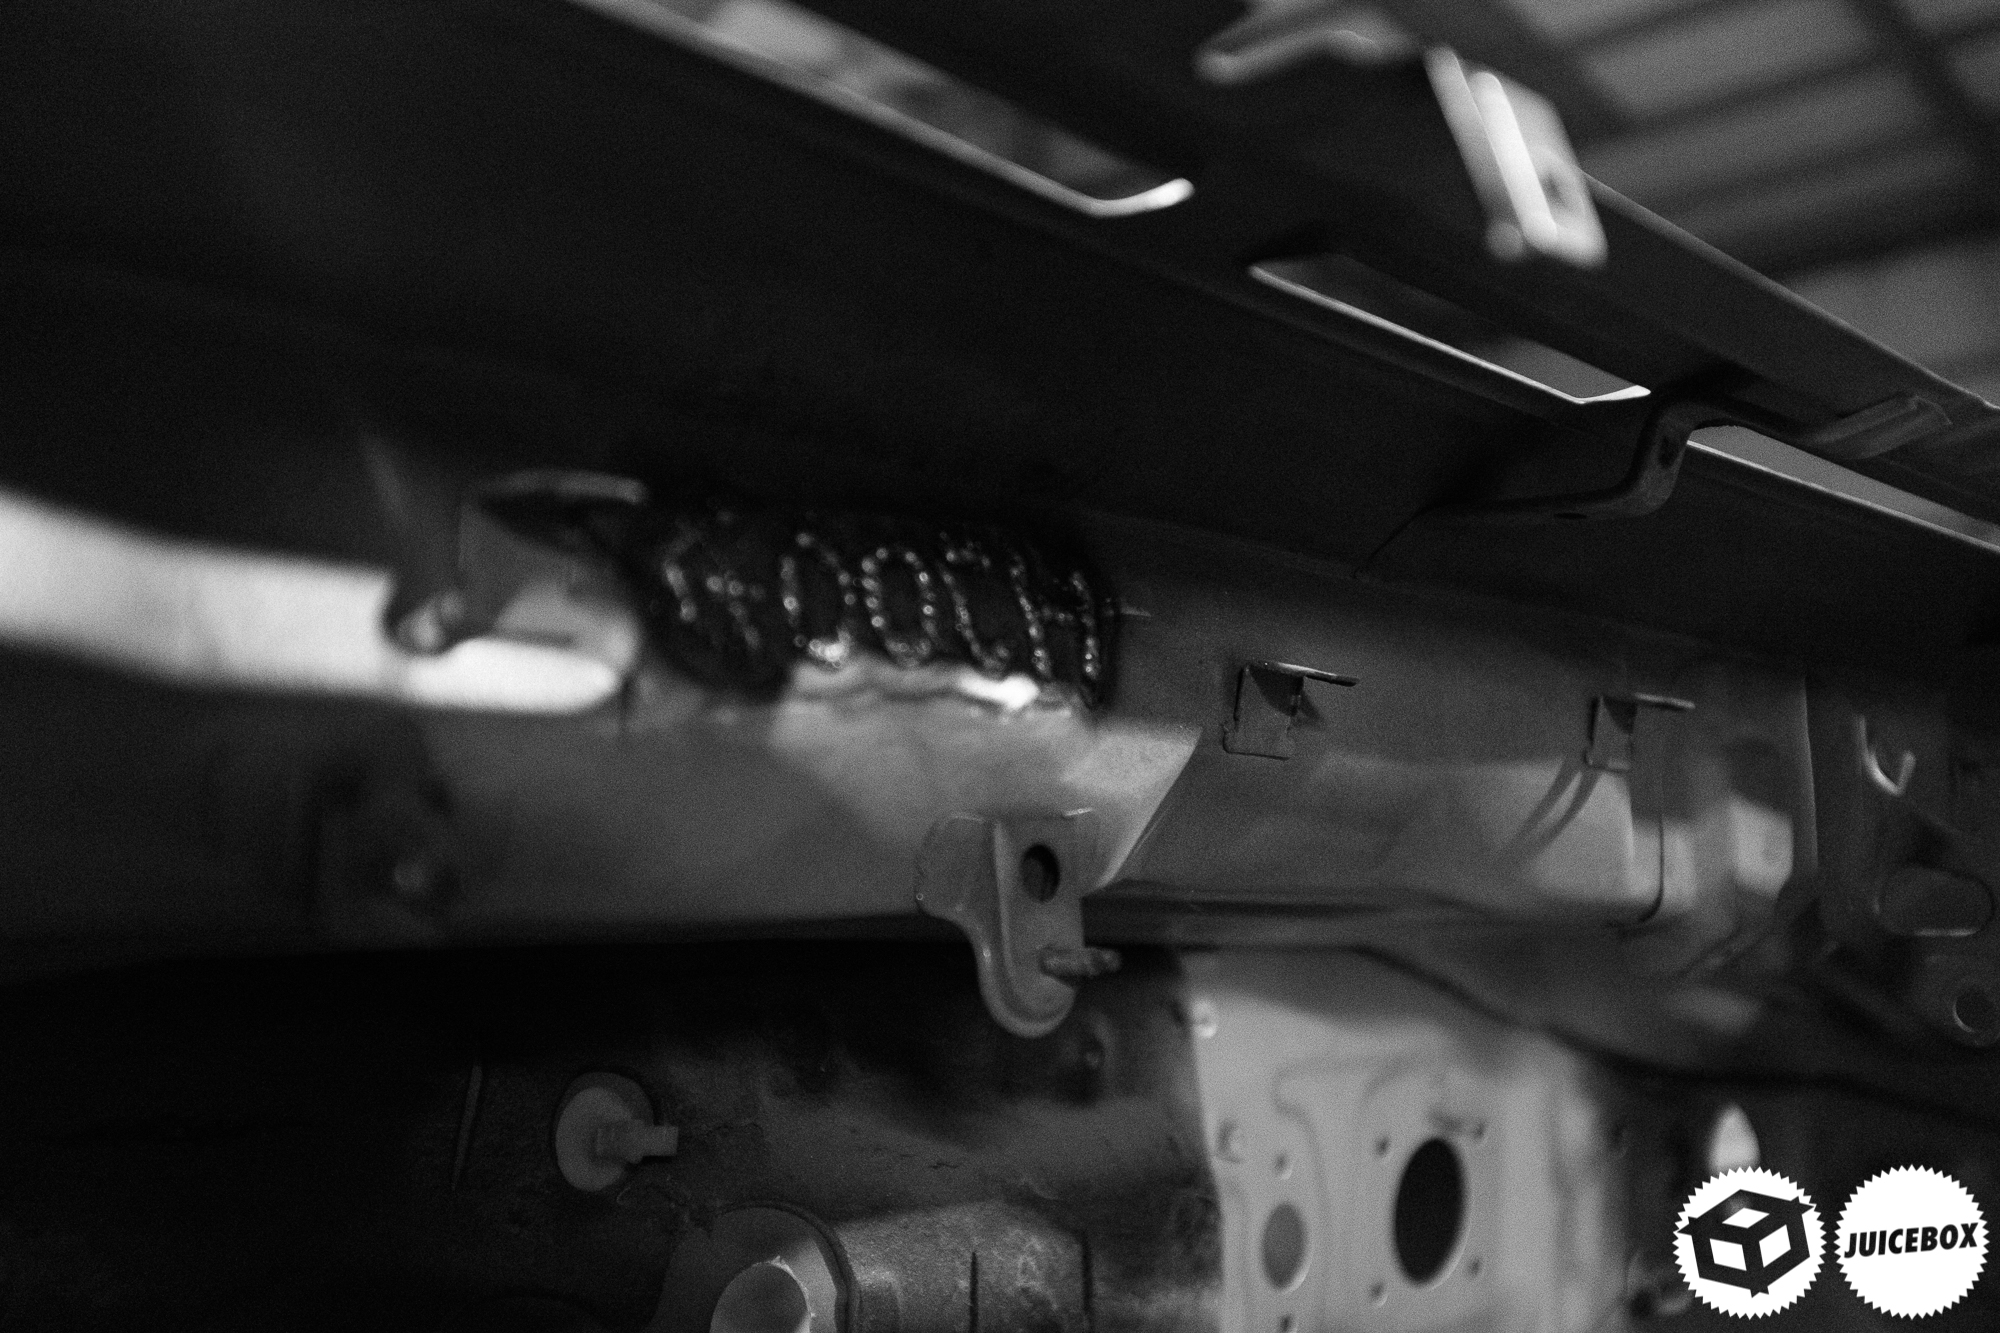
Barry signing his name on the bulkhead!
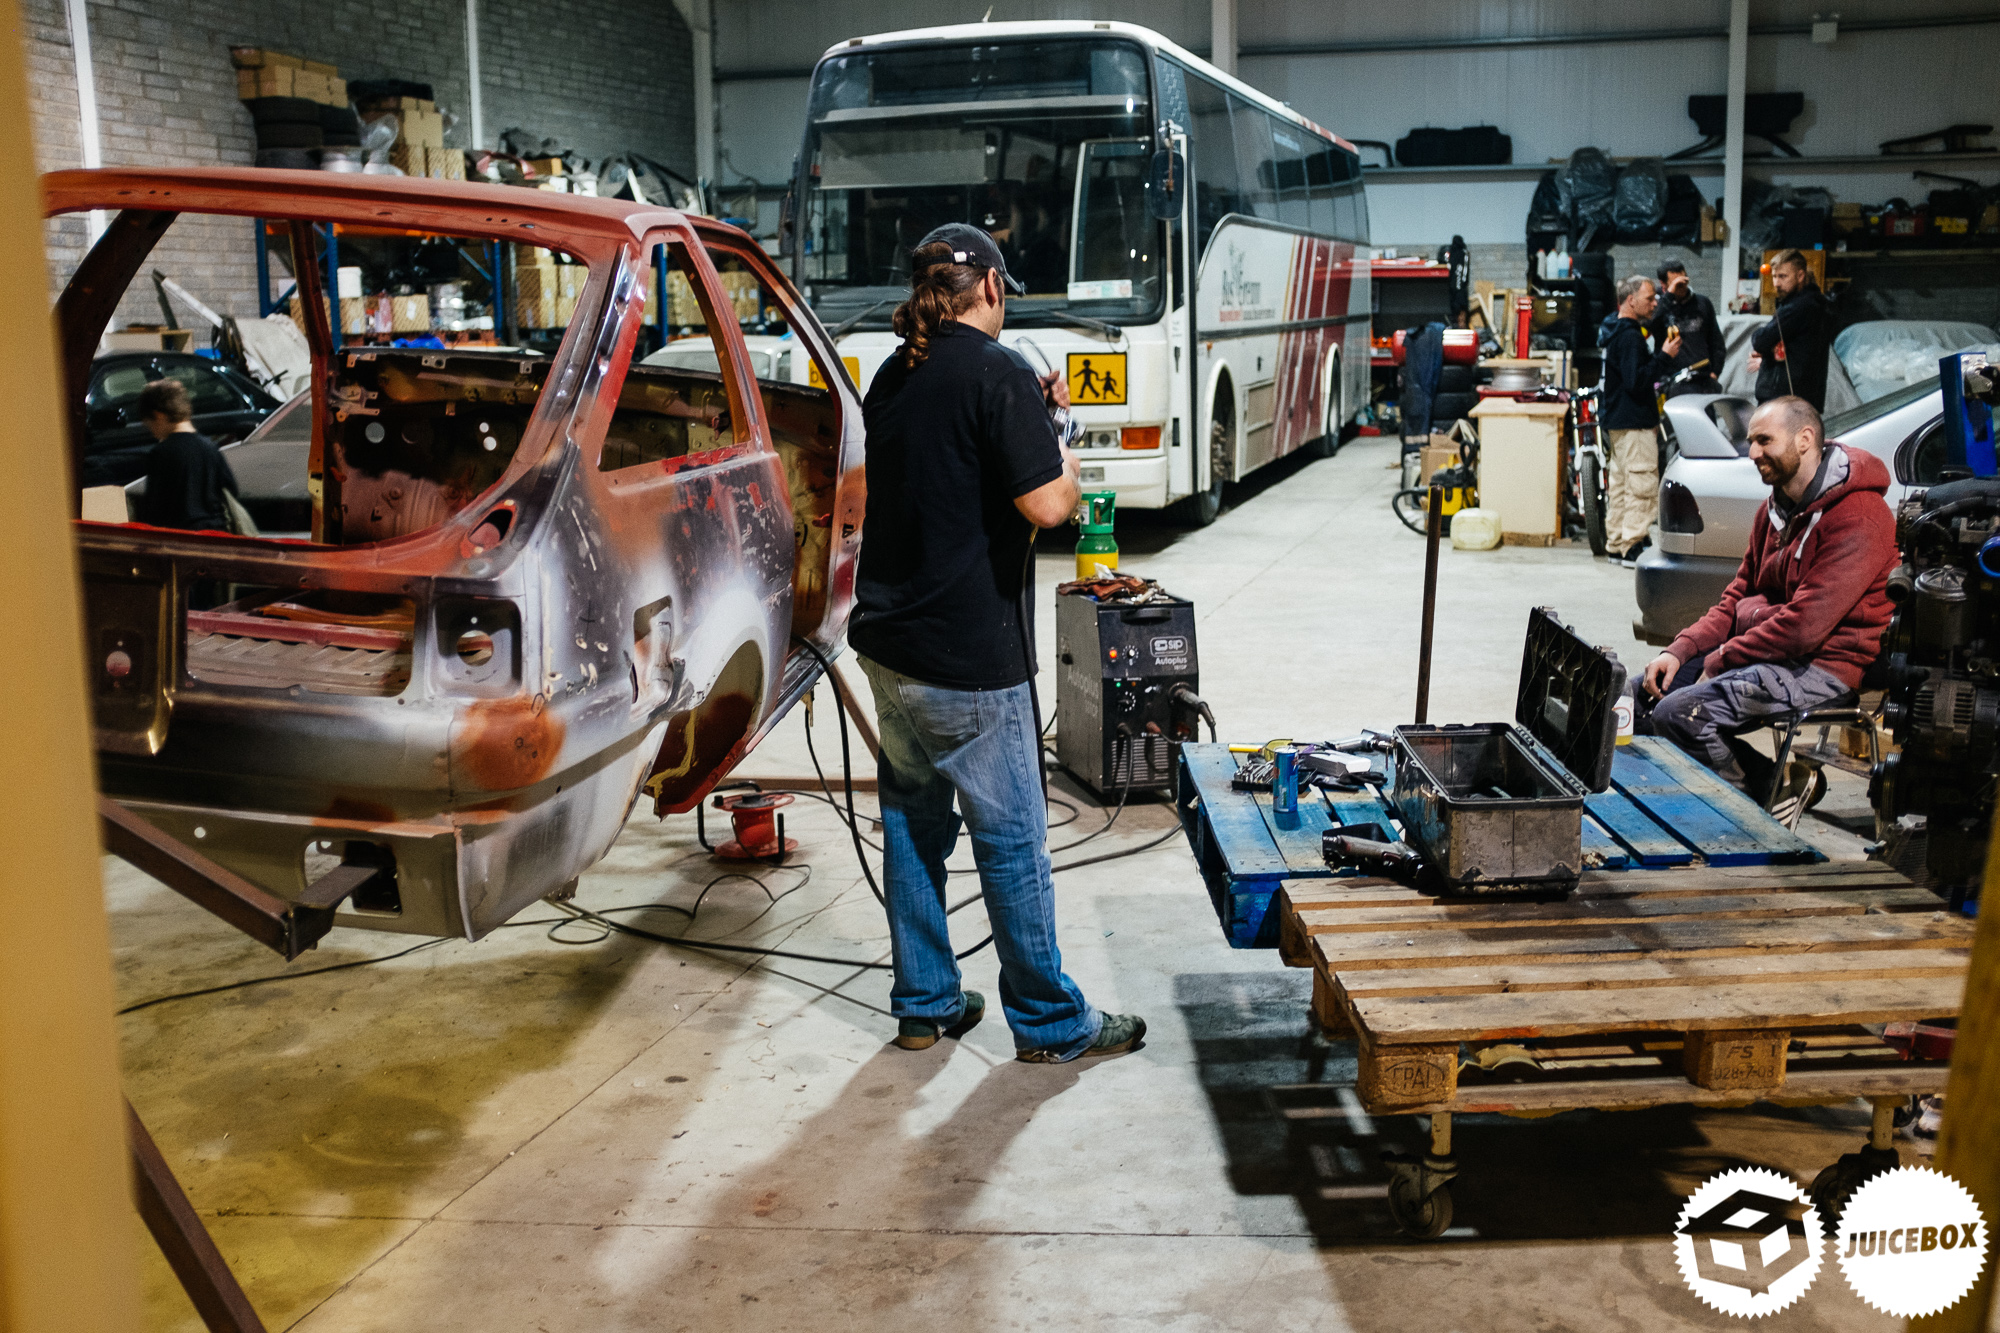
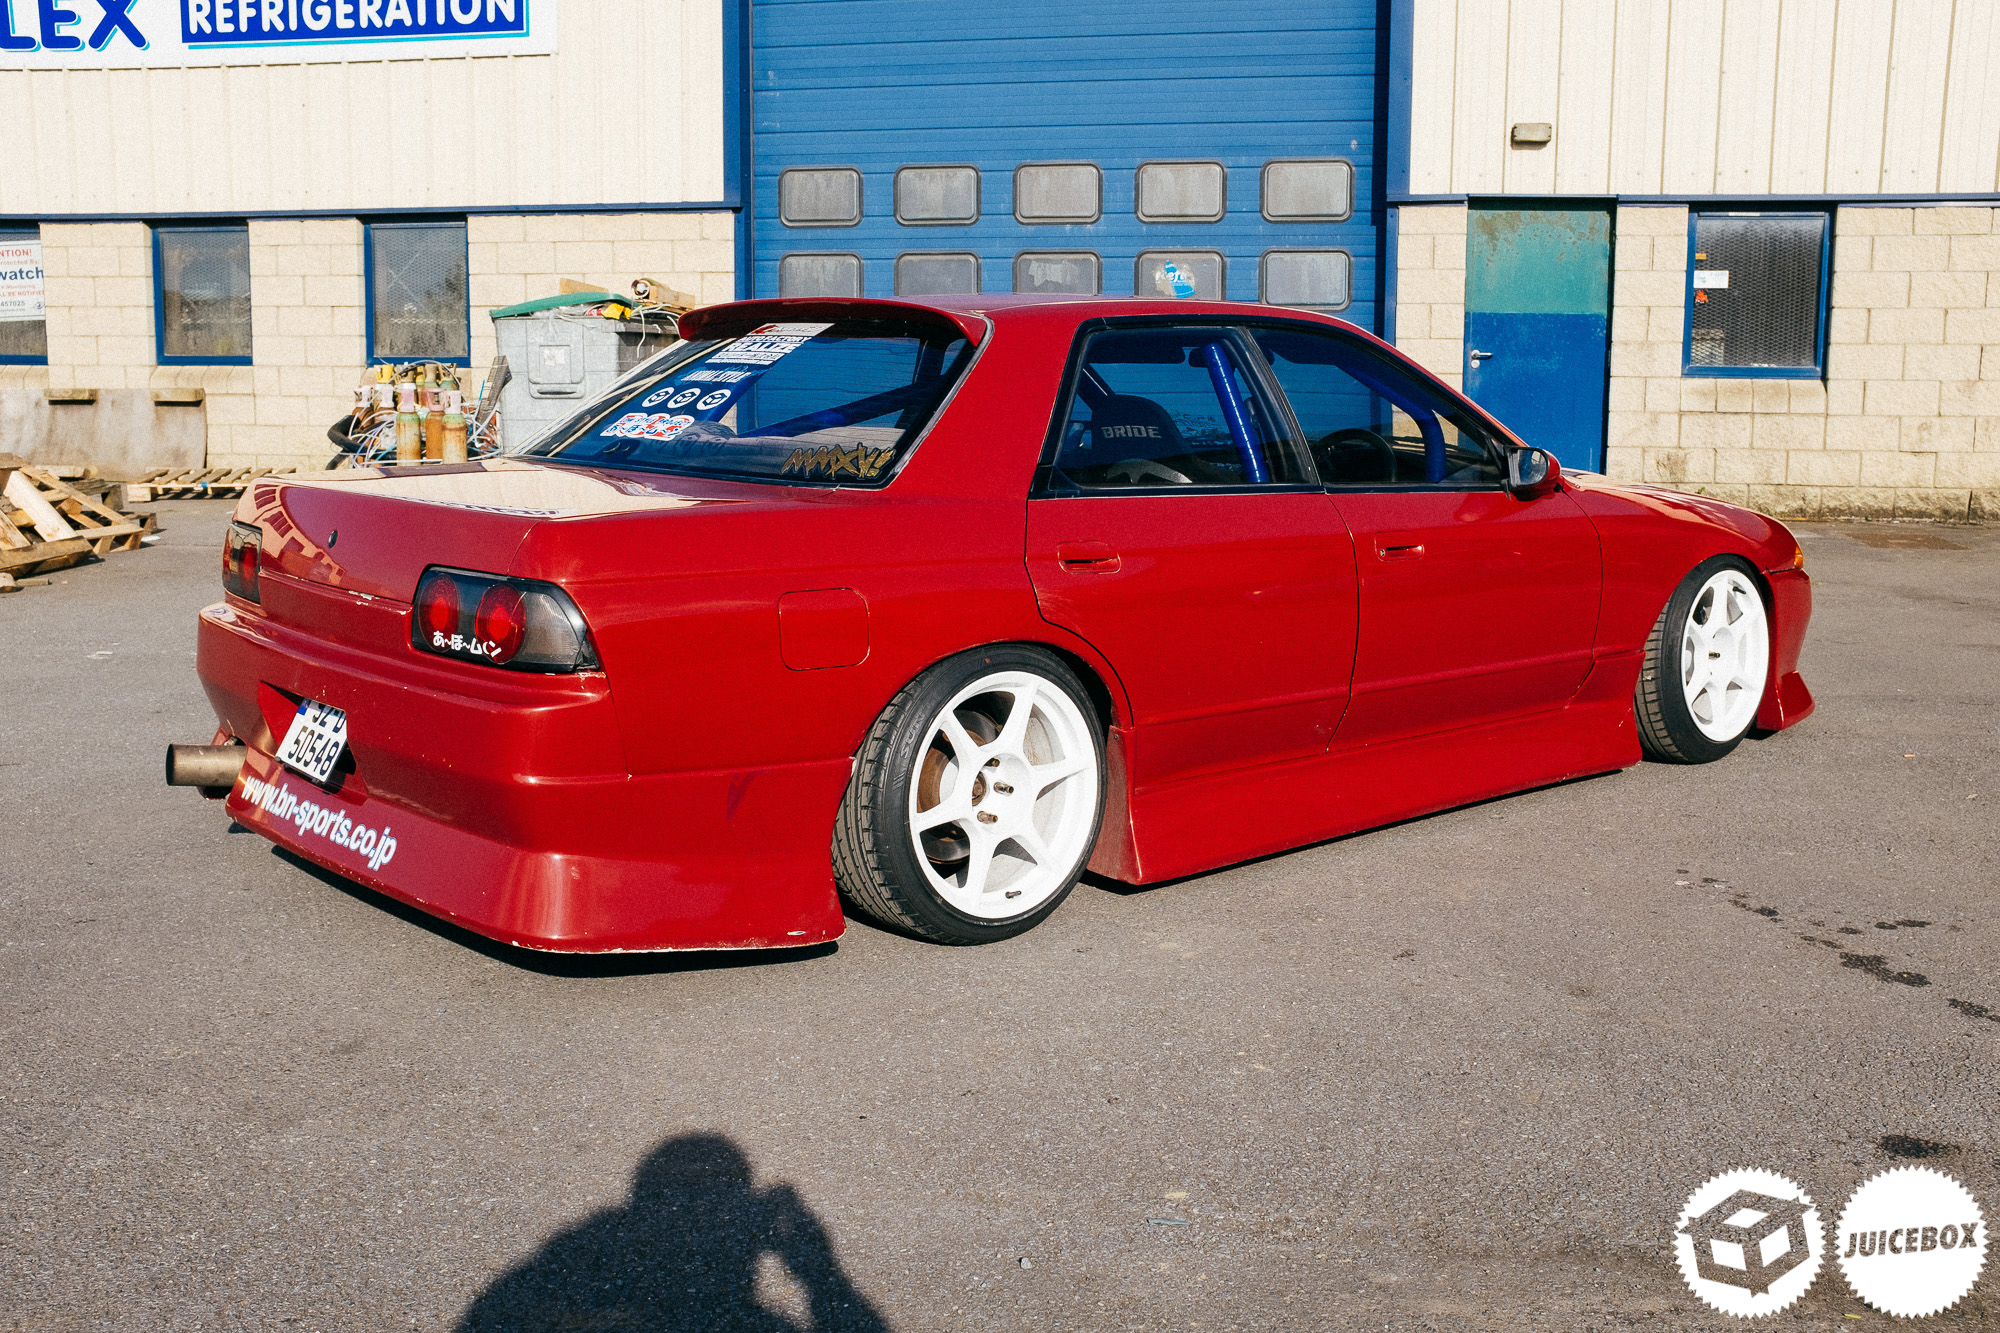
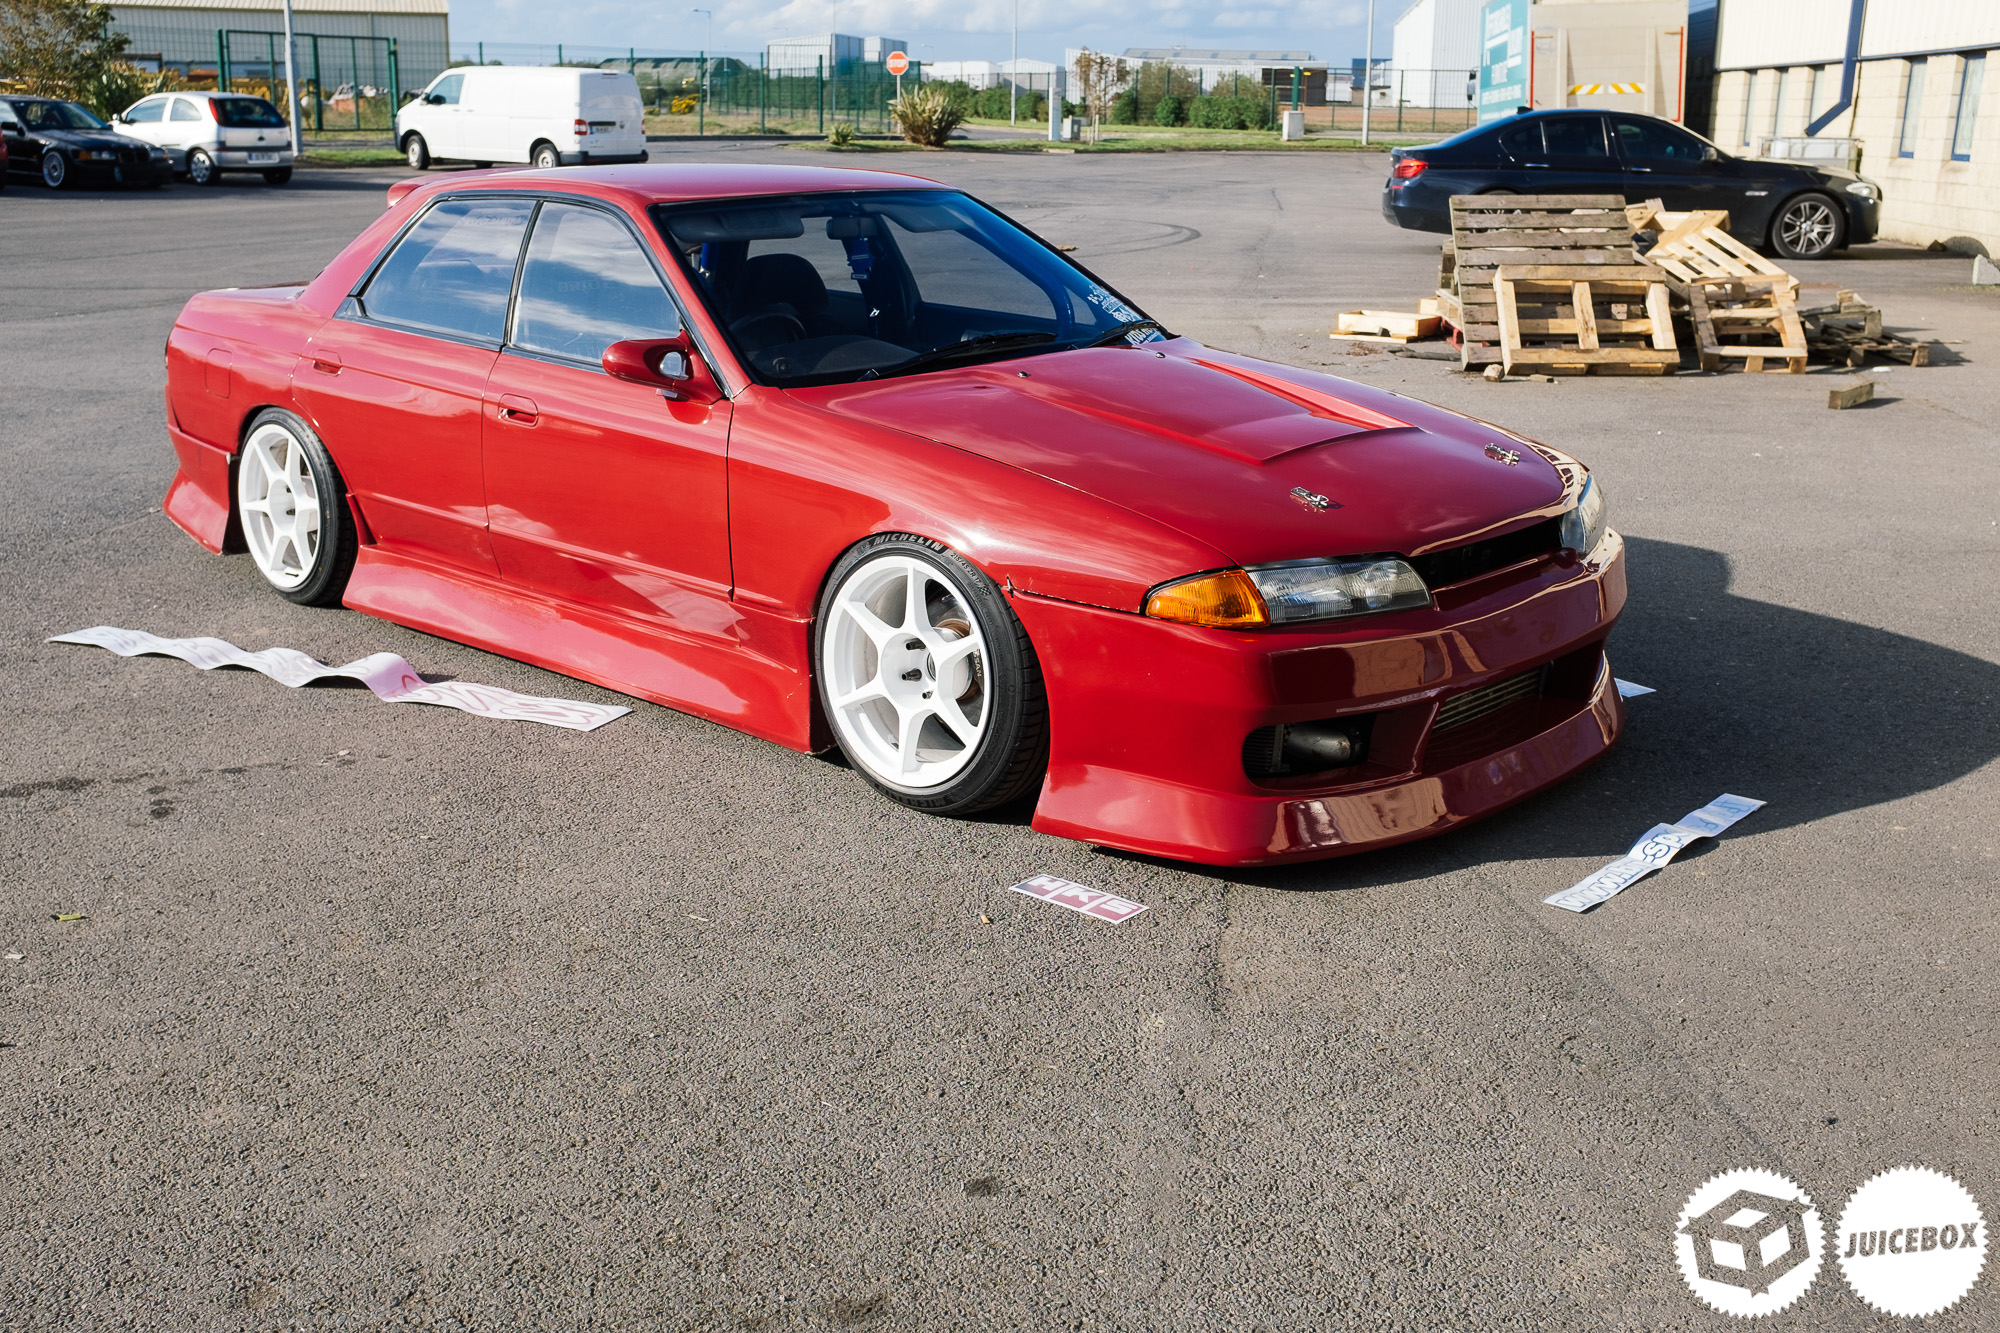
Early the next day, we fitted some BN sports stickers to Eamons R32 four-door.
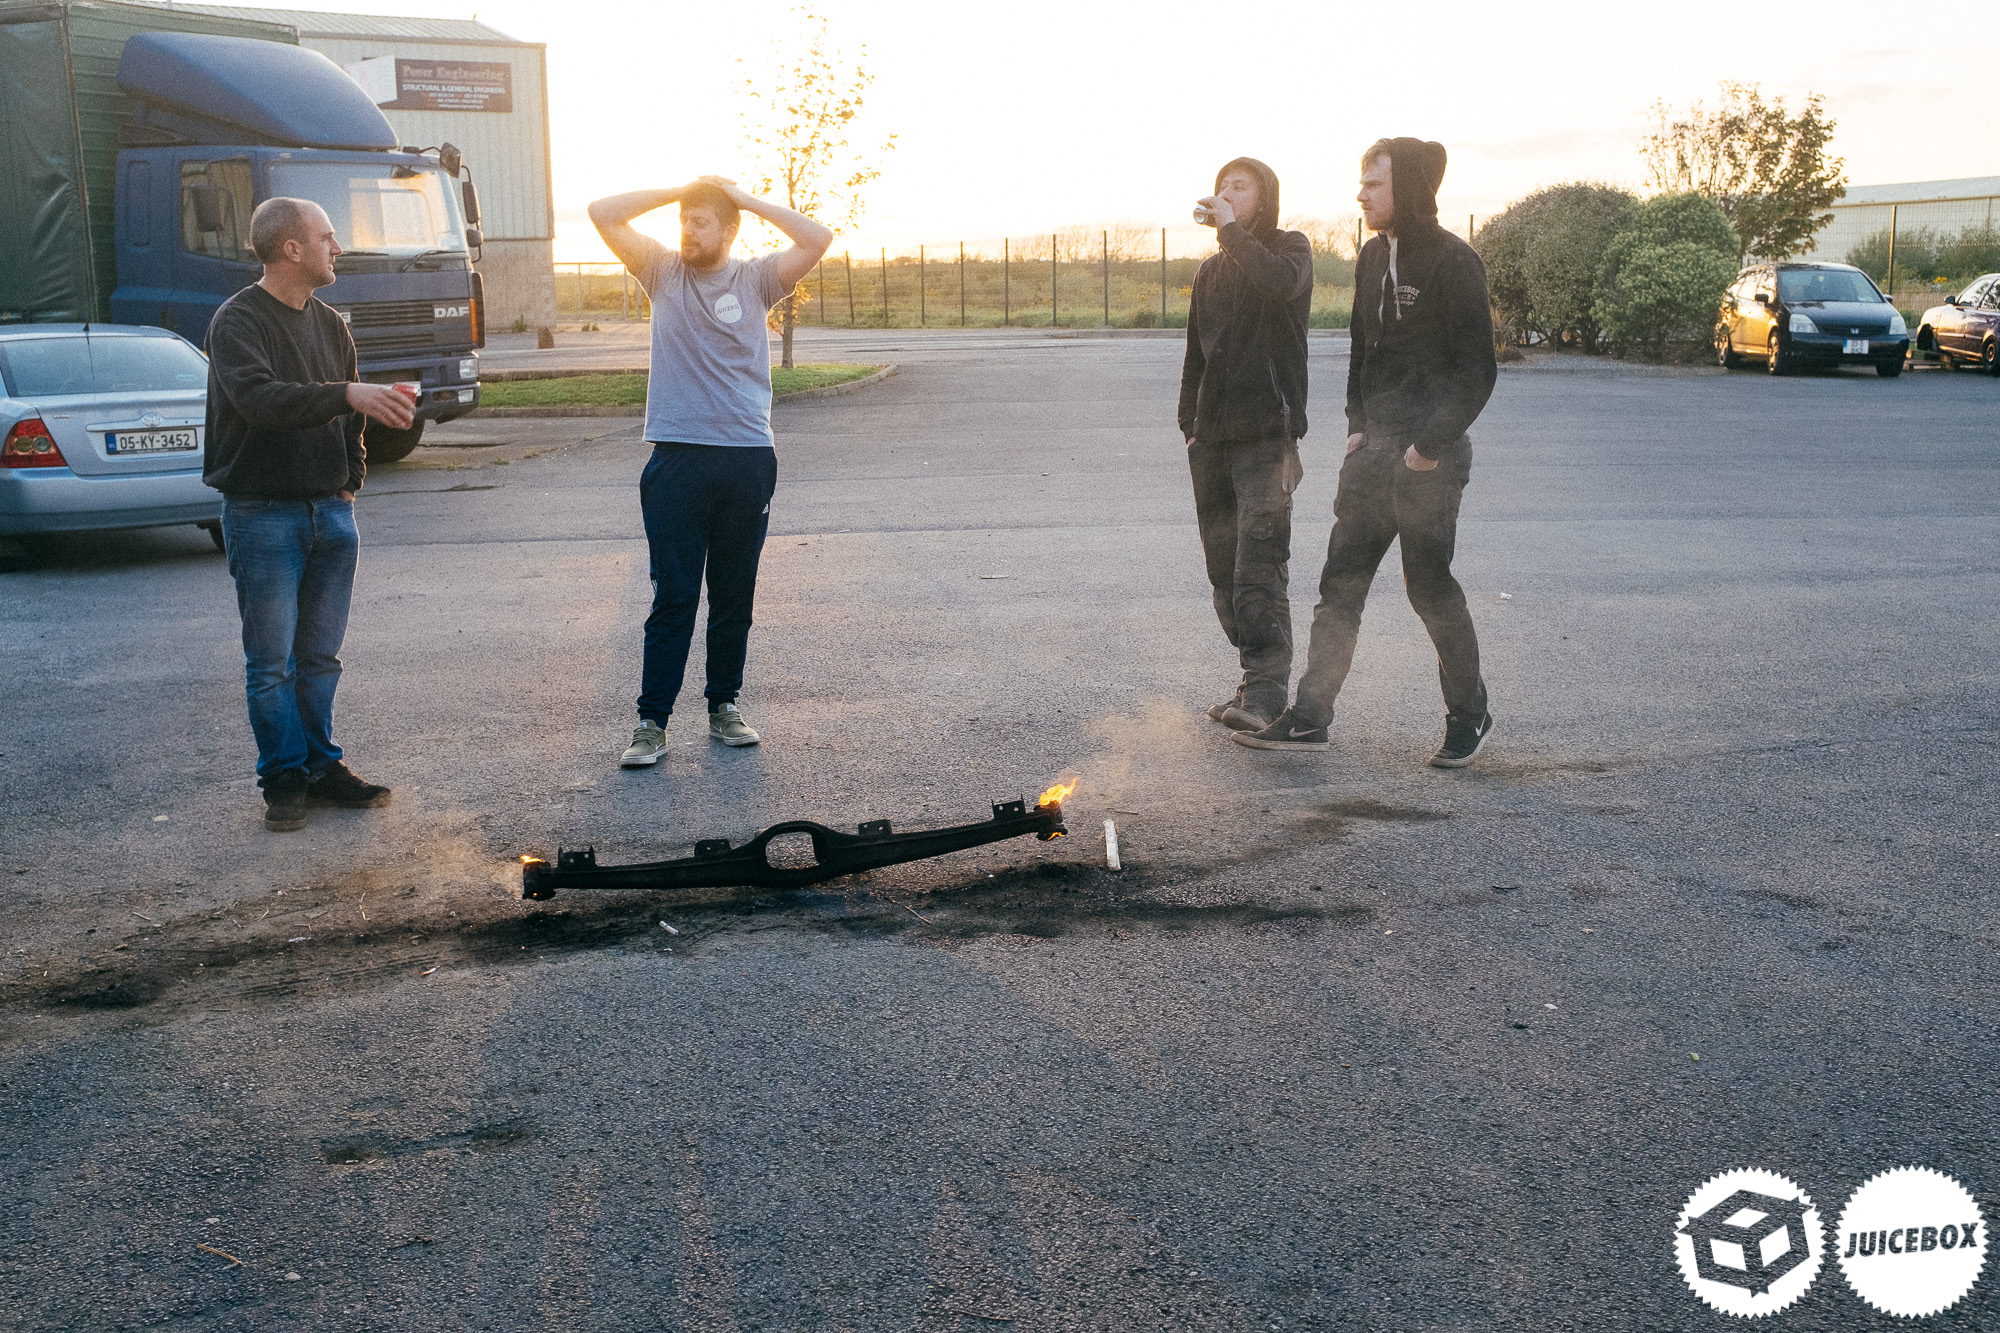
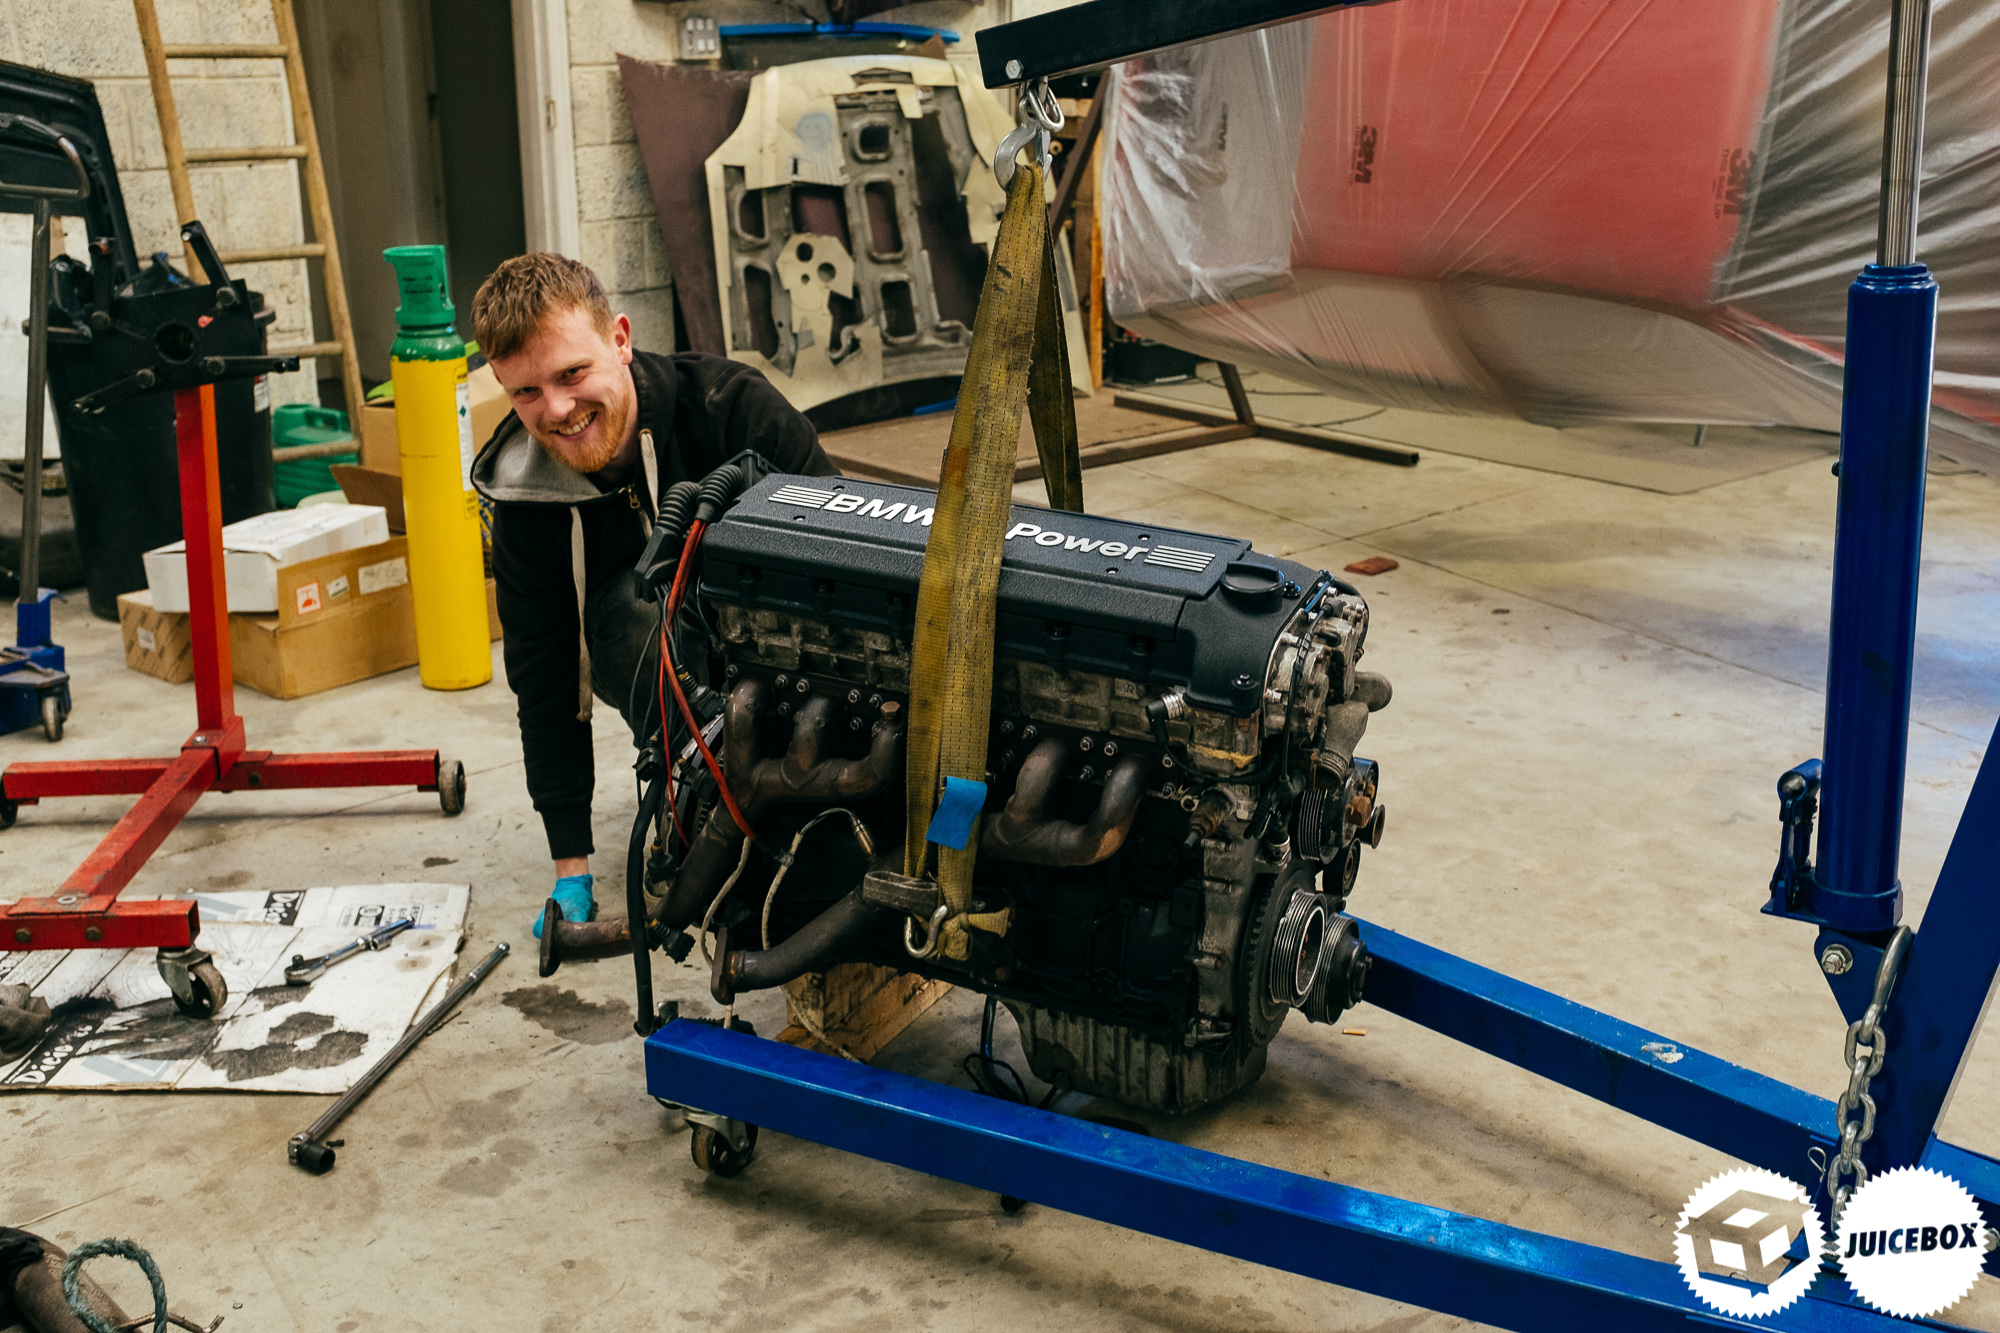
We also set fire to a BMW subframe.

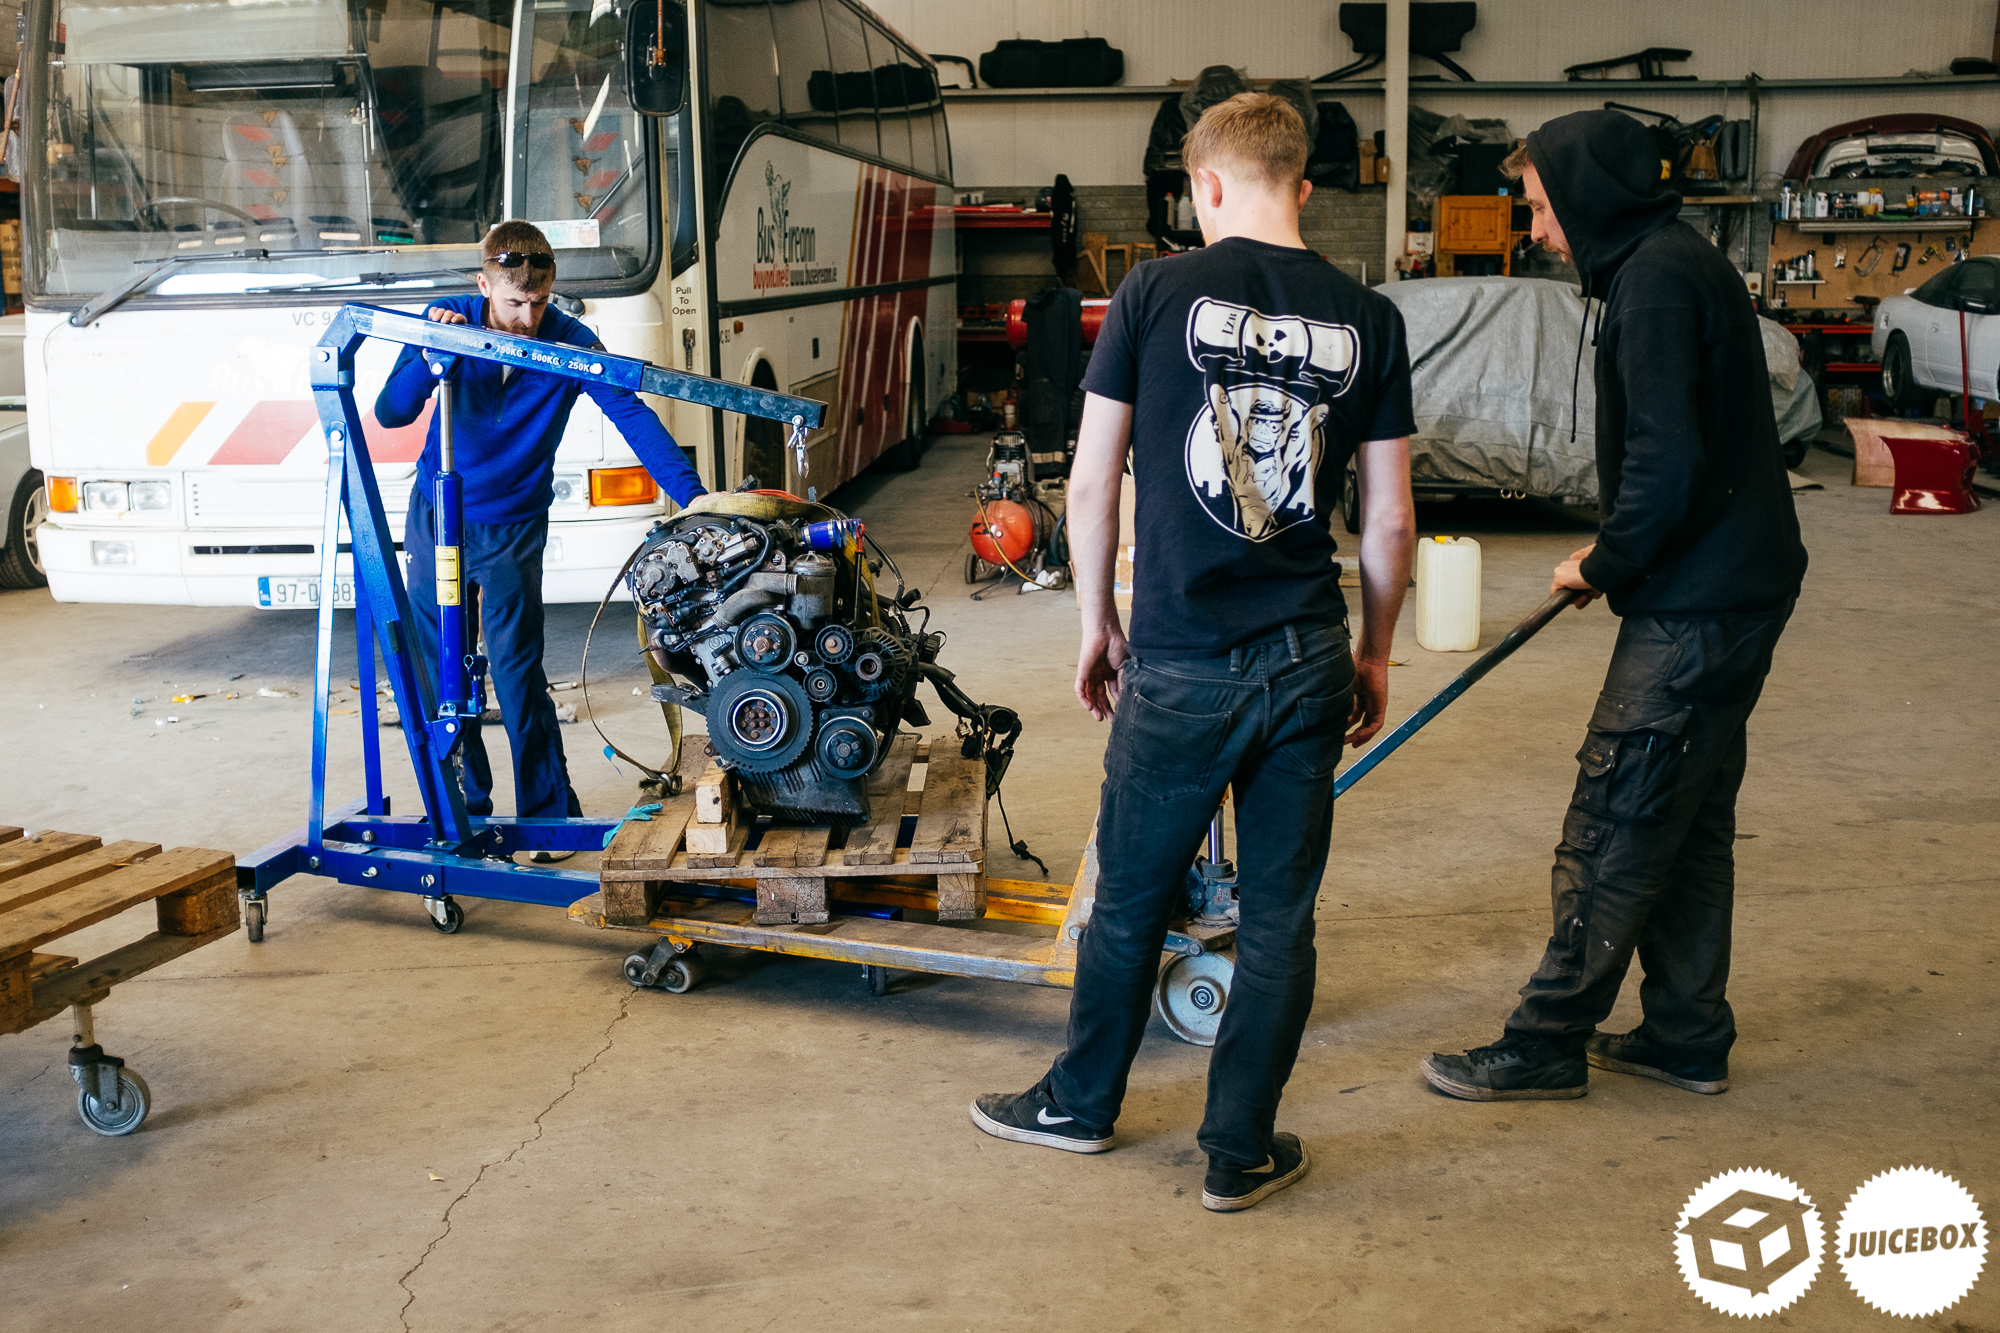
Speaking of BMW’s Josh had recently purchased his M3 engine to plonk into the E30.
The shell lasted this long from Japan without any work, so this should help keep the rust away for another few years. The plan is to fill the inside with cavity wax when the car is complete to try and stop any chances of structural rot. The Trueno will inevitably see some rust in the next few years once finished, but this gives it a good fighting chance.
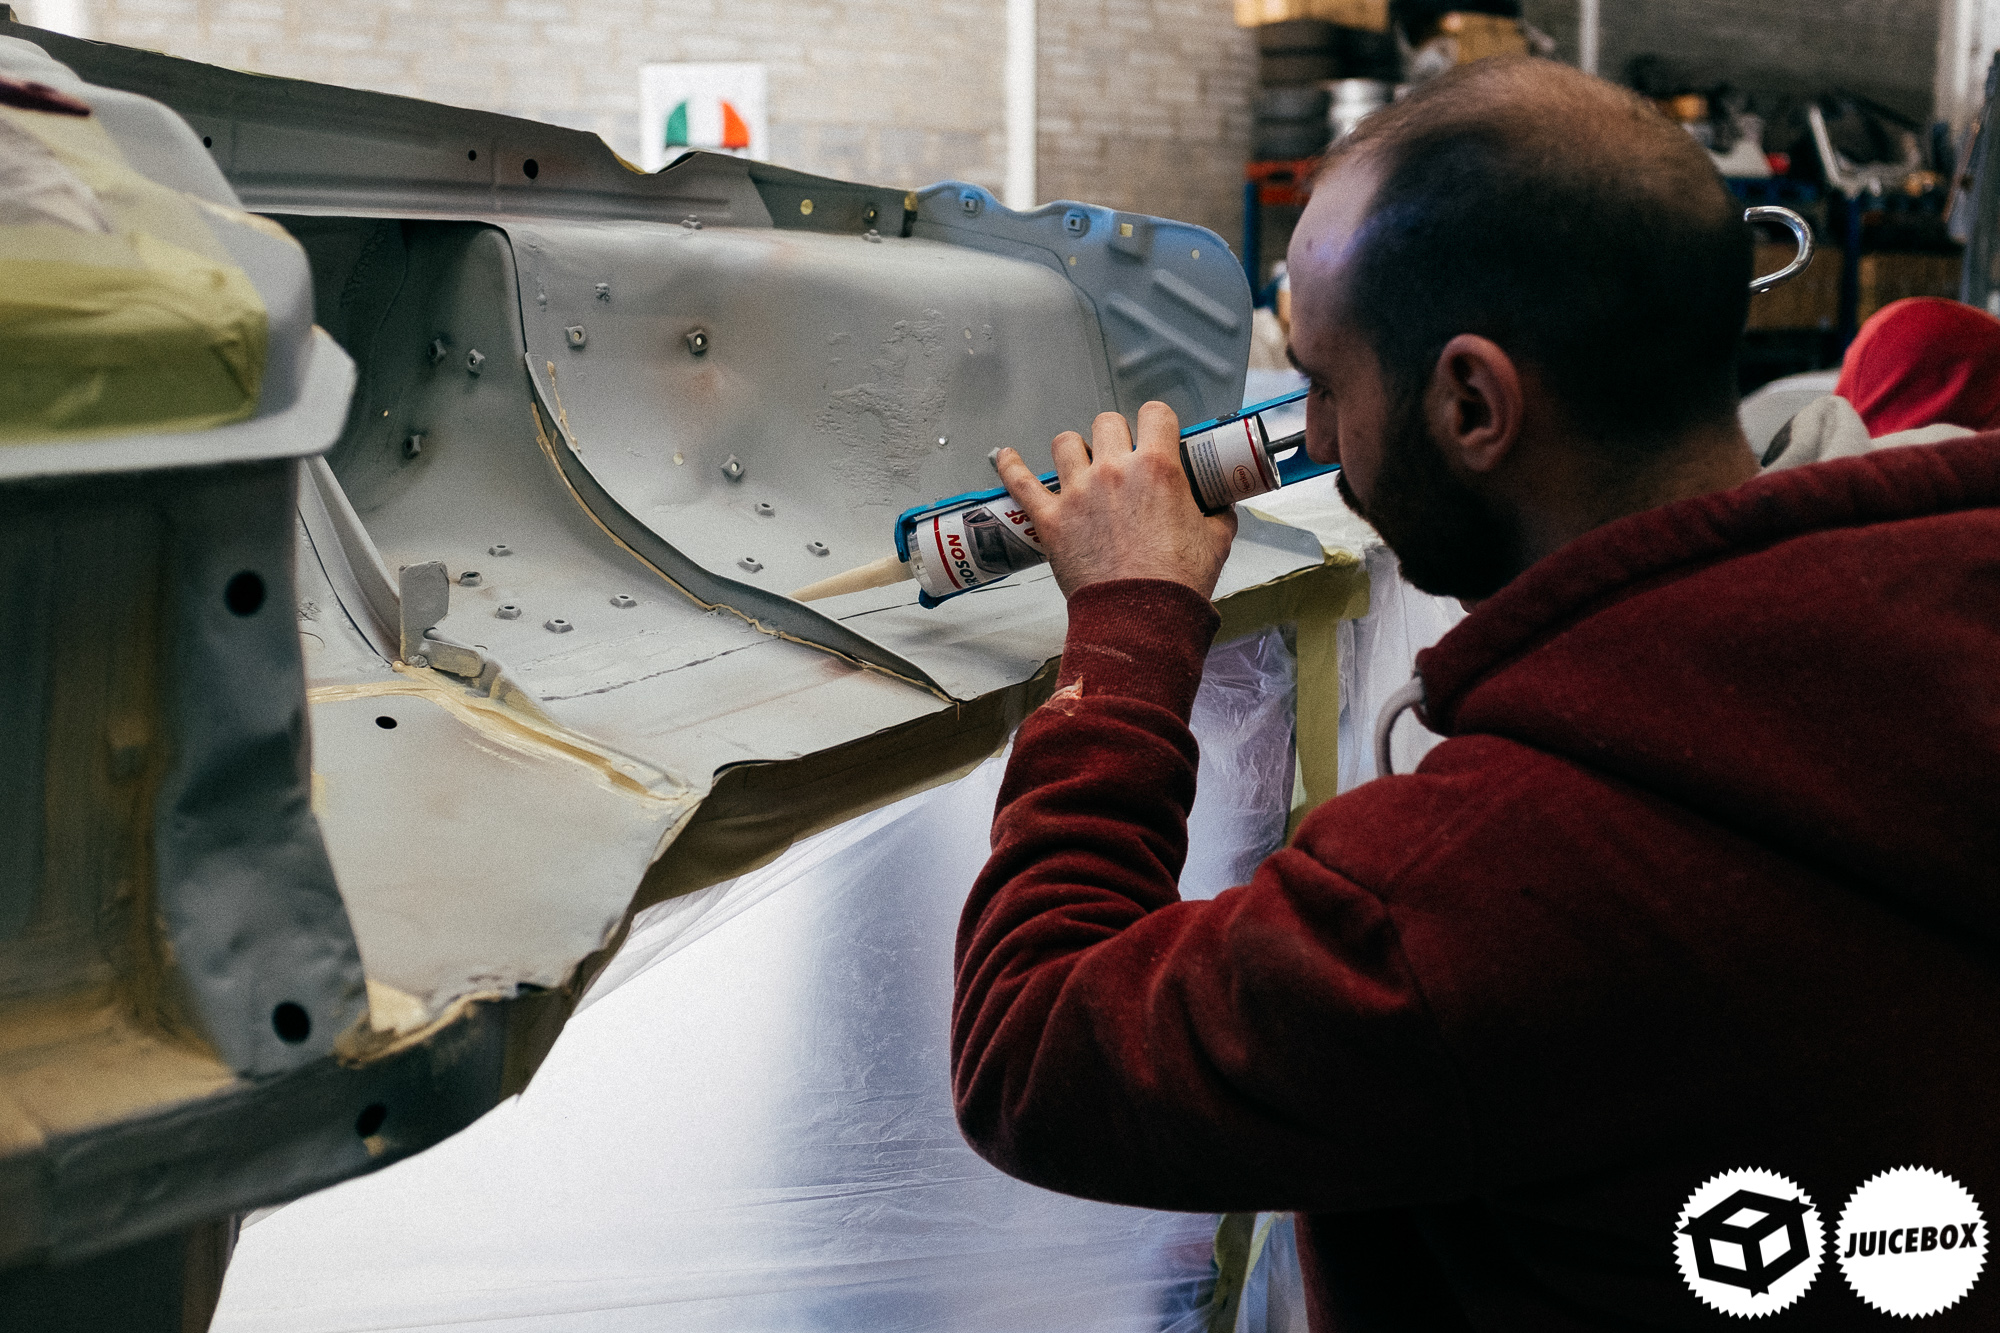
Jackie had the patience of a saint, following every exposed part of the underbody and packing it with the finest Terson seam sealer.
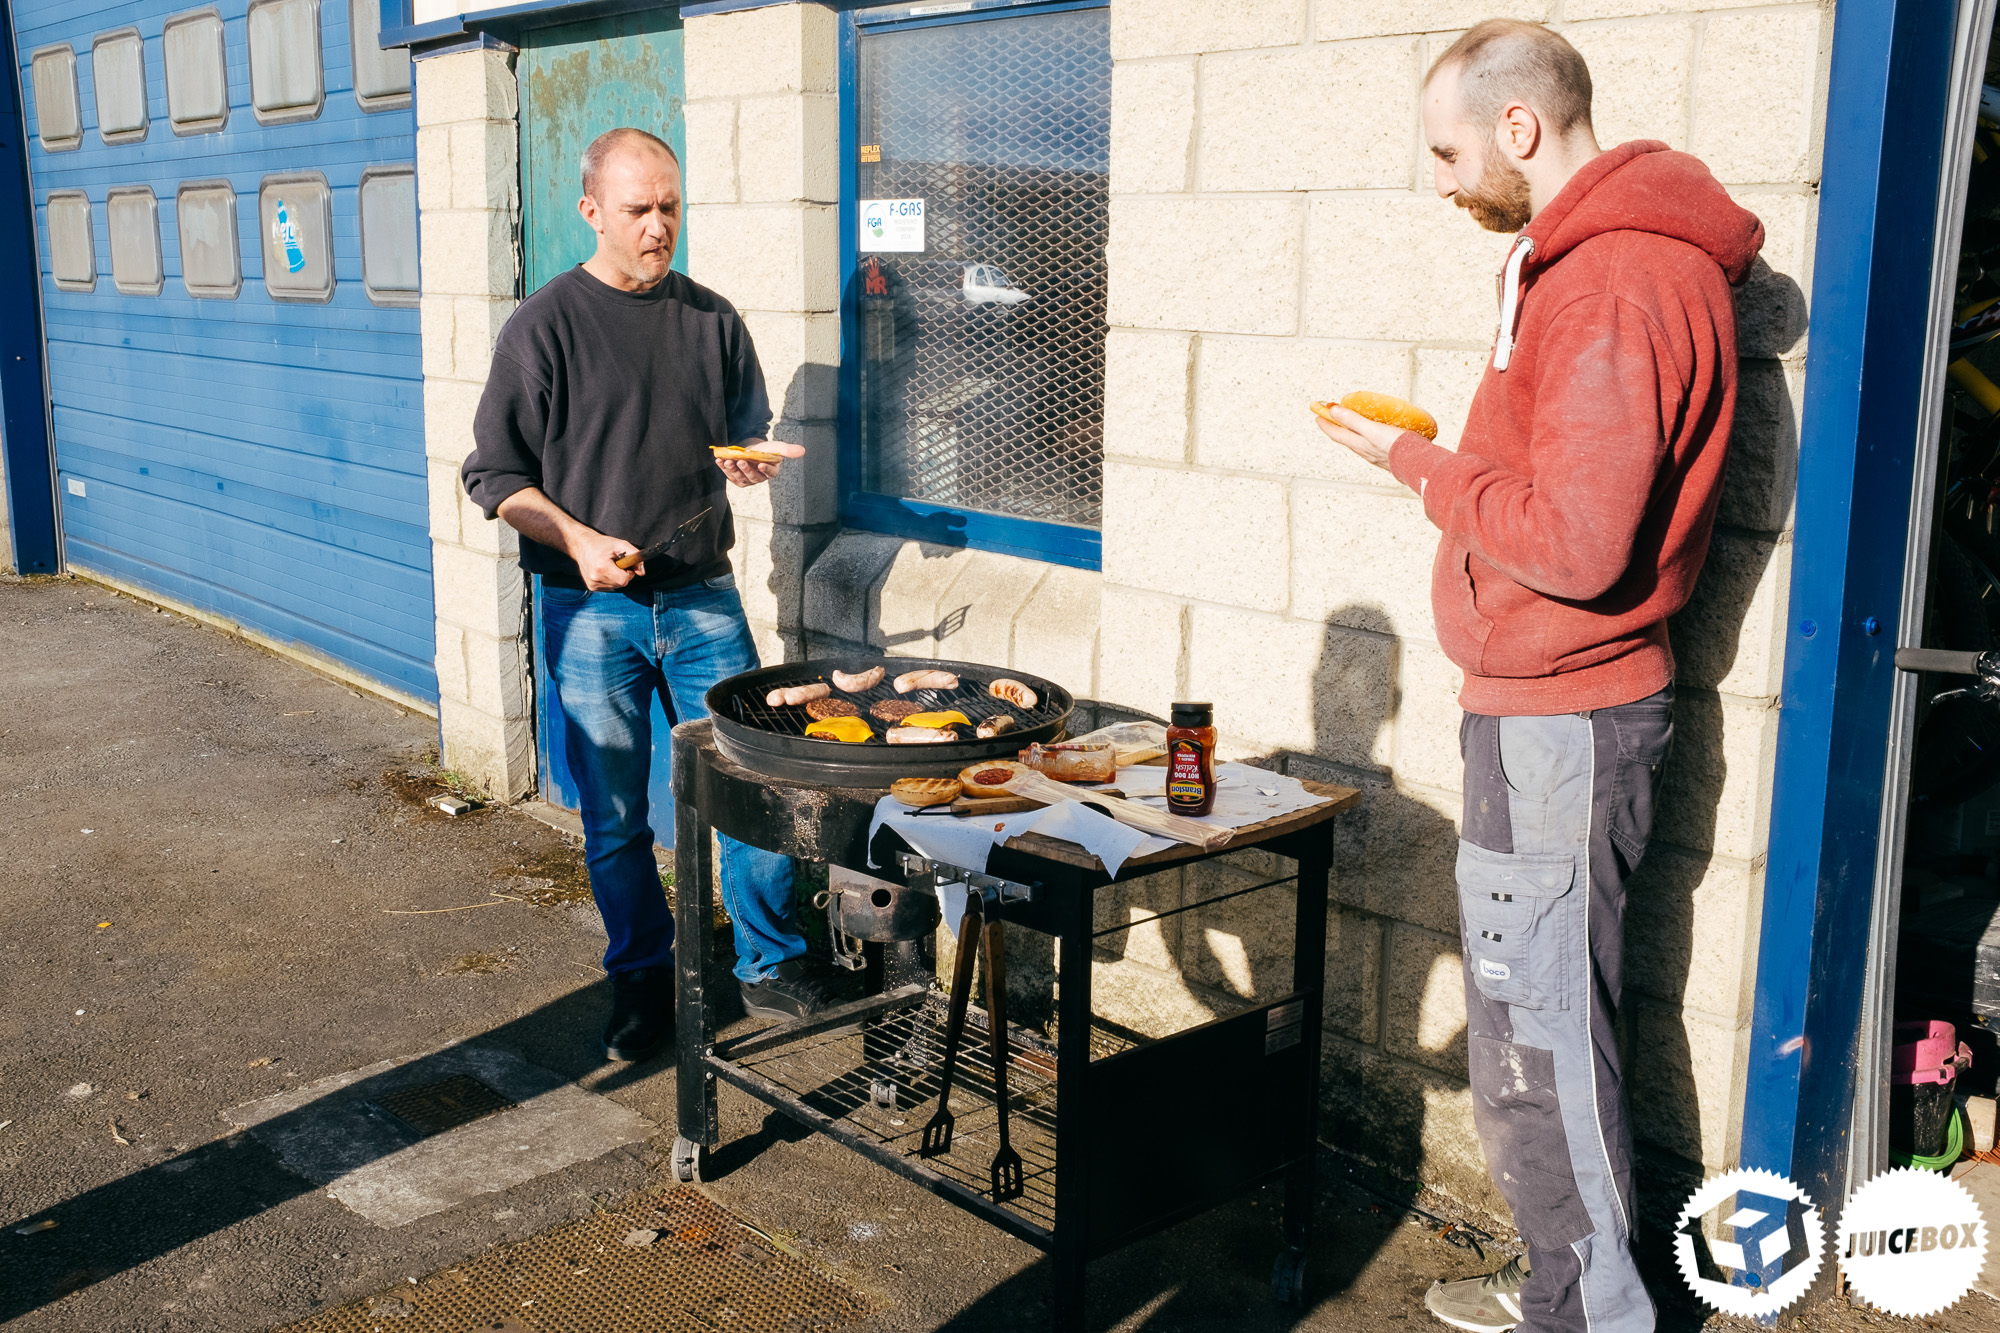
We left the last of the seam sealer cure and distracted ourselves with a BBQ, as usual.
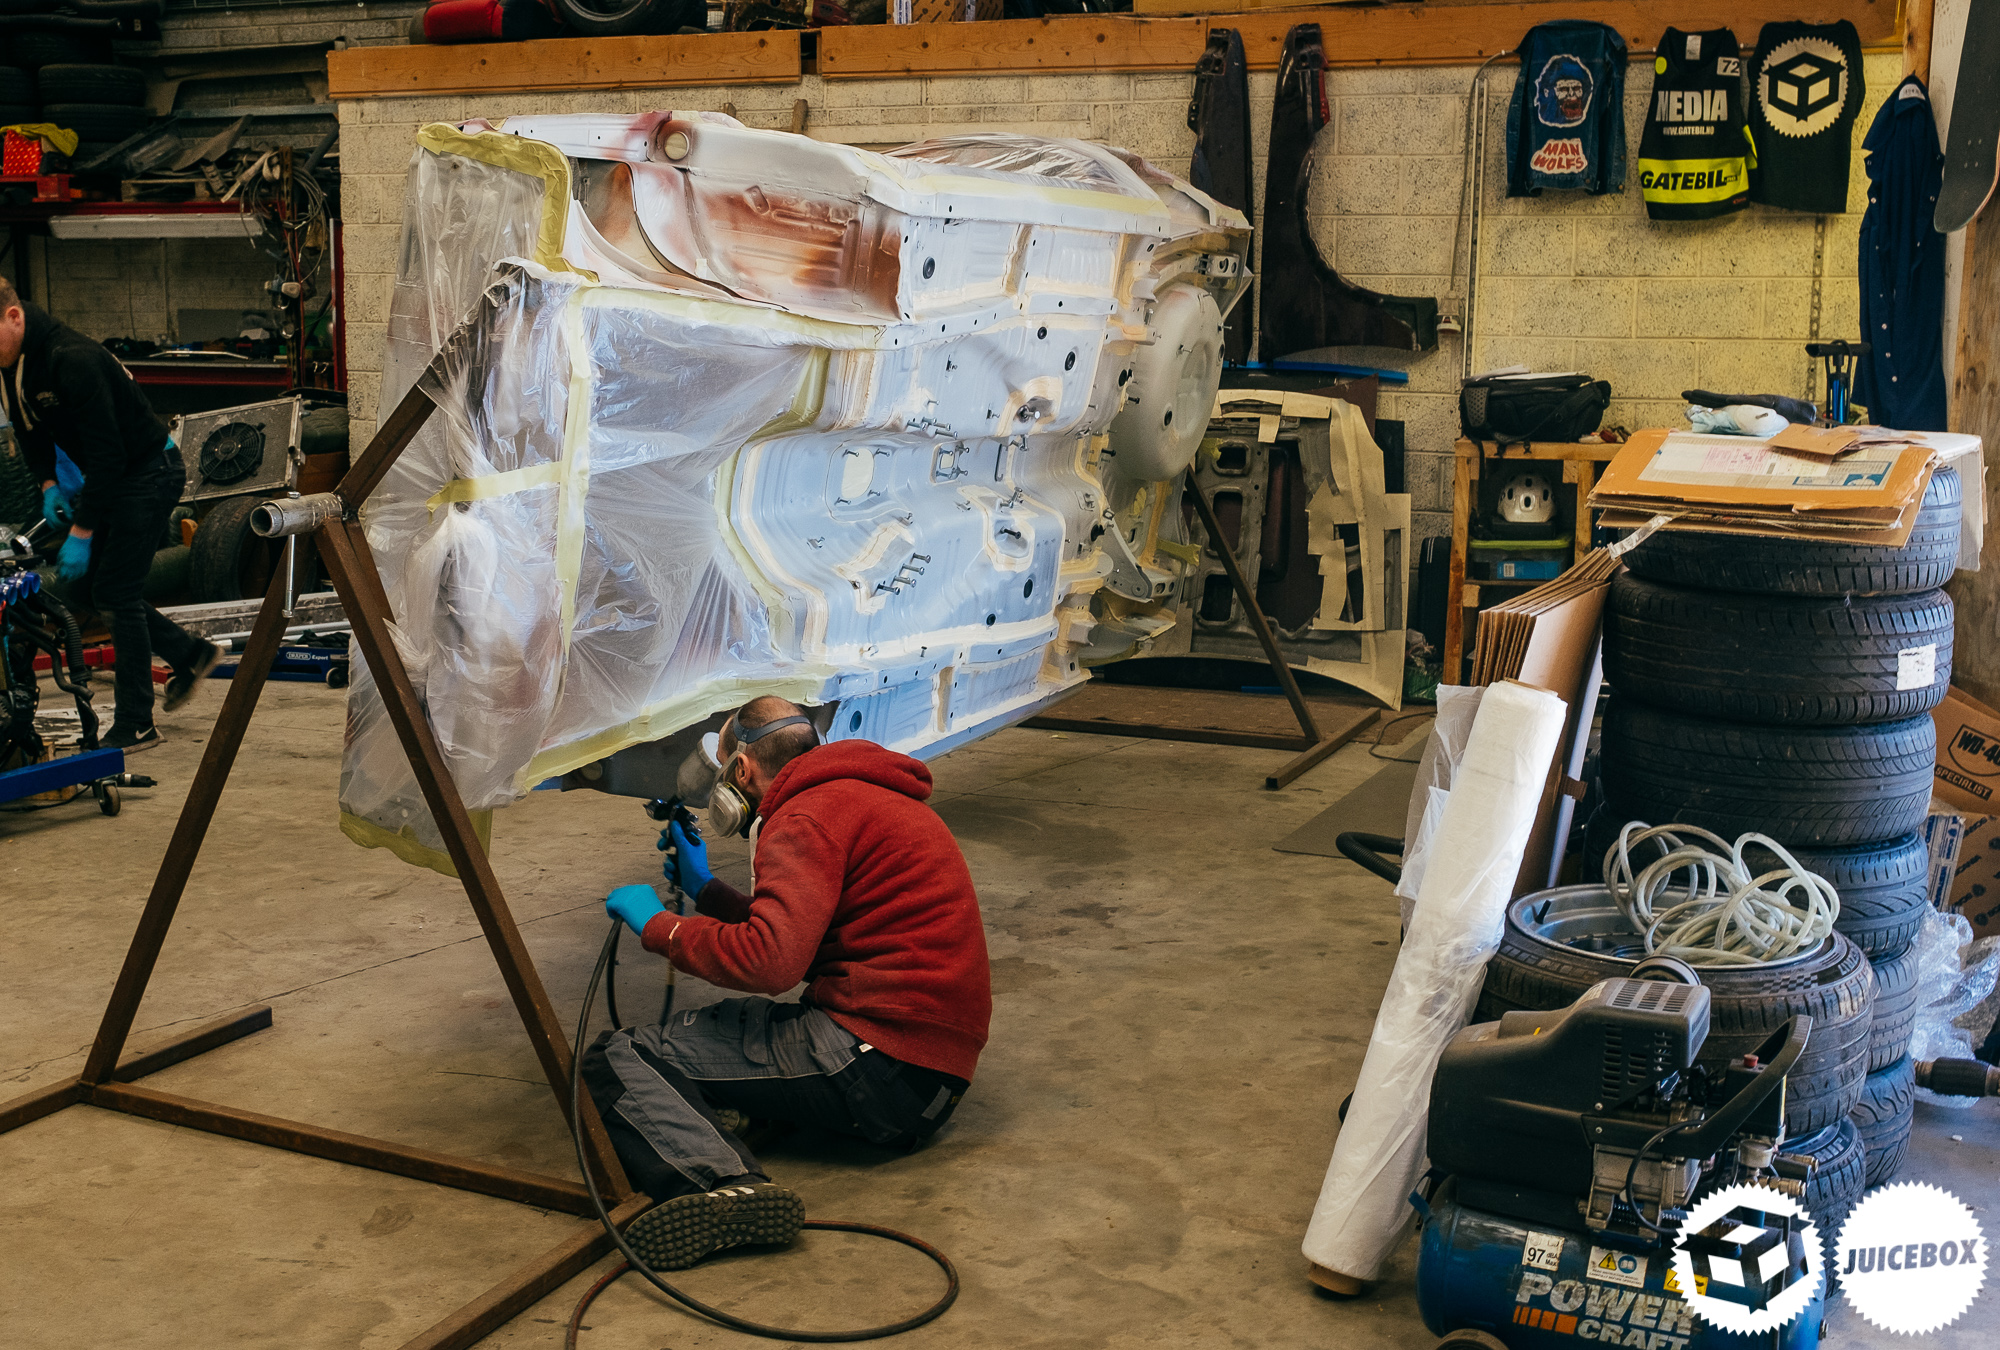
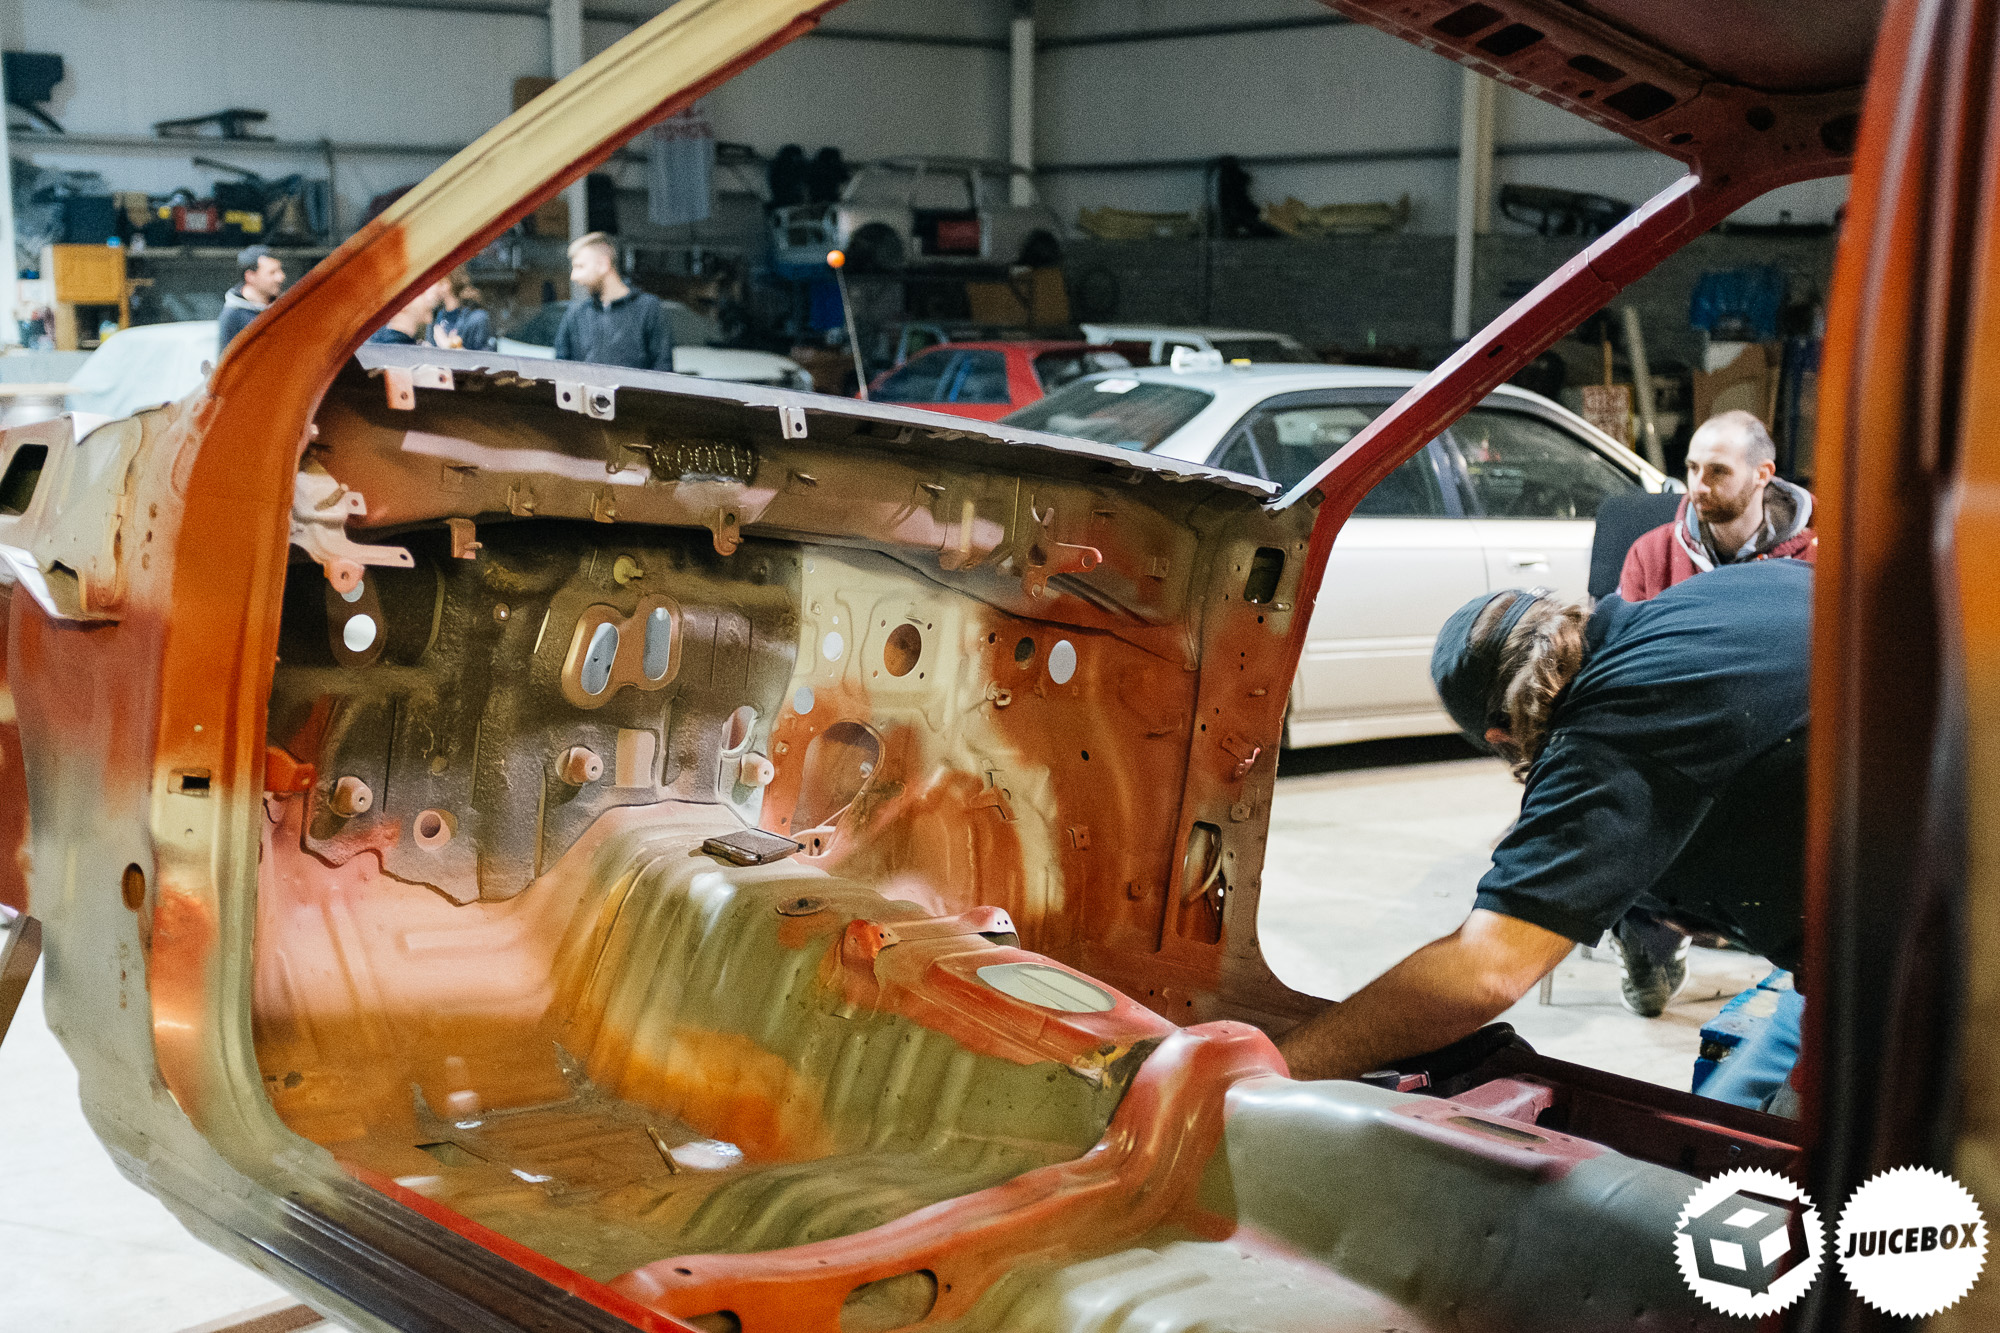
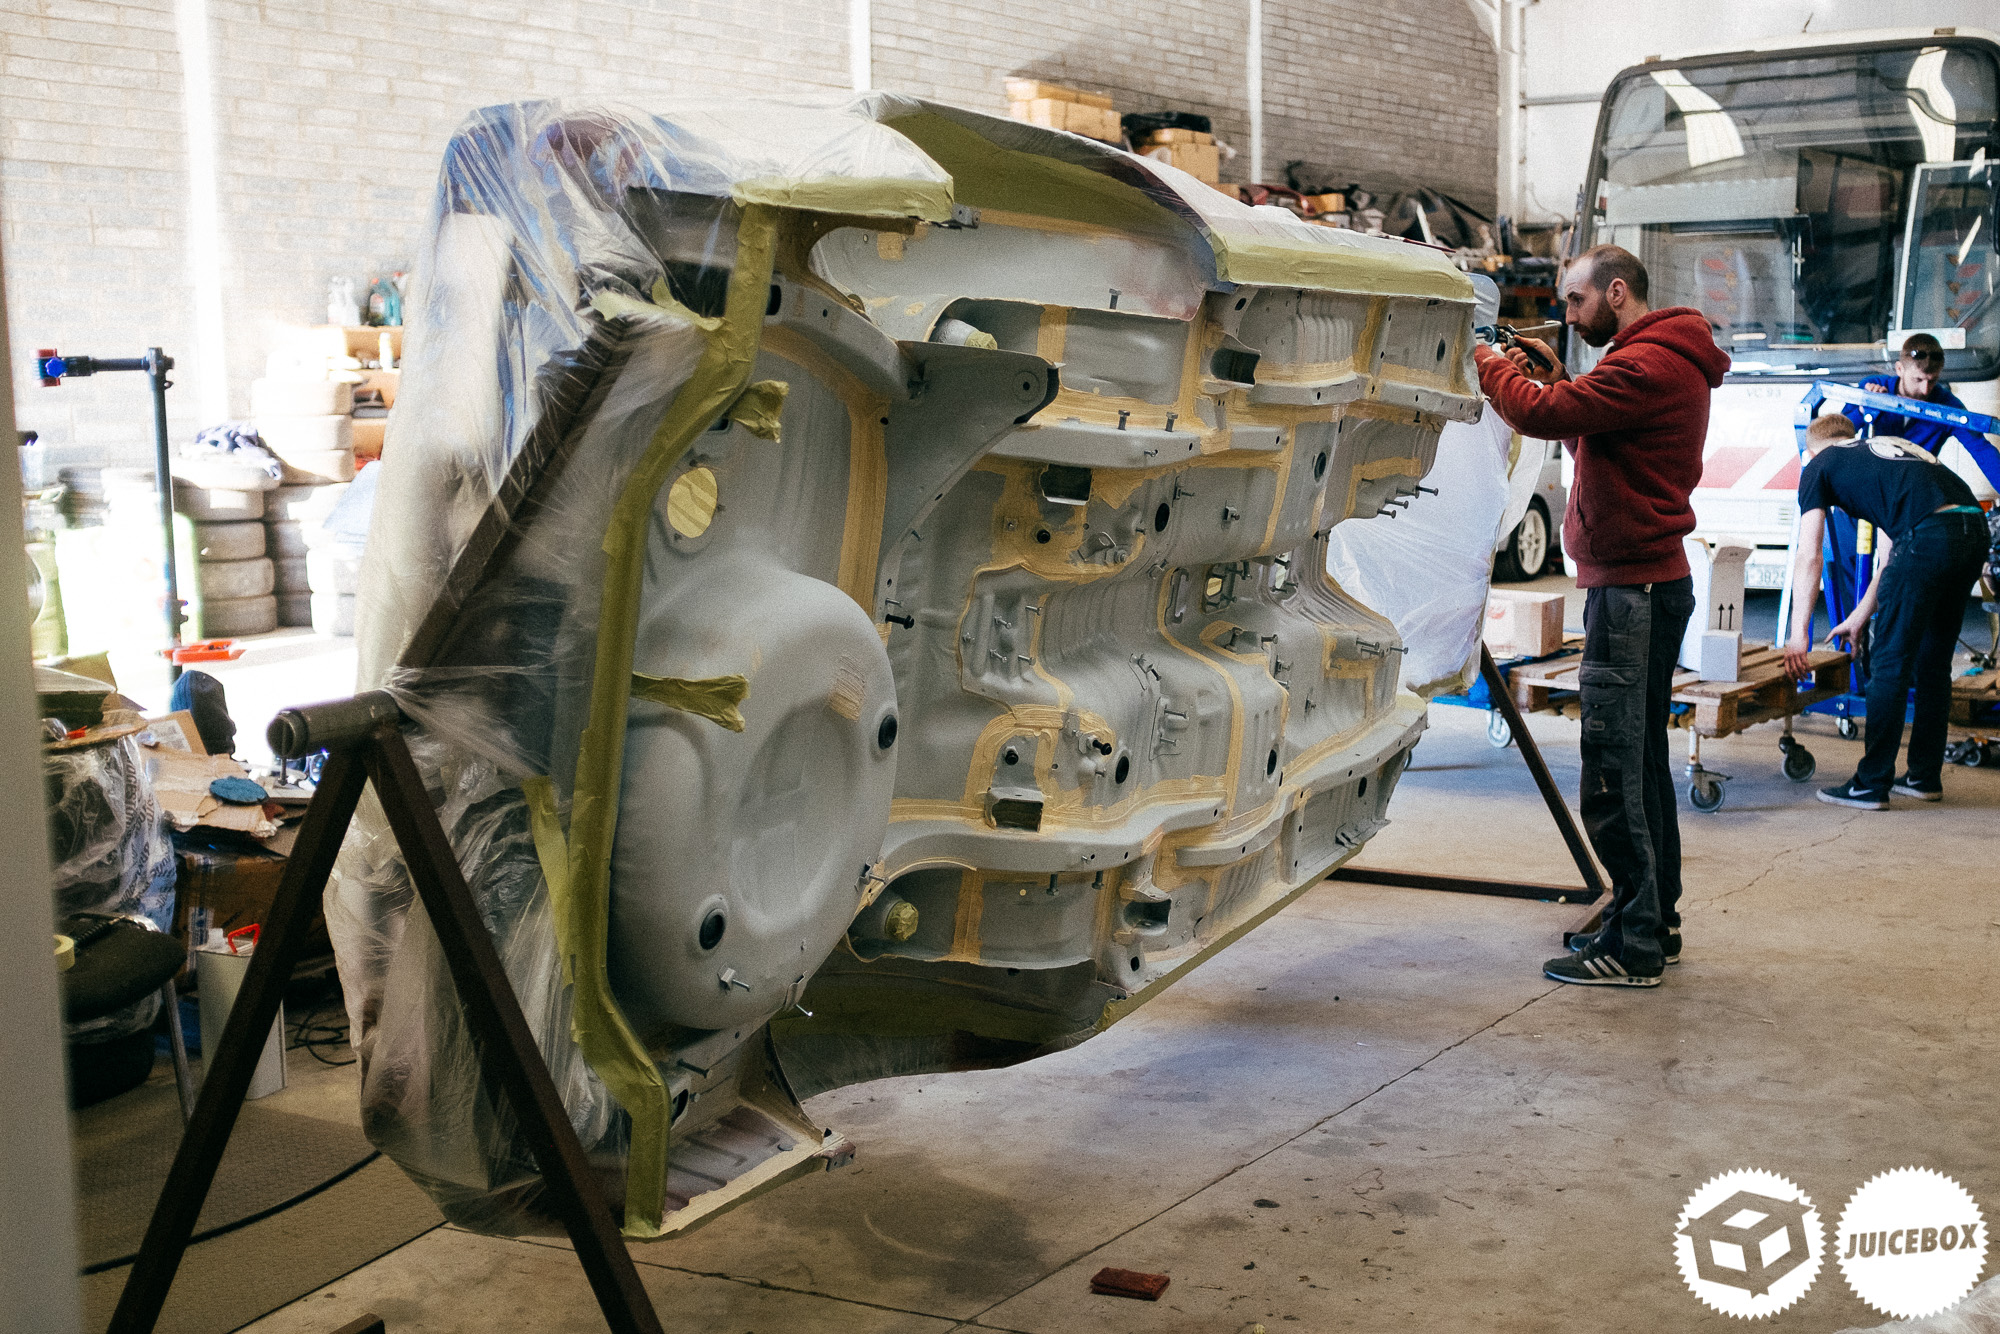
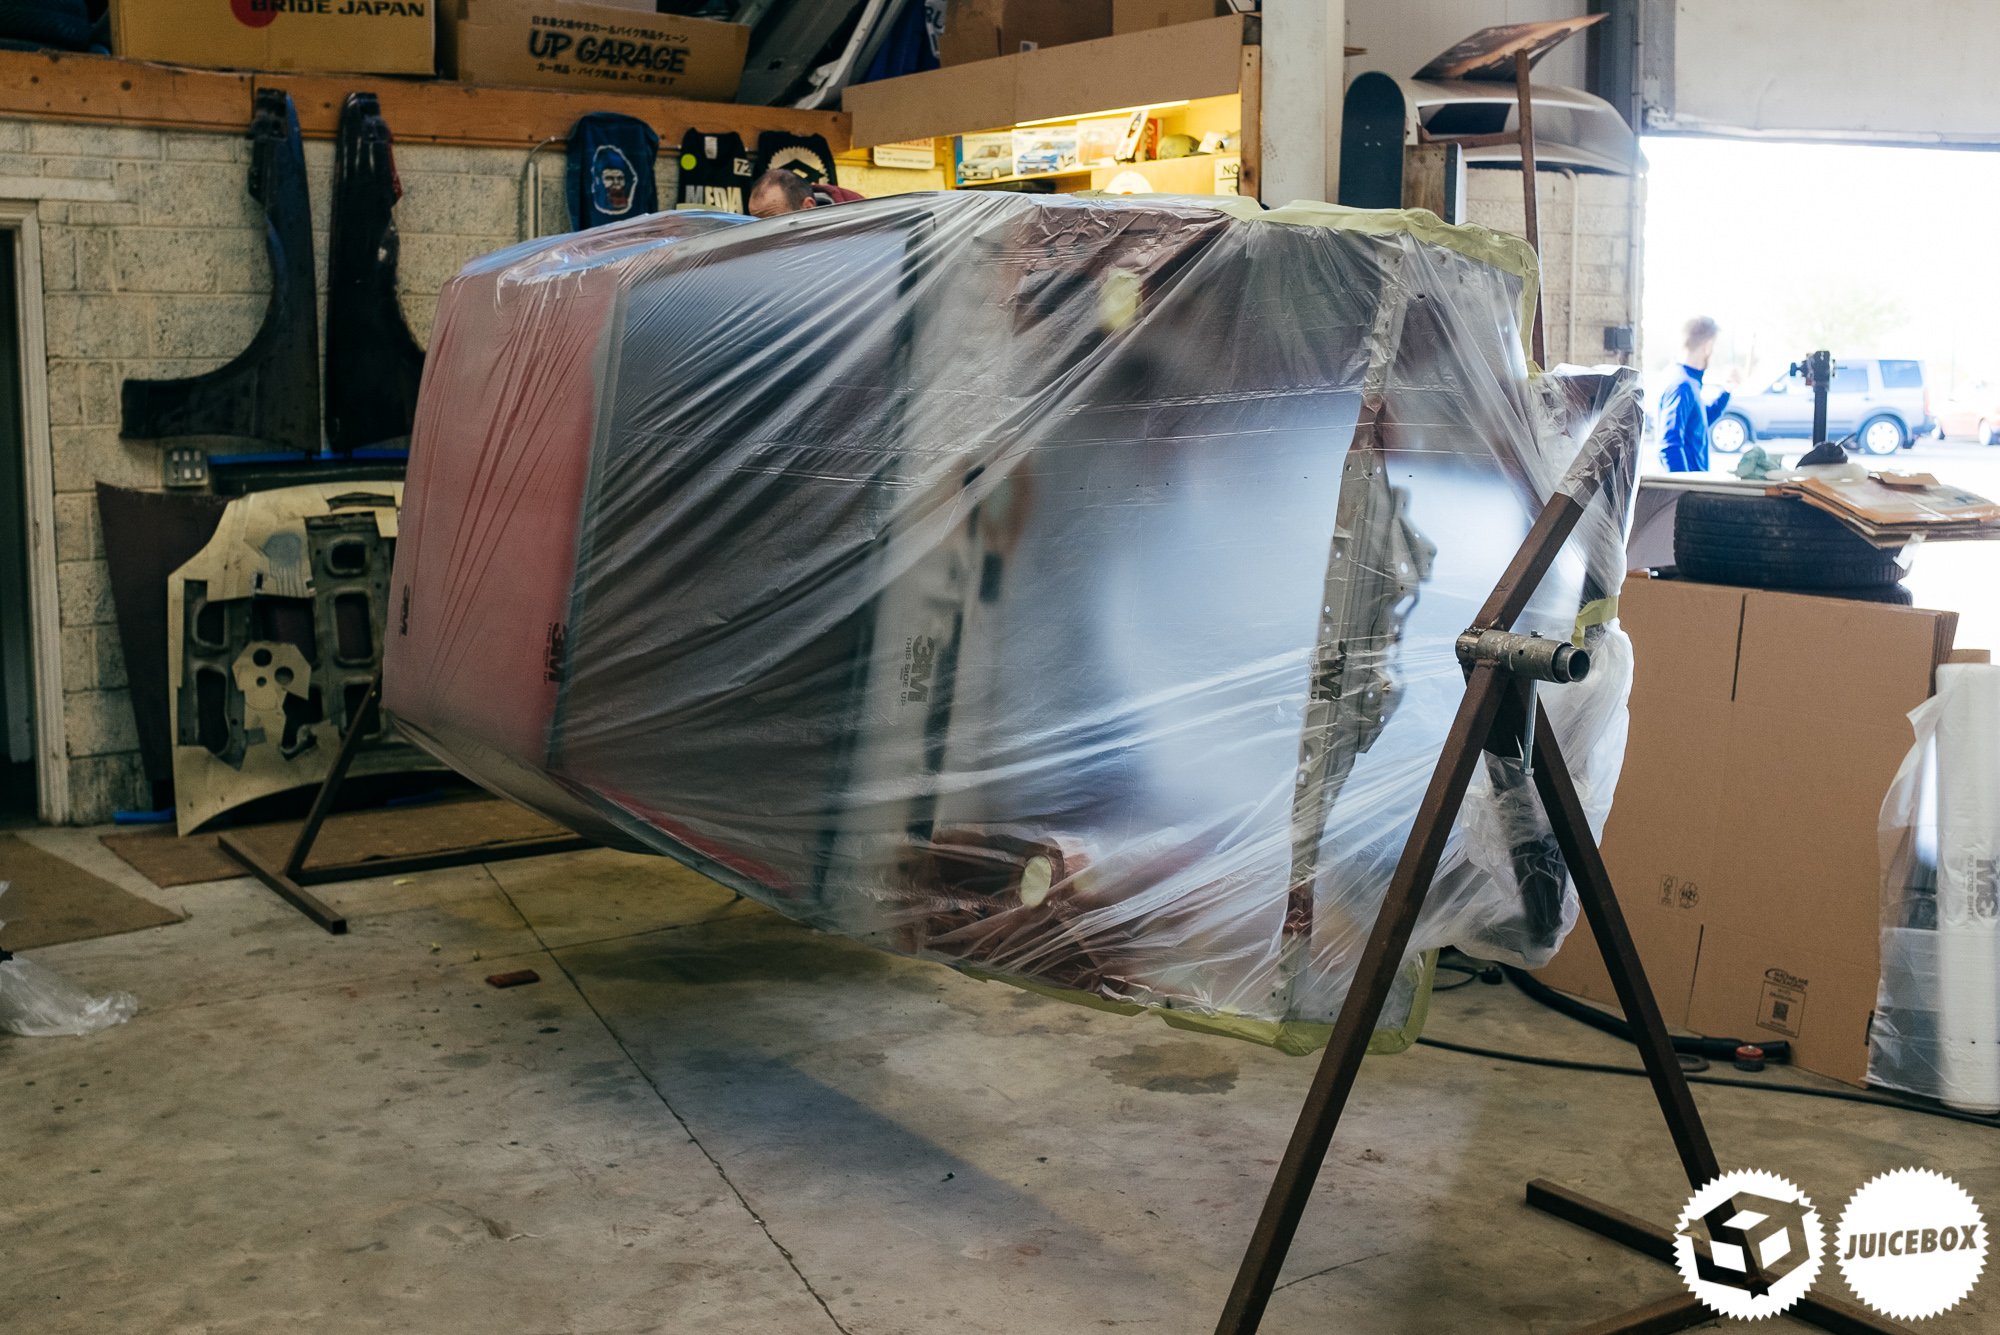
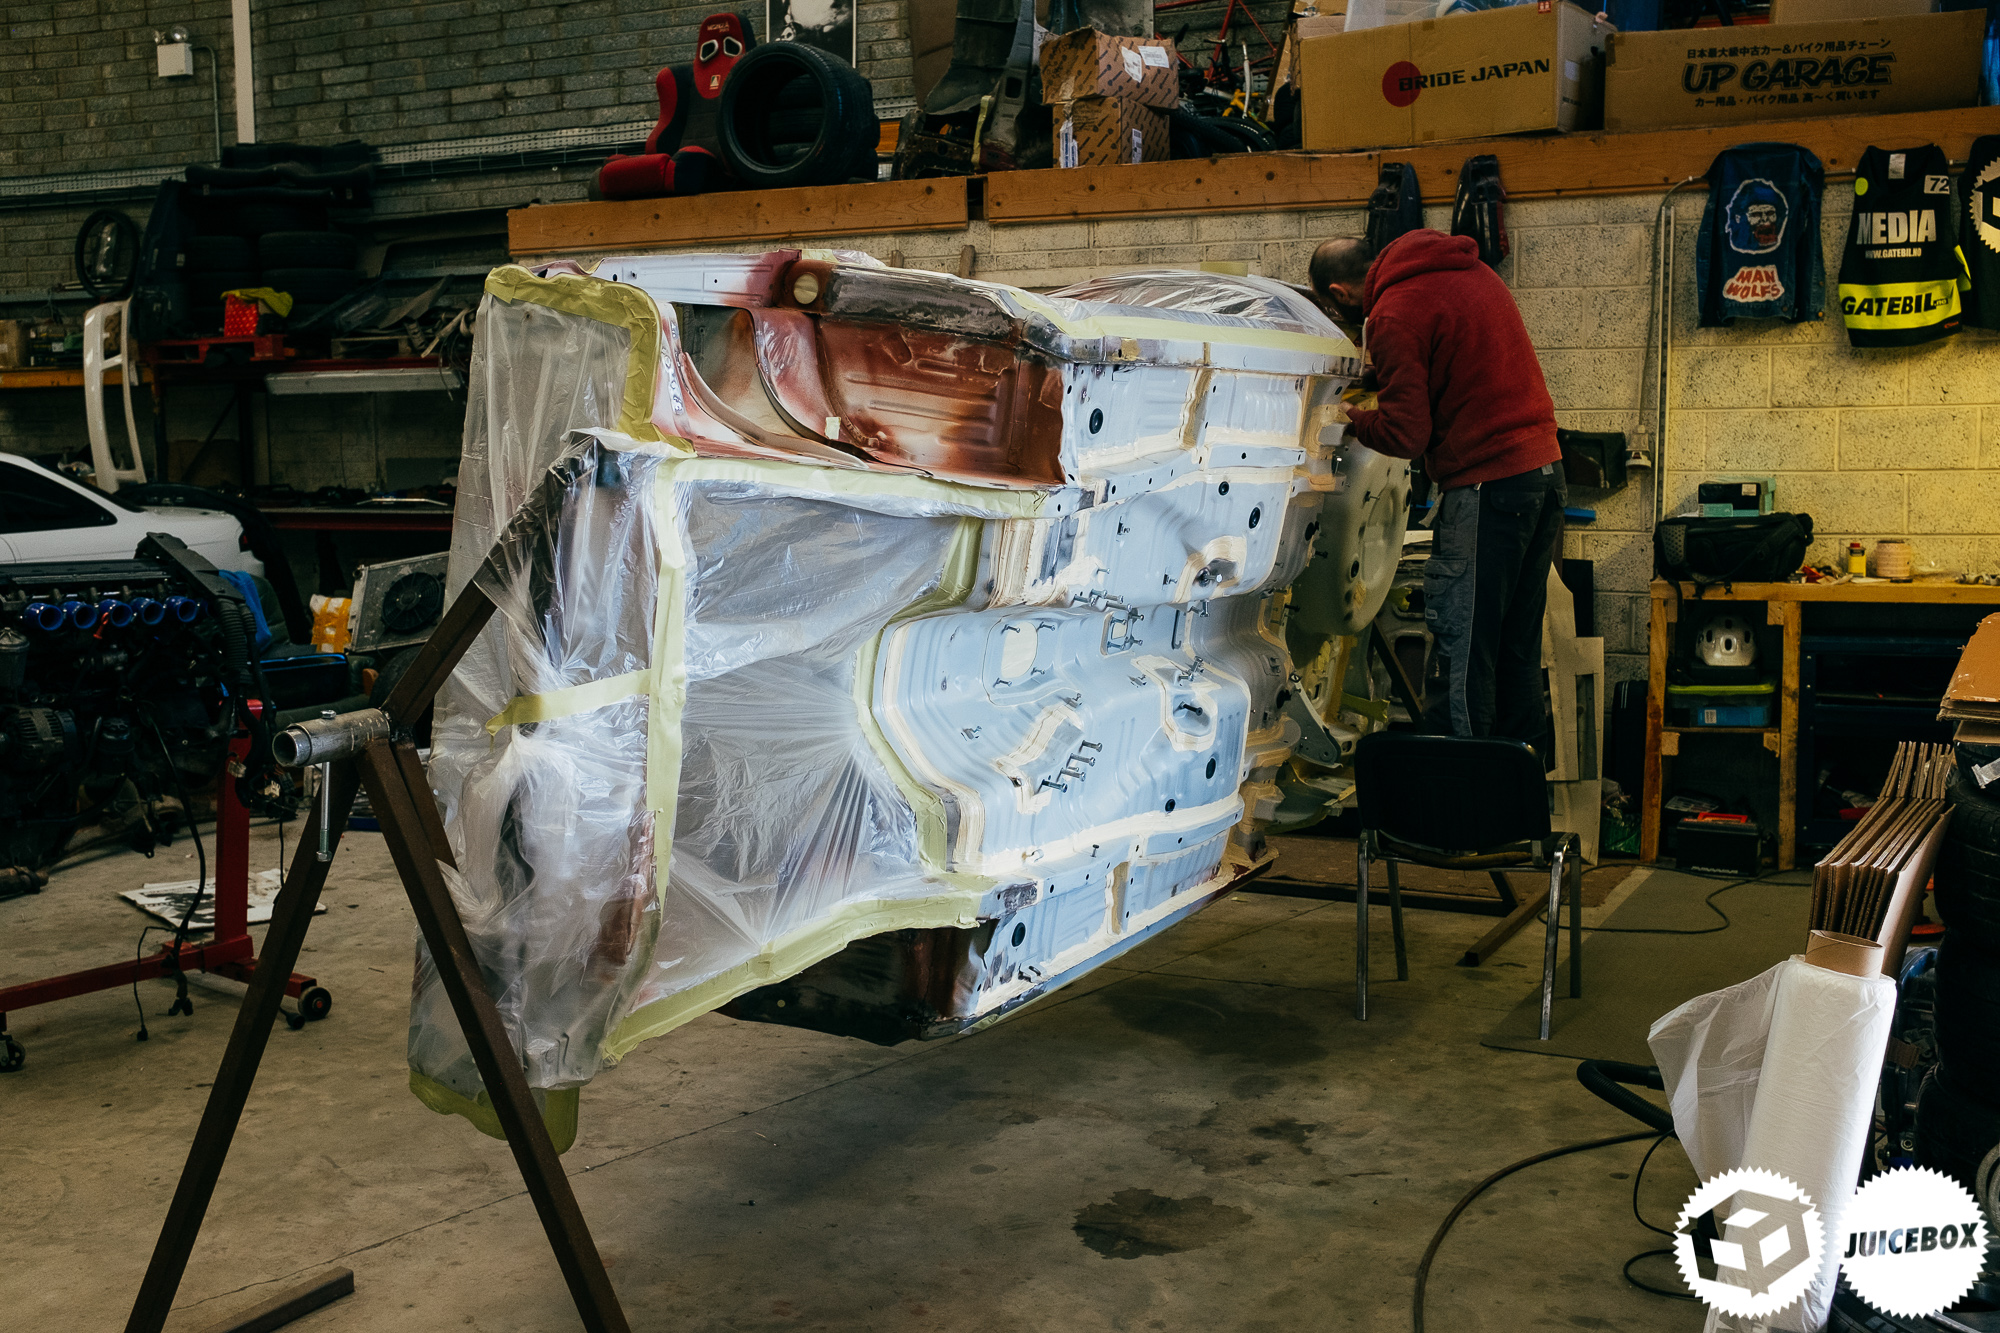
Back inside, we masked the car up as the spray sealer gun would make a little mess.
Josh with a questionable facial expression.
Hopefully, our over the top sealing will keep this thing on the road for another few years.

Jackie sprayed the arches first with the skin coloured sealer as we could only get out hands-on 20 tubes of black. This stuff is far from cheap, but it’s an excellent solution as I intend to drive this car all year round.
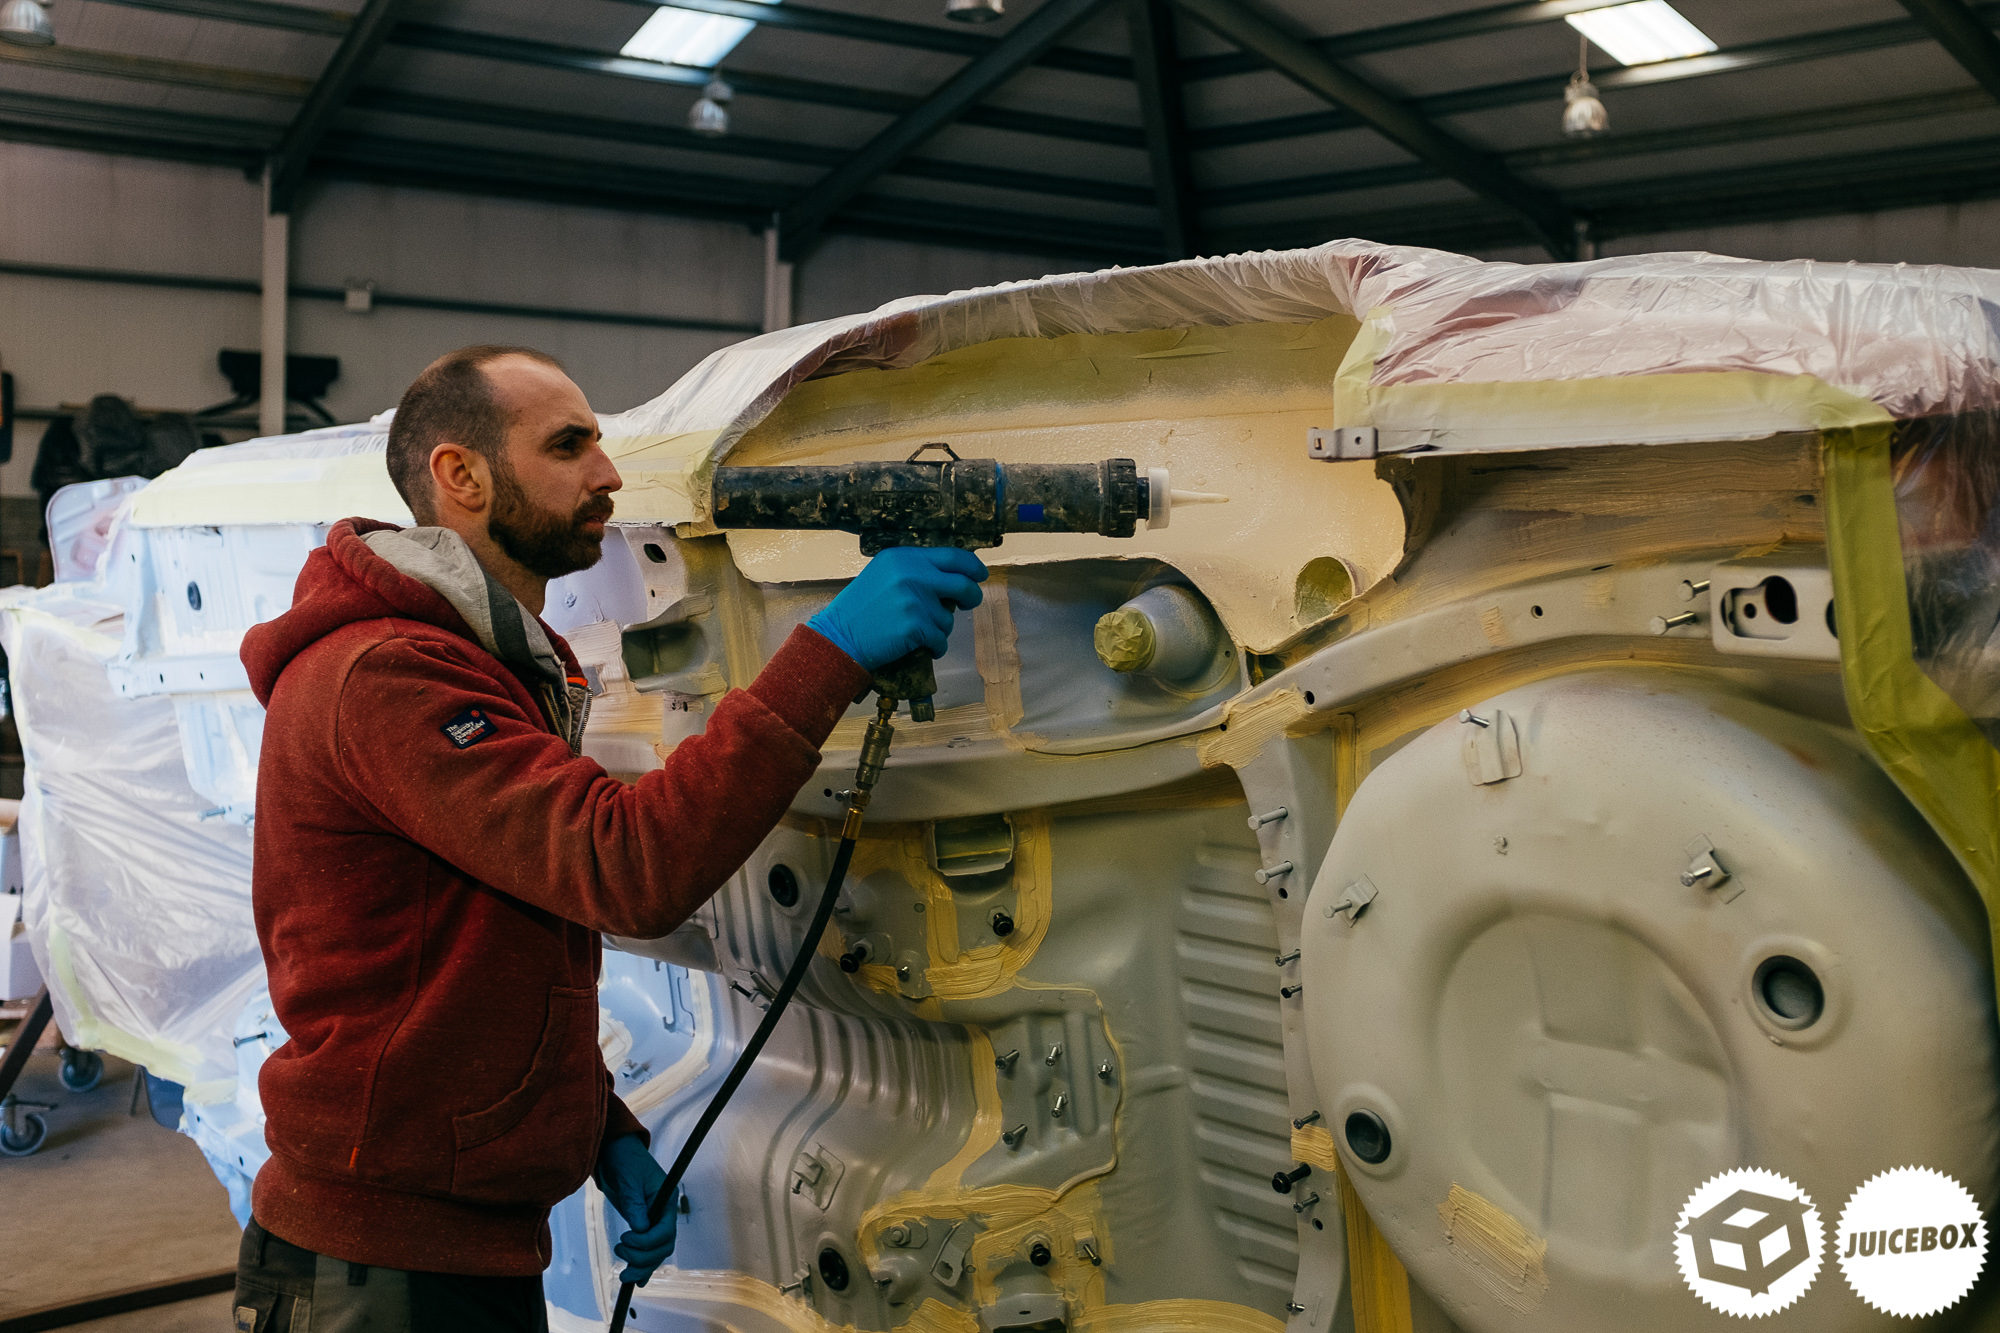
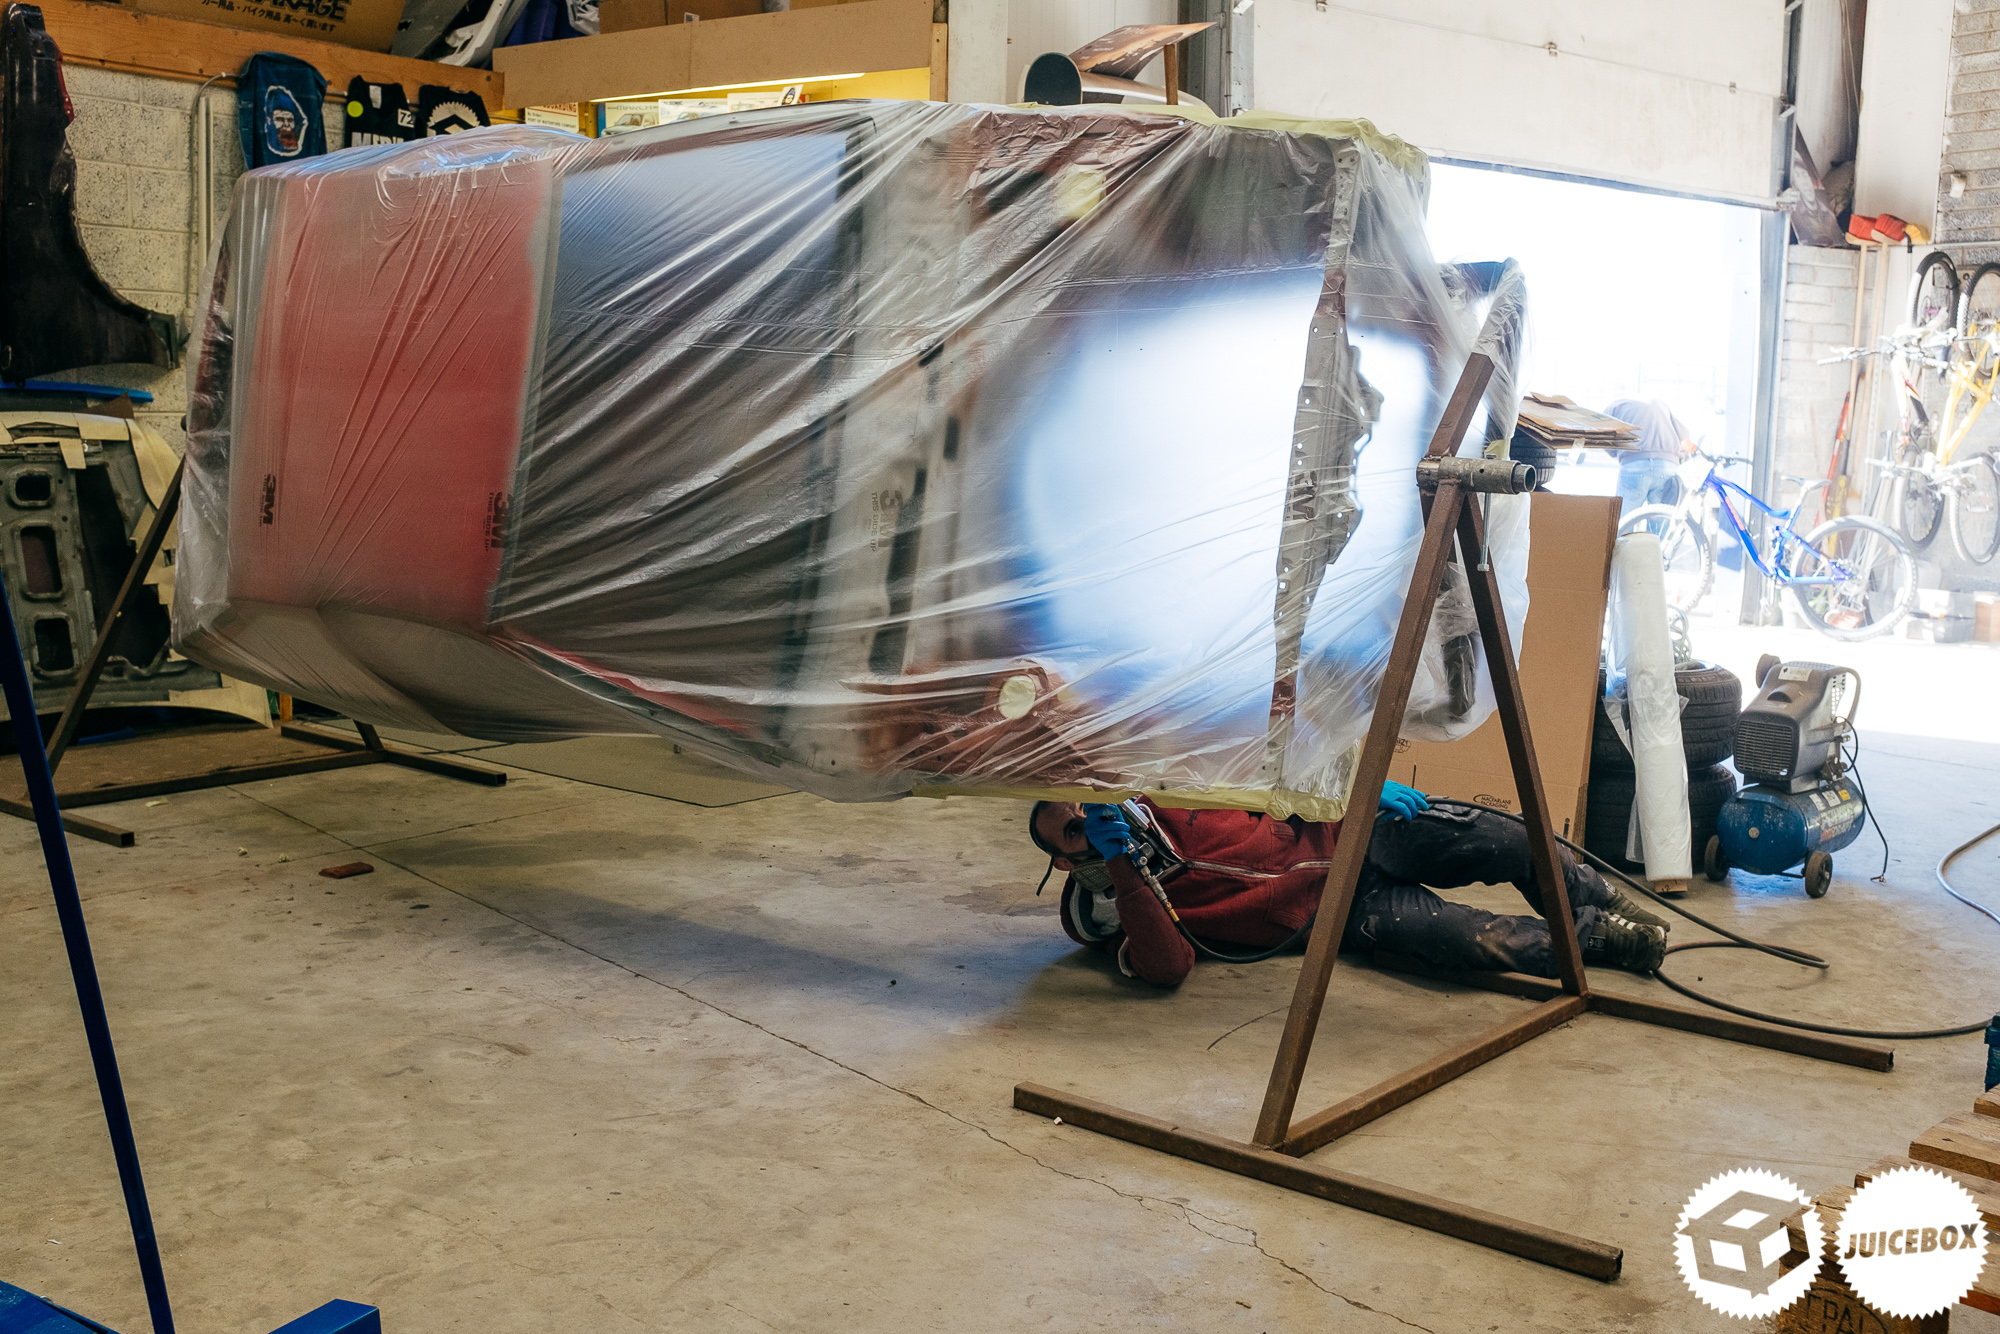
Once we filled the arches, Jackie switched over to the black stuff sprayed the entire underbody.
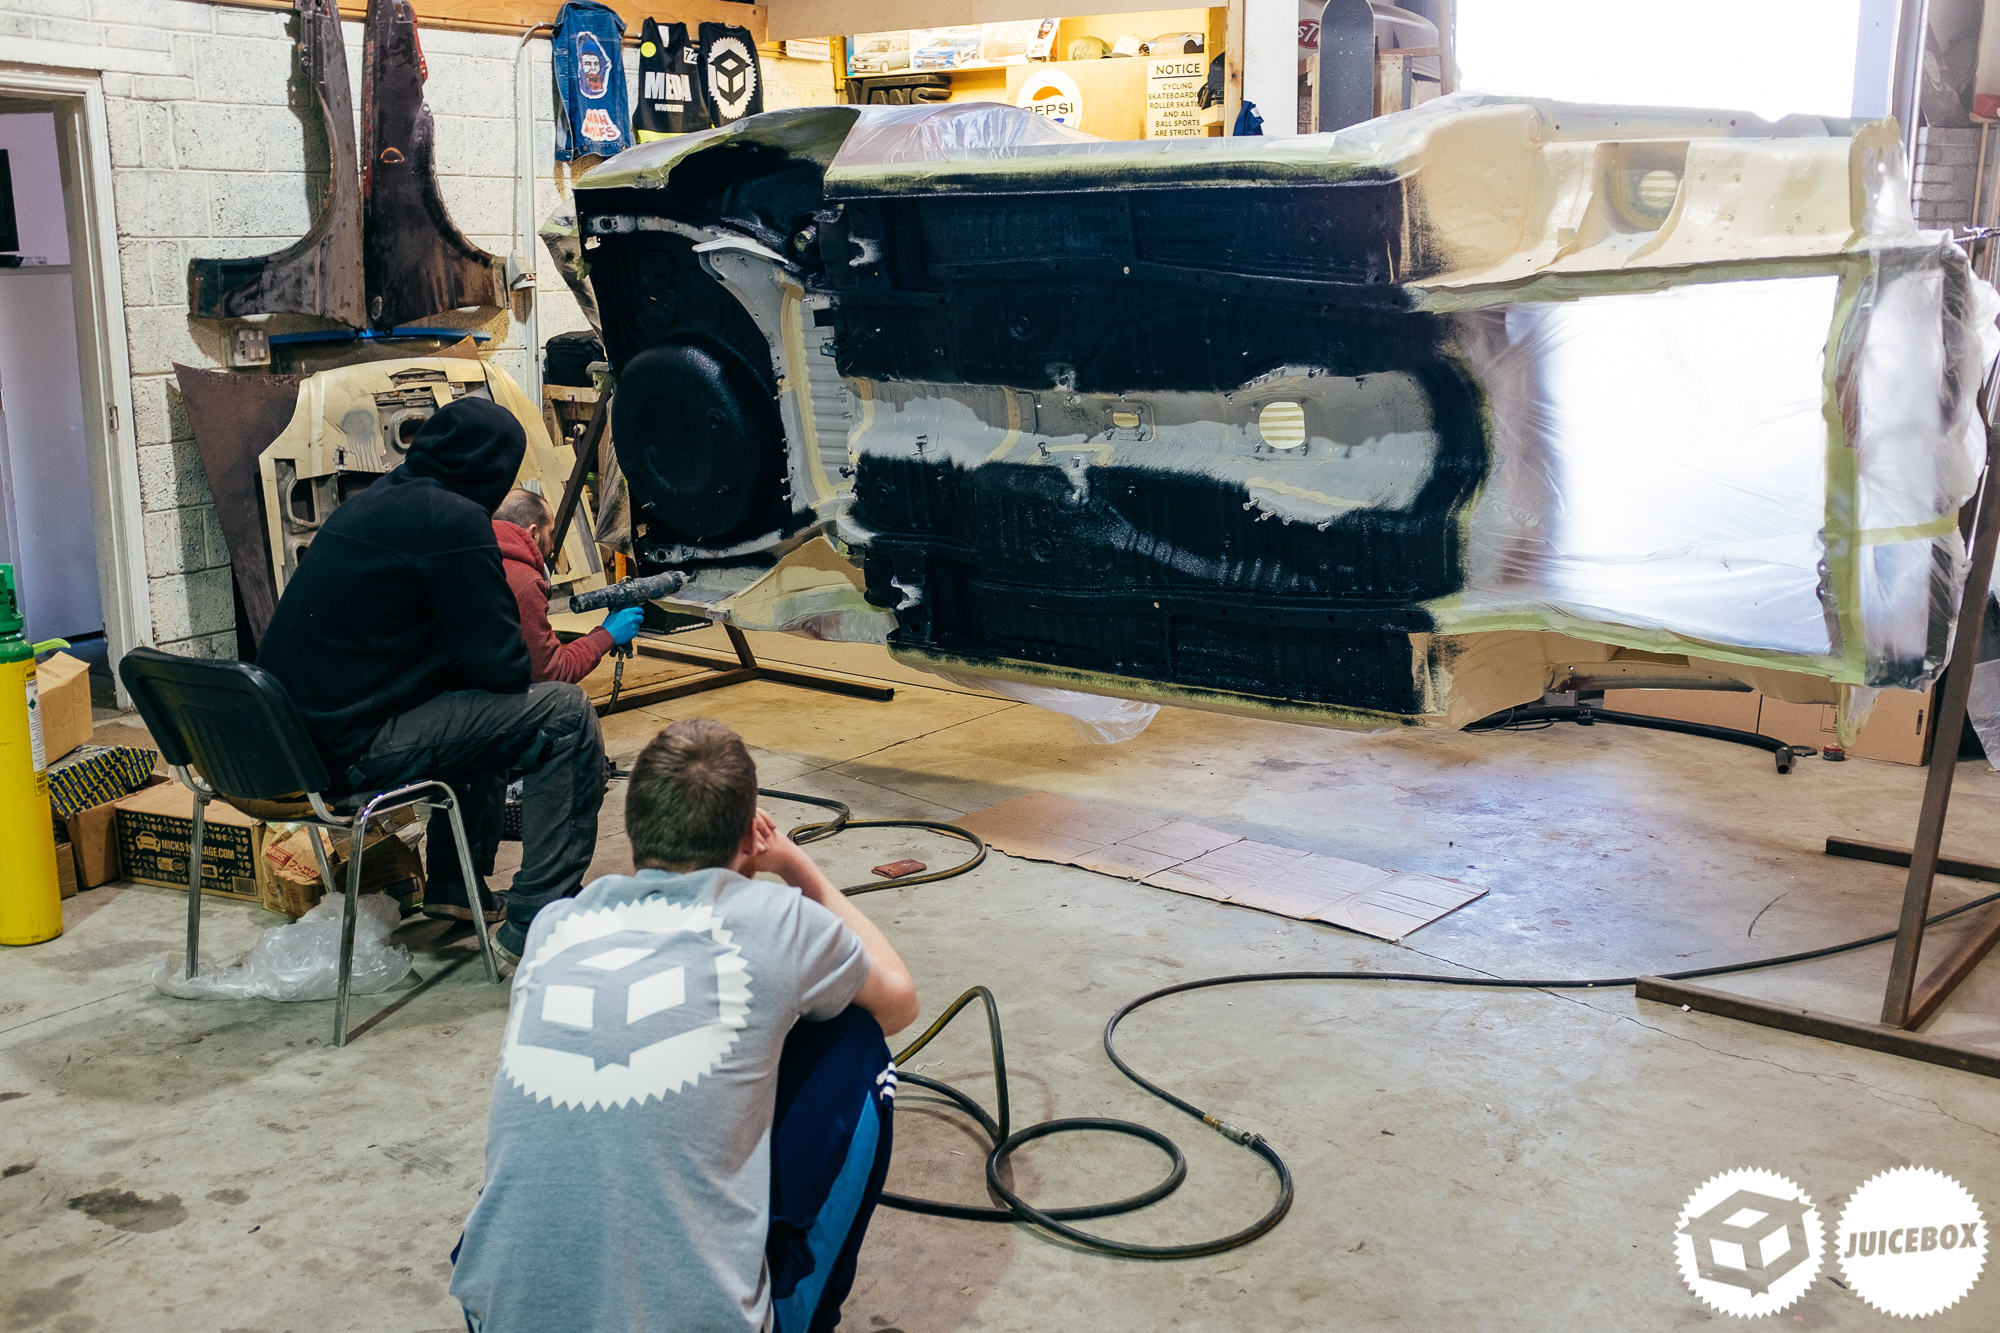
We were mesmerized by the sound of the gun and the application of the sealer.


Massive shout out to Jackie for doing this, it’s a pretty time-consuming job, but it’s the right amount of overkill!
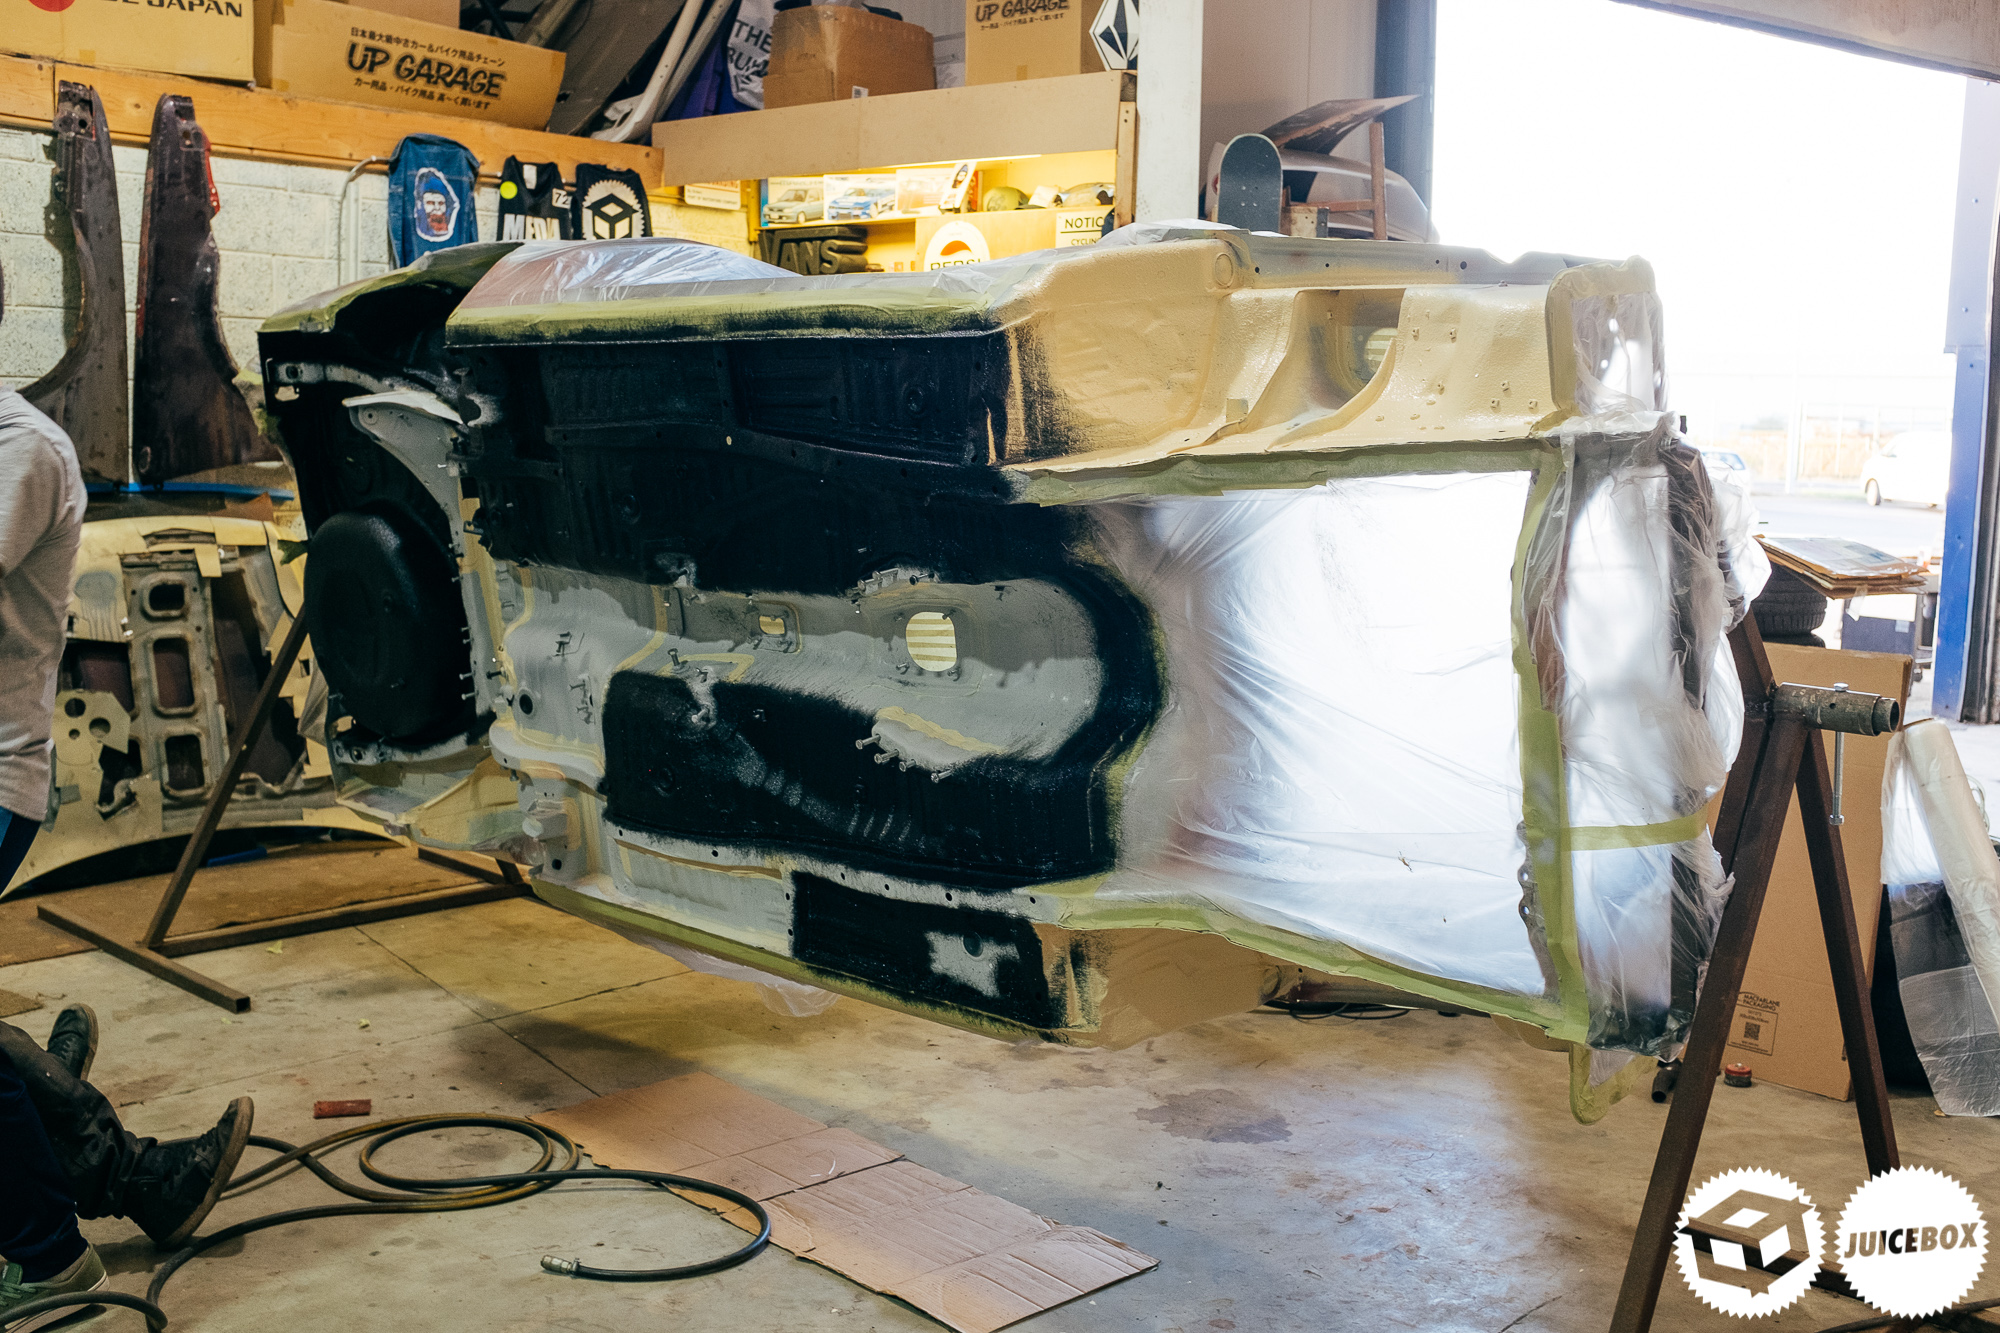
We kept it out of the tunnel as this isn’t really an area that is hit with rocks or stone chips when you are on the road, and the exhaust won’t be melting the sealer.

Naturally, a crowd formed for a look.
Jackie was spraying the car for well over eight hours, and I’m blessed to have friends like him who know what they are doing and willing to help out on the never-ending project. It wasn’t the cheapest route to go; we thought of using raptor and other similar coats, but seam sealer through a spray gun was probably the best solution long-term for a car that will hopefully see a lot of miles; it’s also a nice piece of mind as I intend to keep this thing for a very long time.
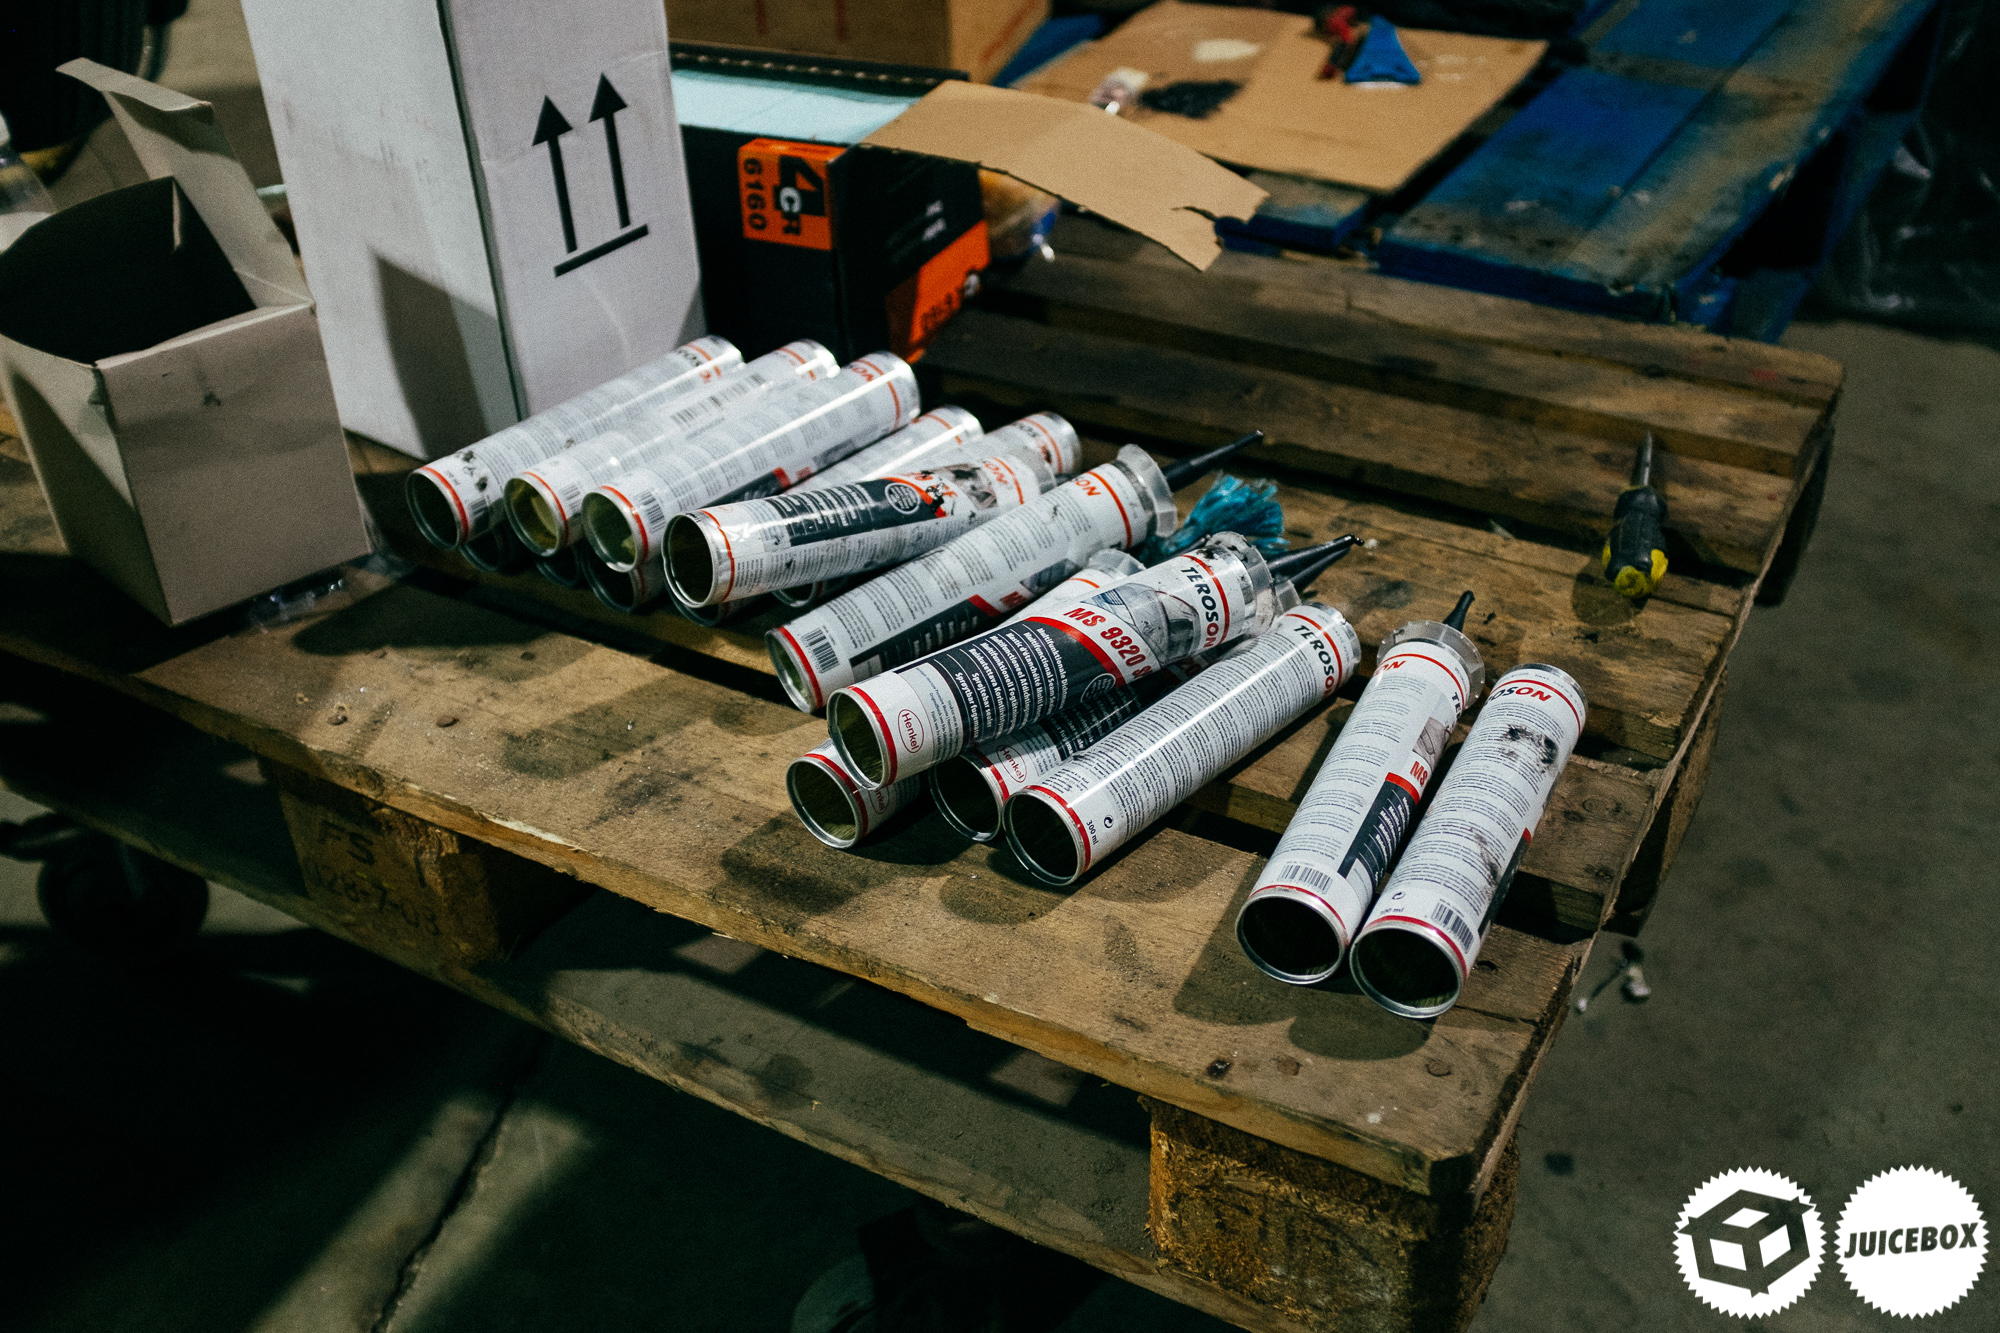
We used well over twenty tubes of sealer that evening! Let’s call it Irish proofing. This was a great weekend; it really felt like a huge milestone with the build. Next up, the car would end up being pushed to Flips for paint, ill be posting more on its story over the coming weeks.
I hope you enjoyed these progress flashbacks.
– Neil