Photos Unboxed: The AE86’s First Coat of Paint
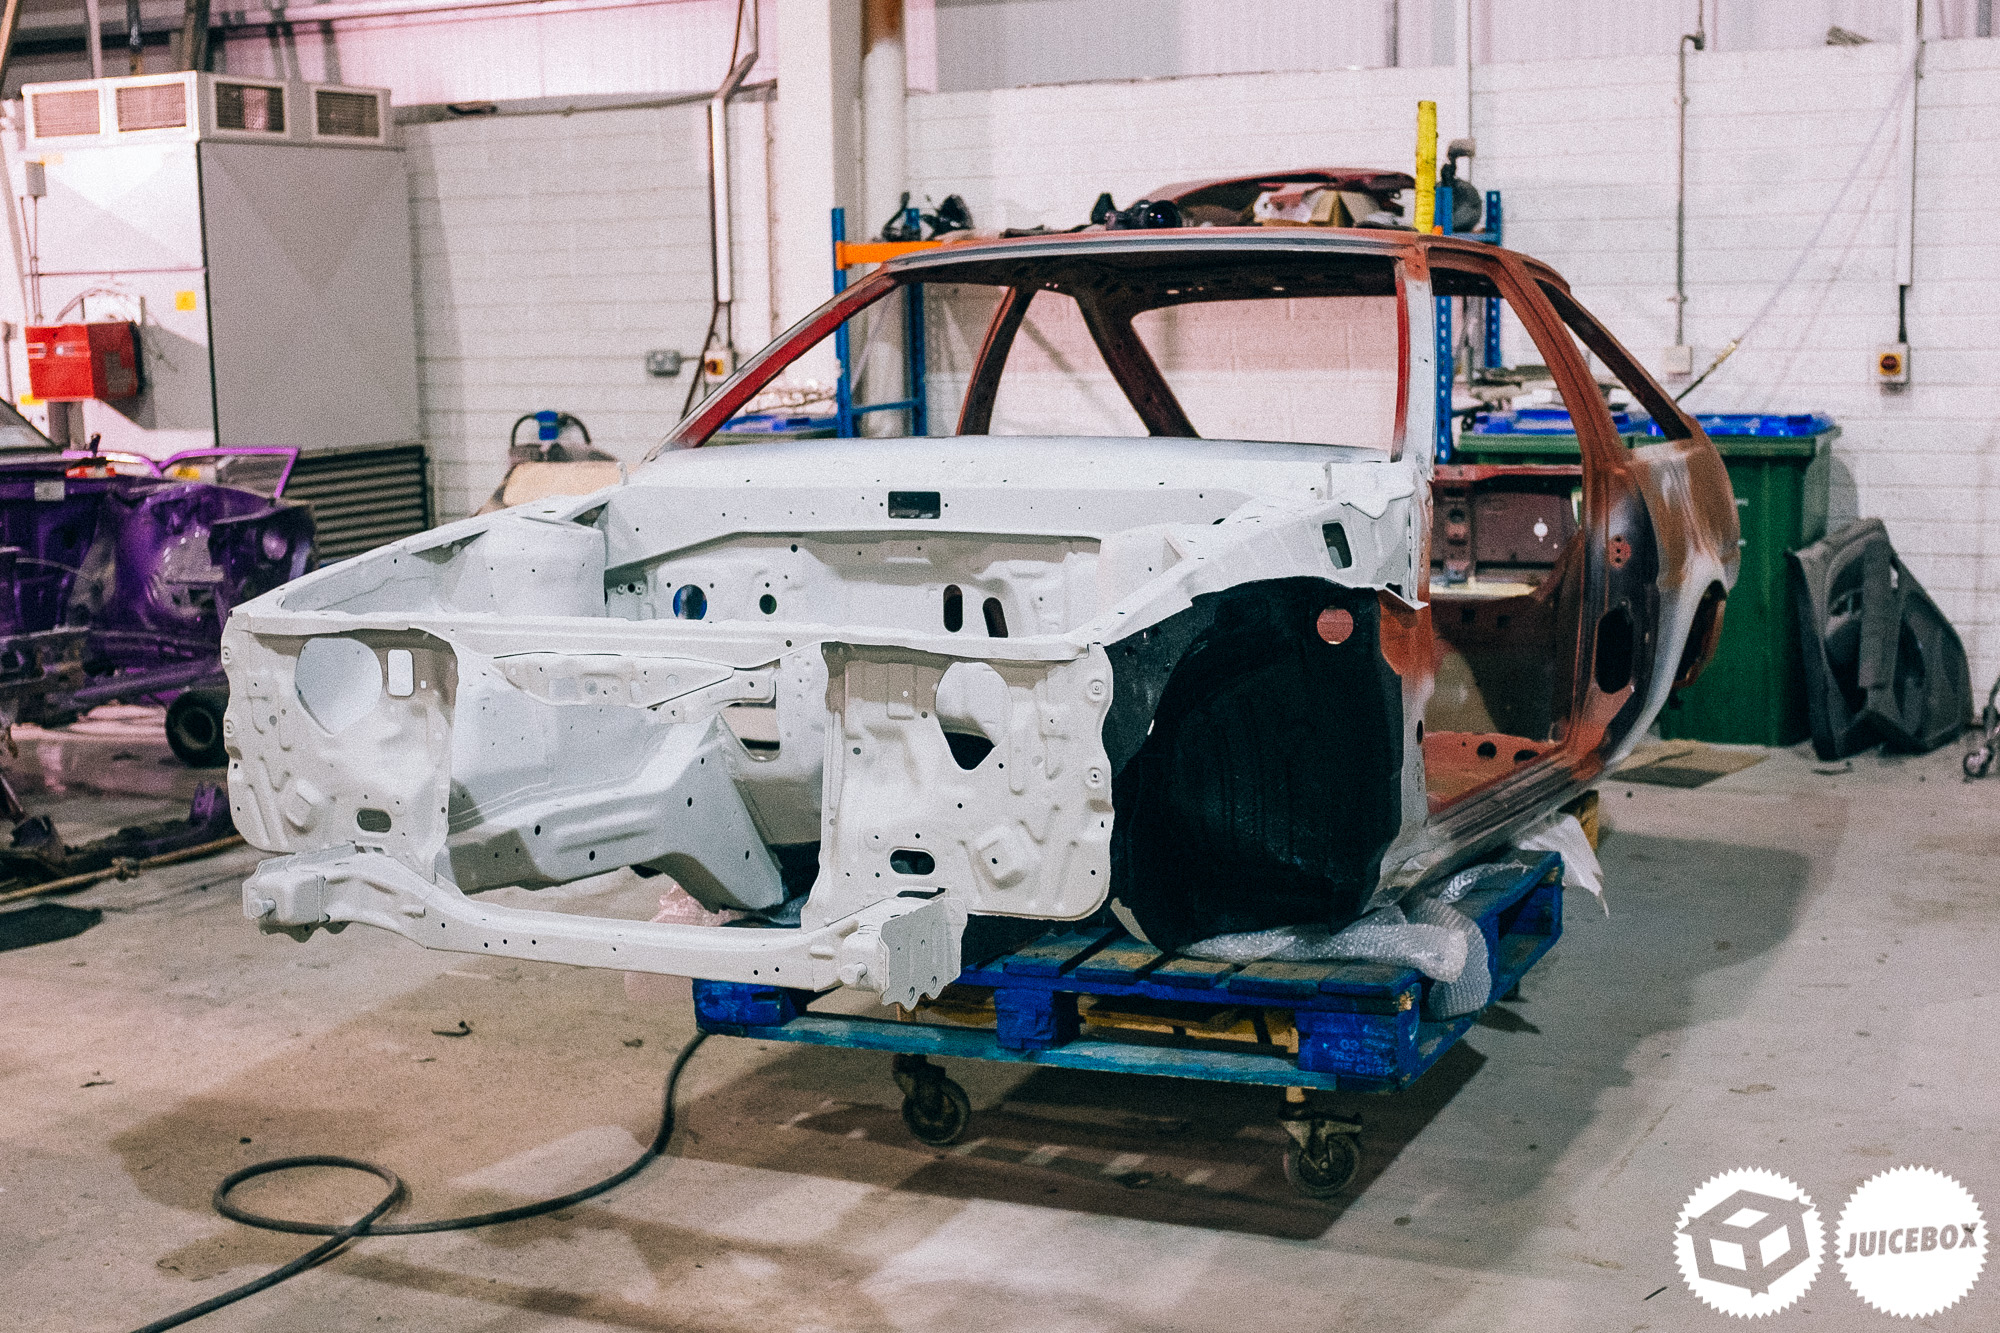
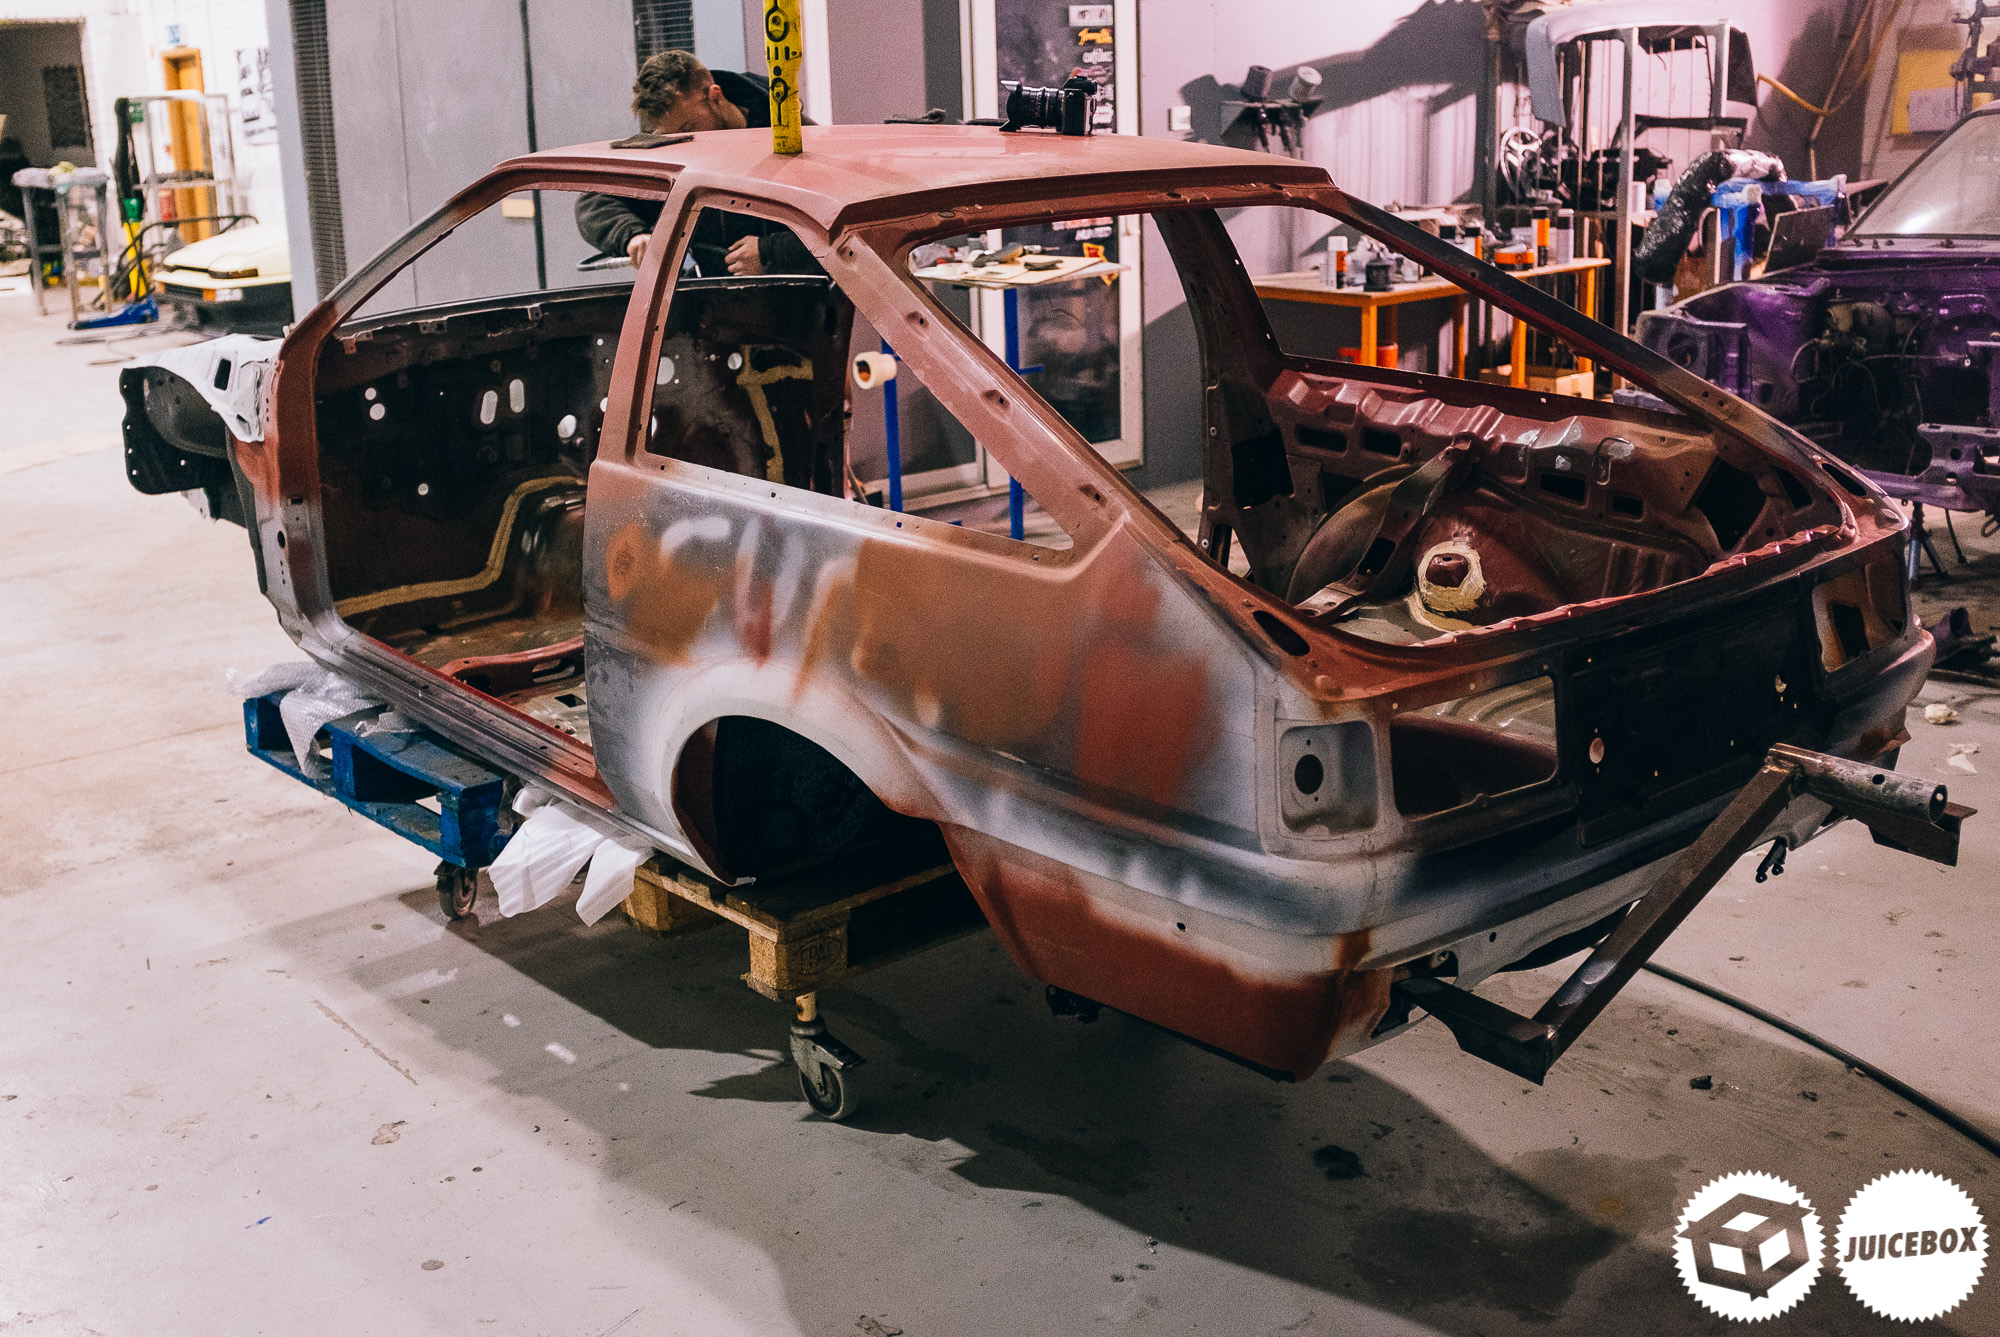
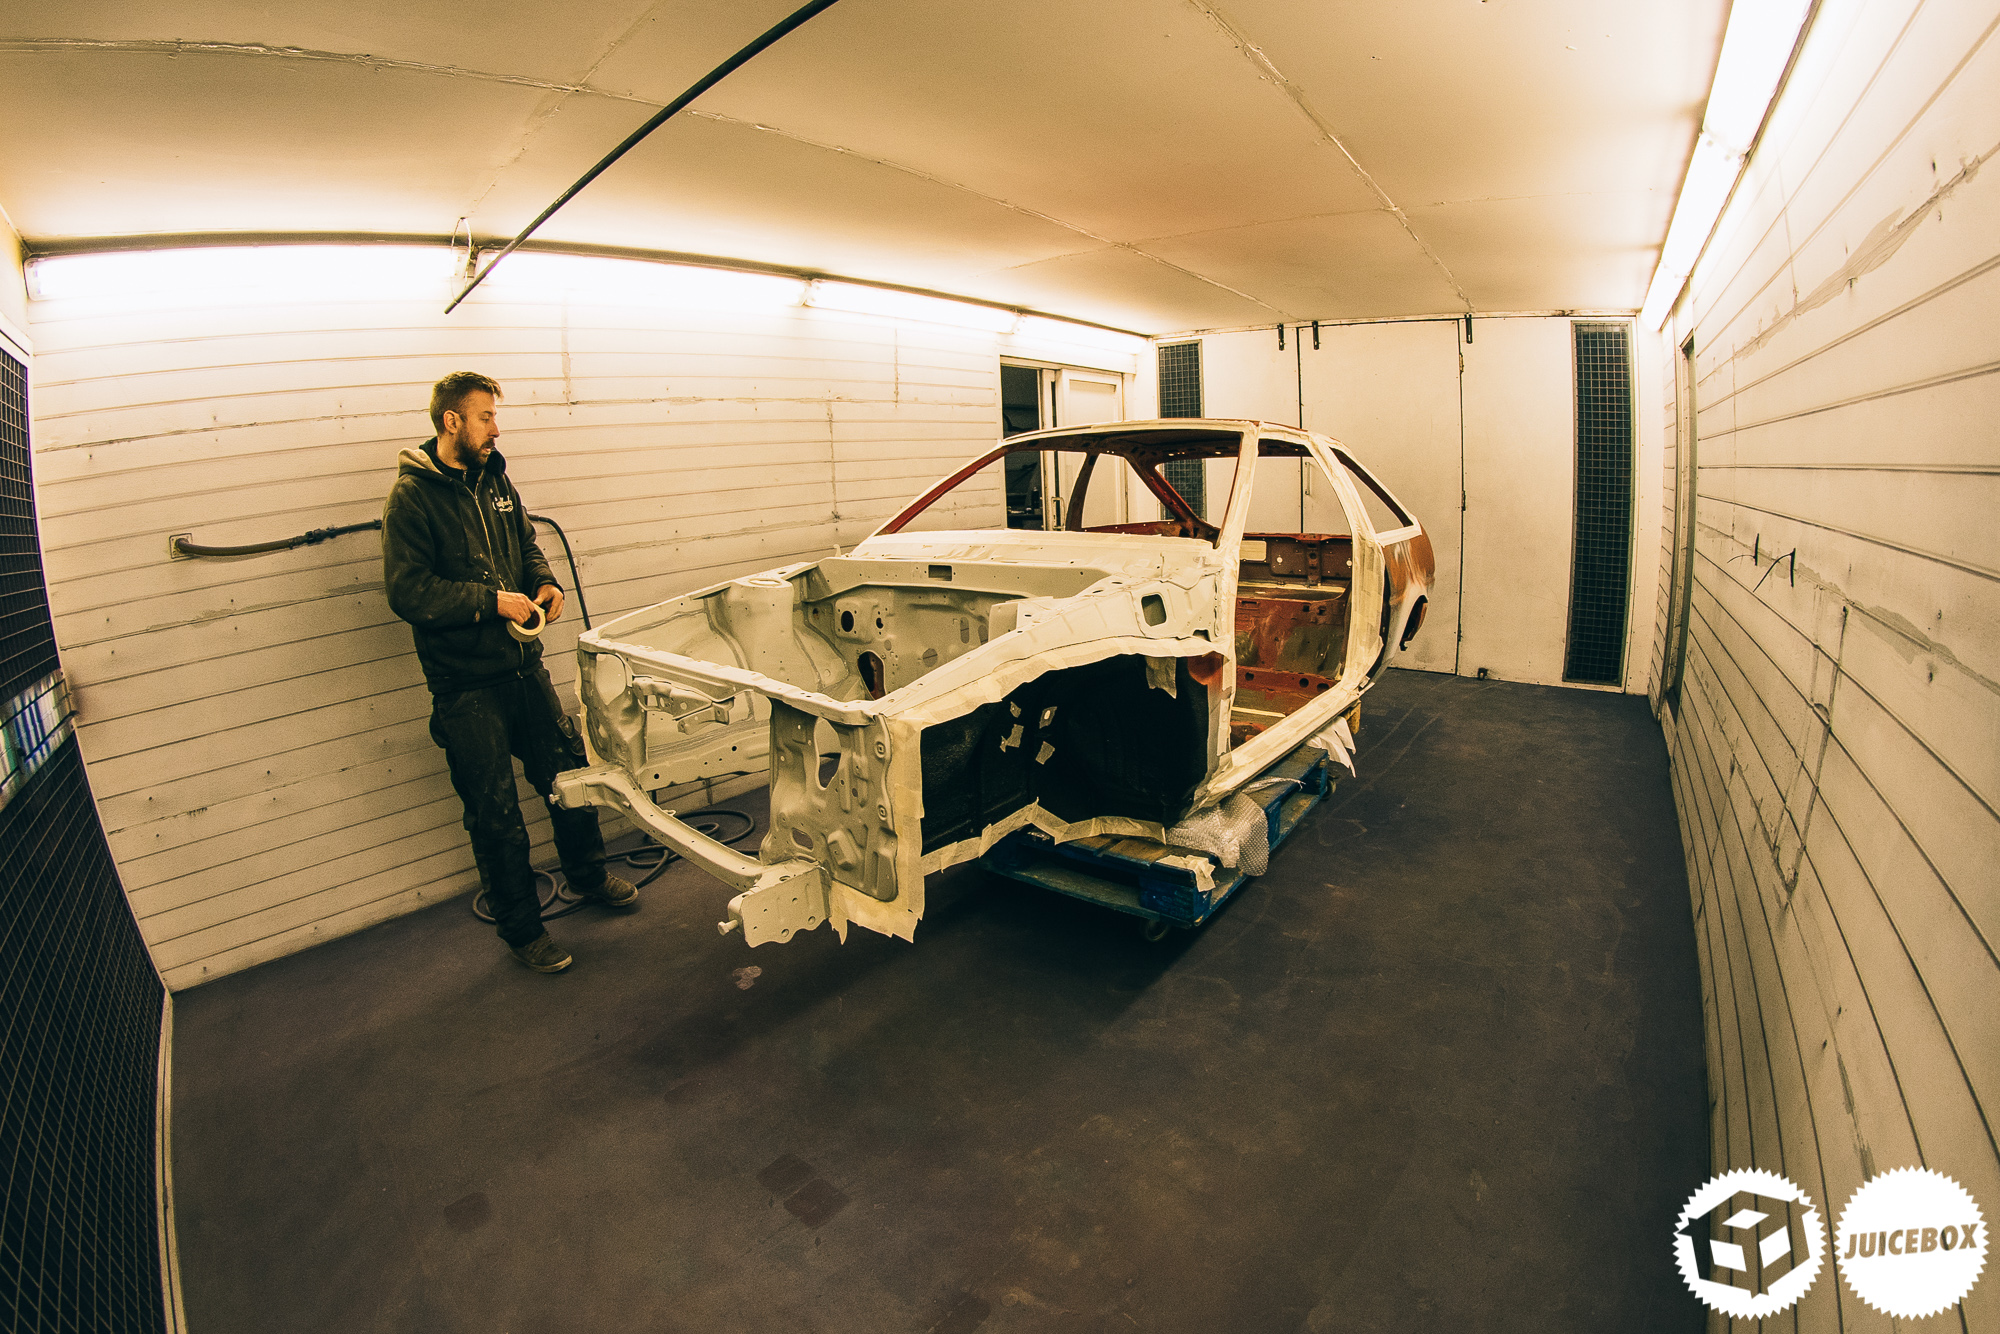
Man! What an epic feeling it was to finally get the shell’s interior and the bay into the paint. Unfortunately, the loss of my father right in the middle of the project put everything on pause for almost eight months. We had pushed the shell over to Flips in March of 2019, and it more or less sat there until October, gathering dust.
Our trip to Japan was well needed, and when we came back, we decided to crack on with the project.
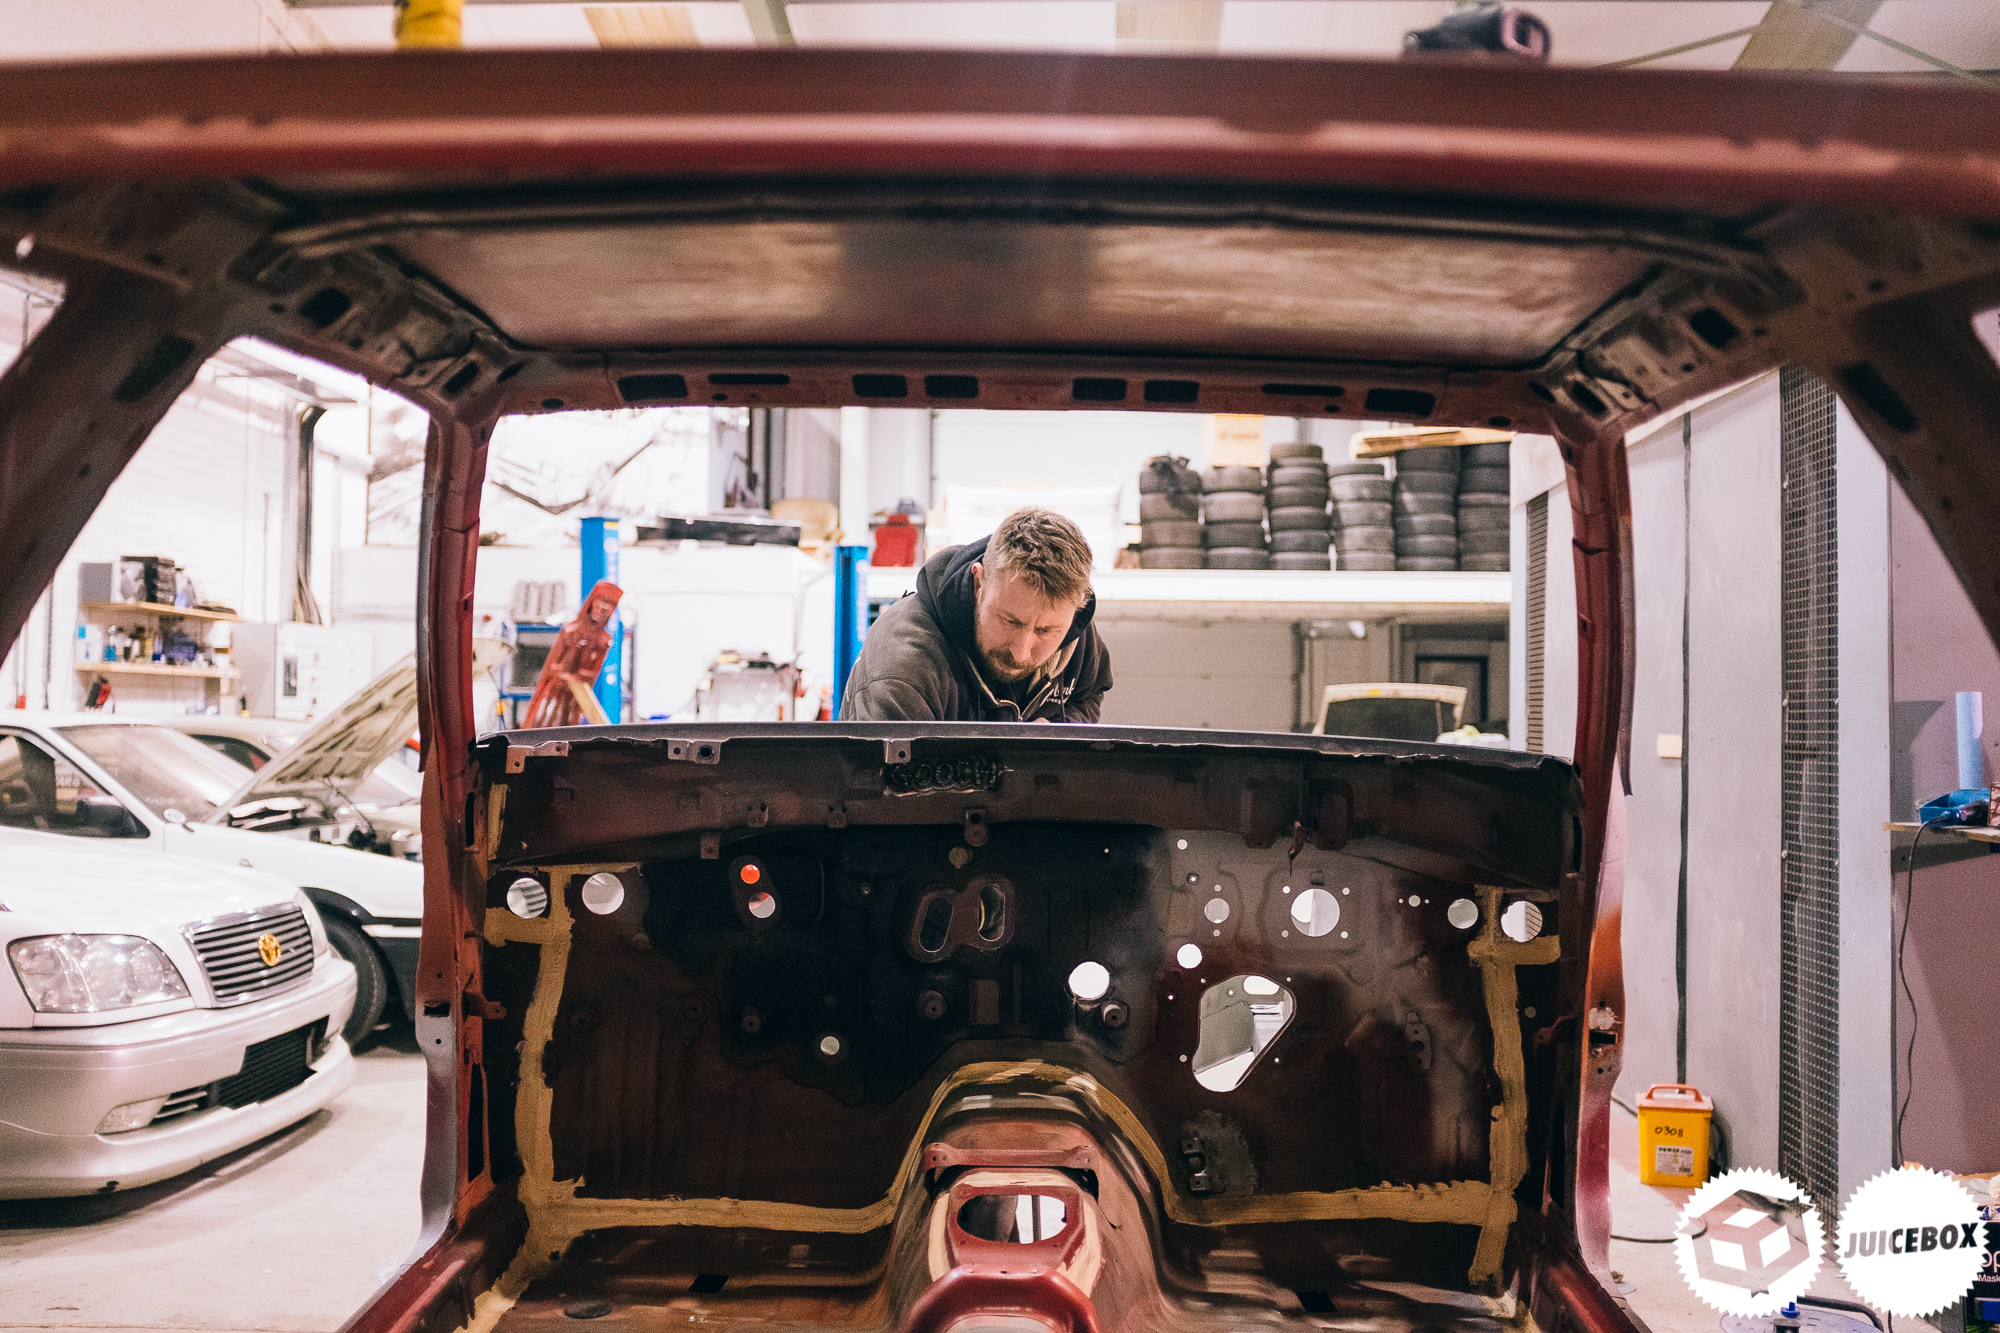
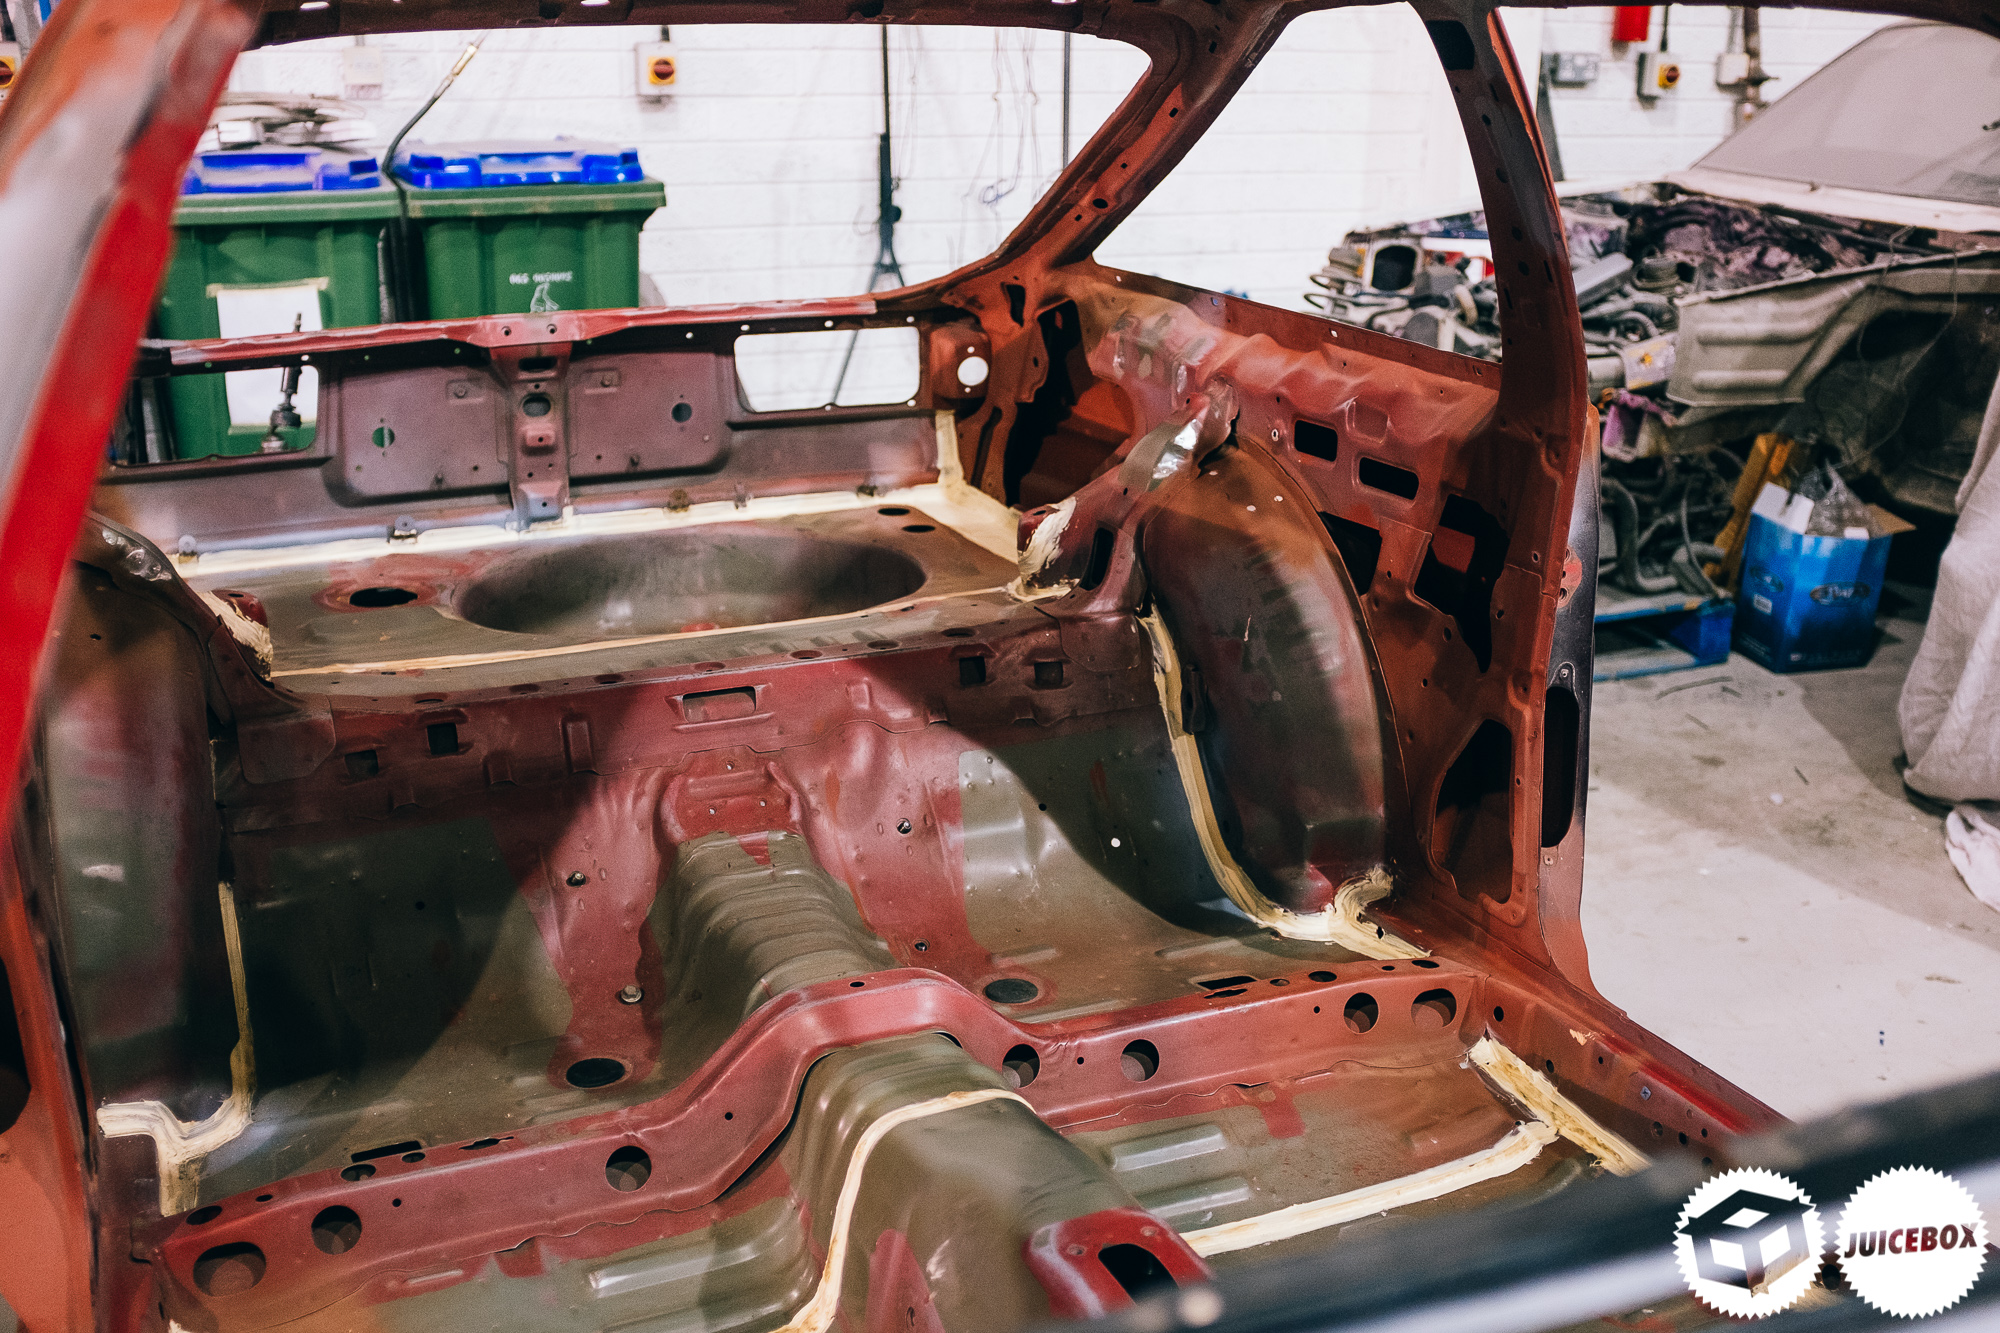
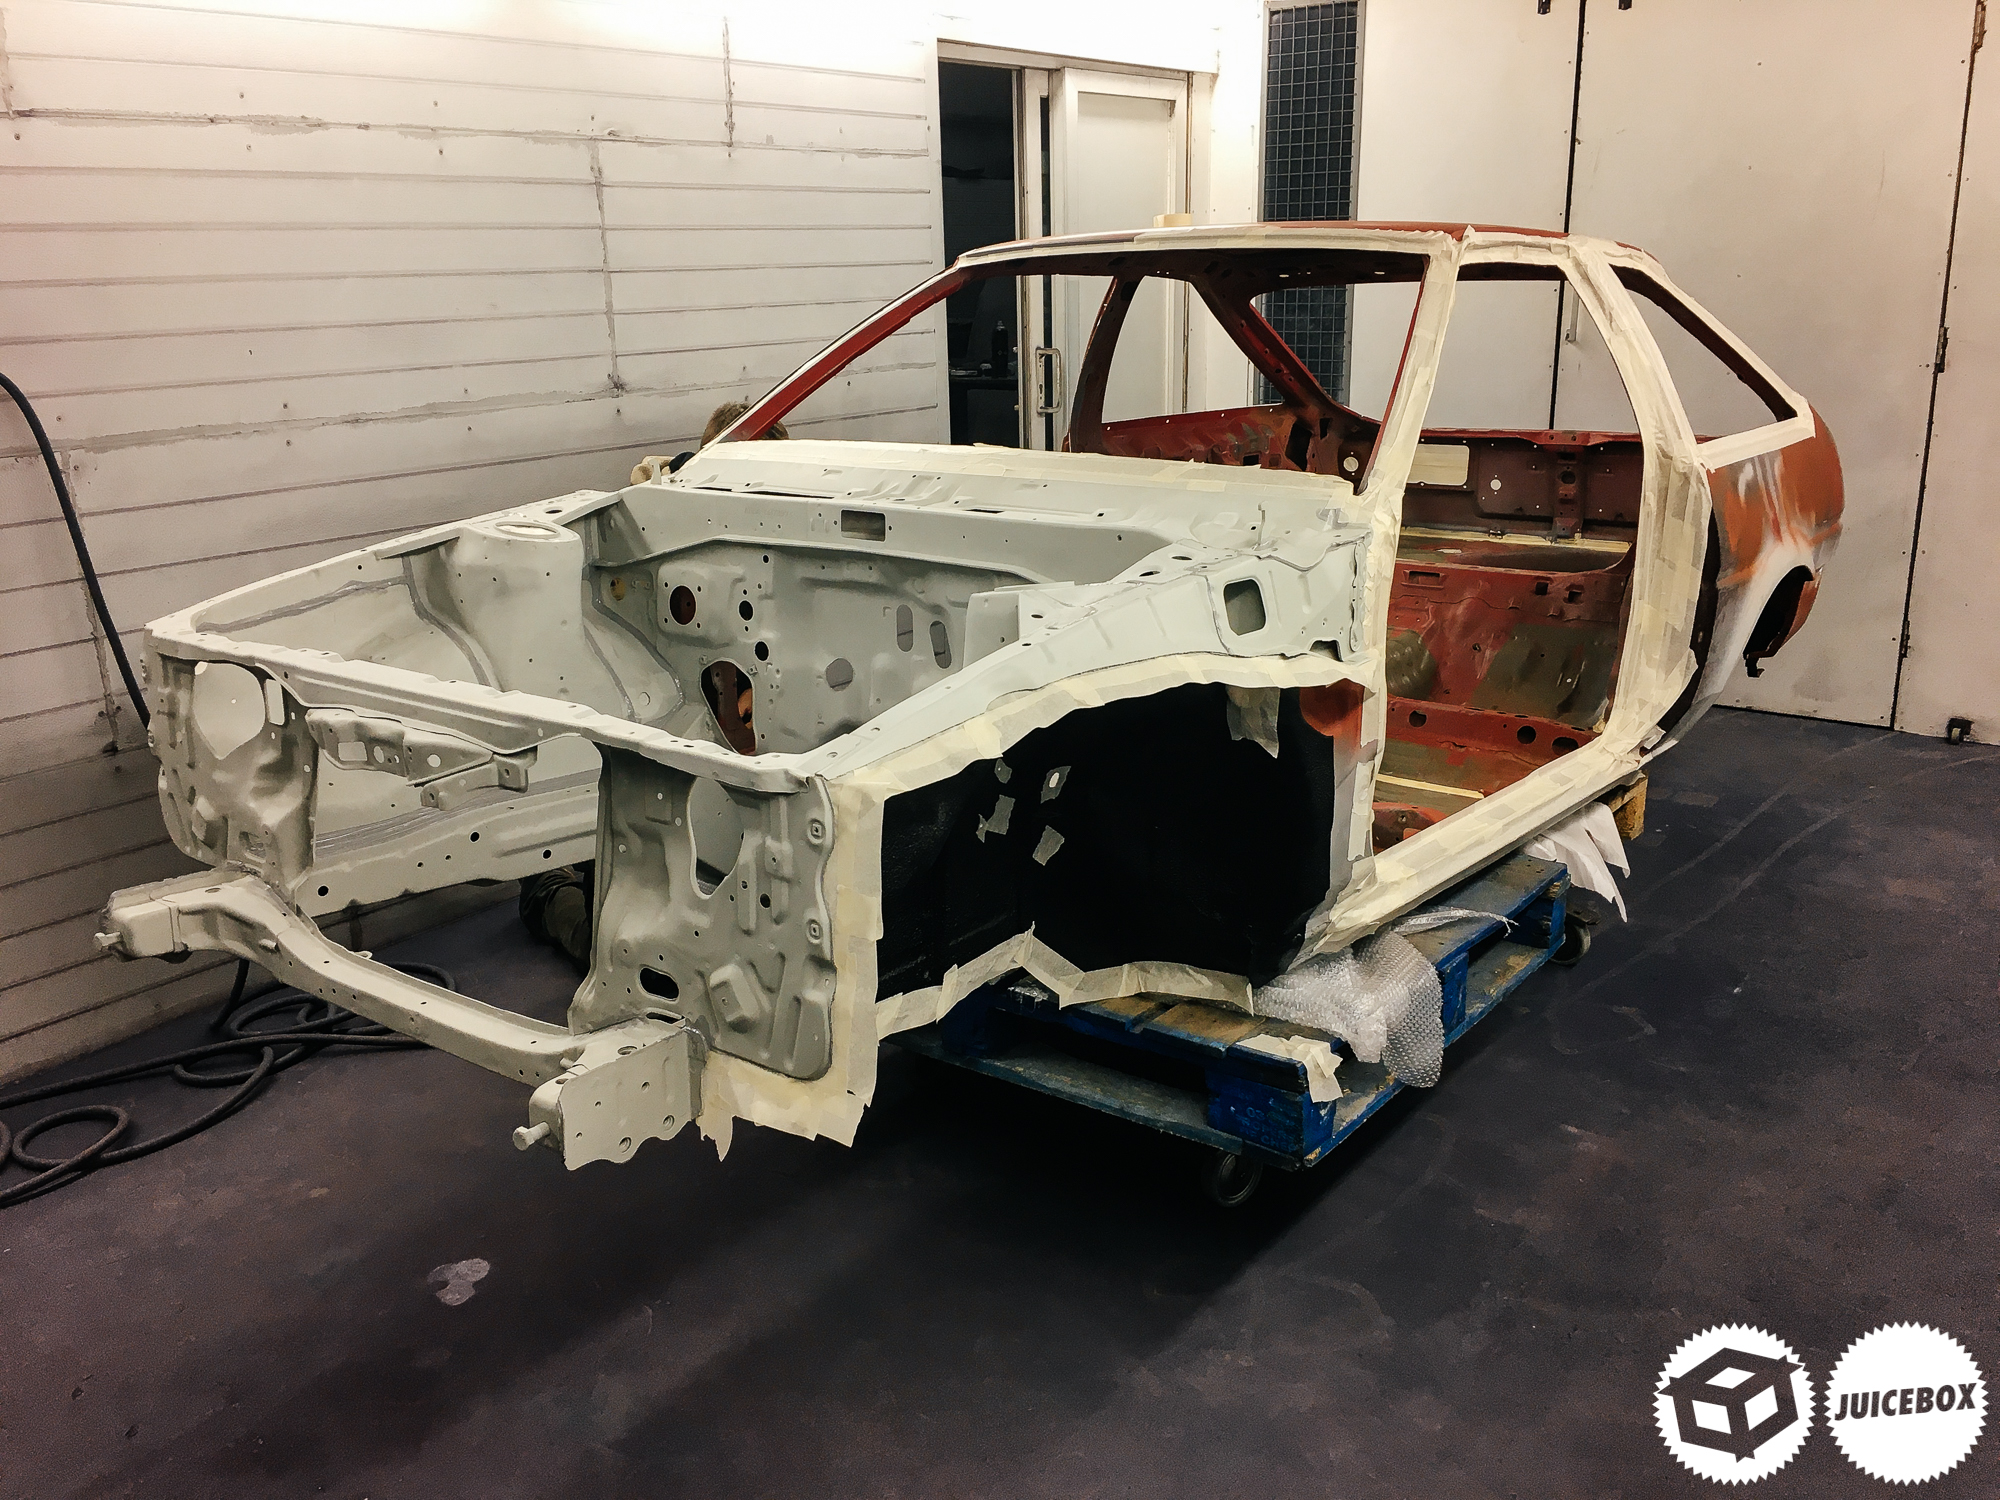
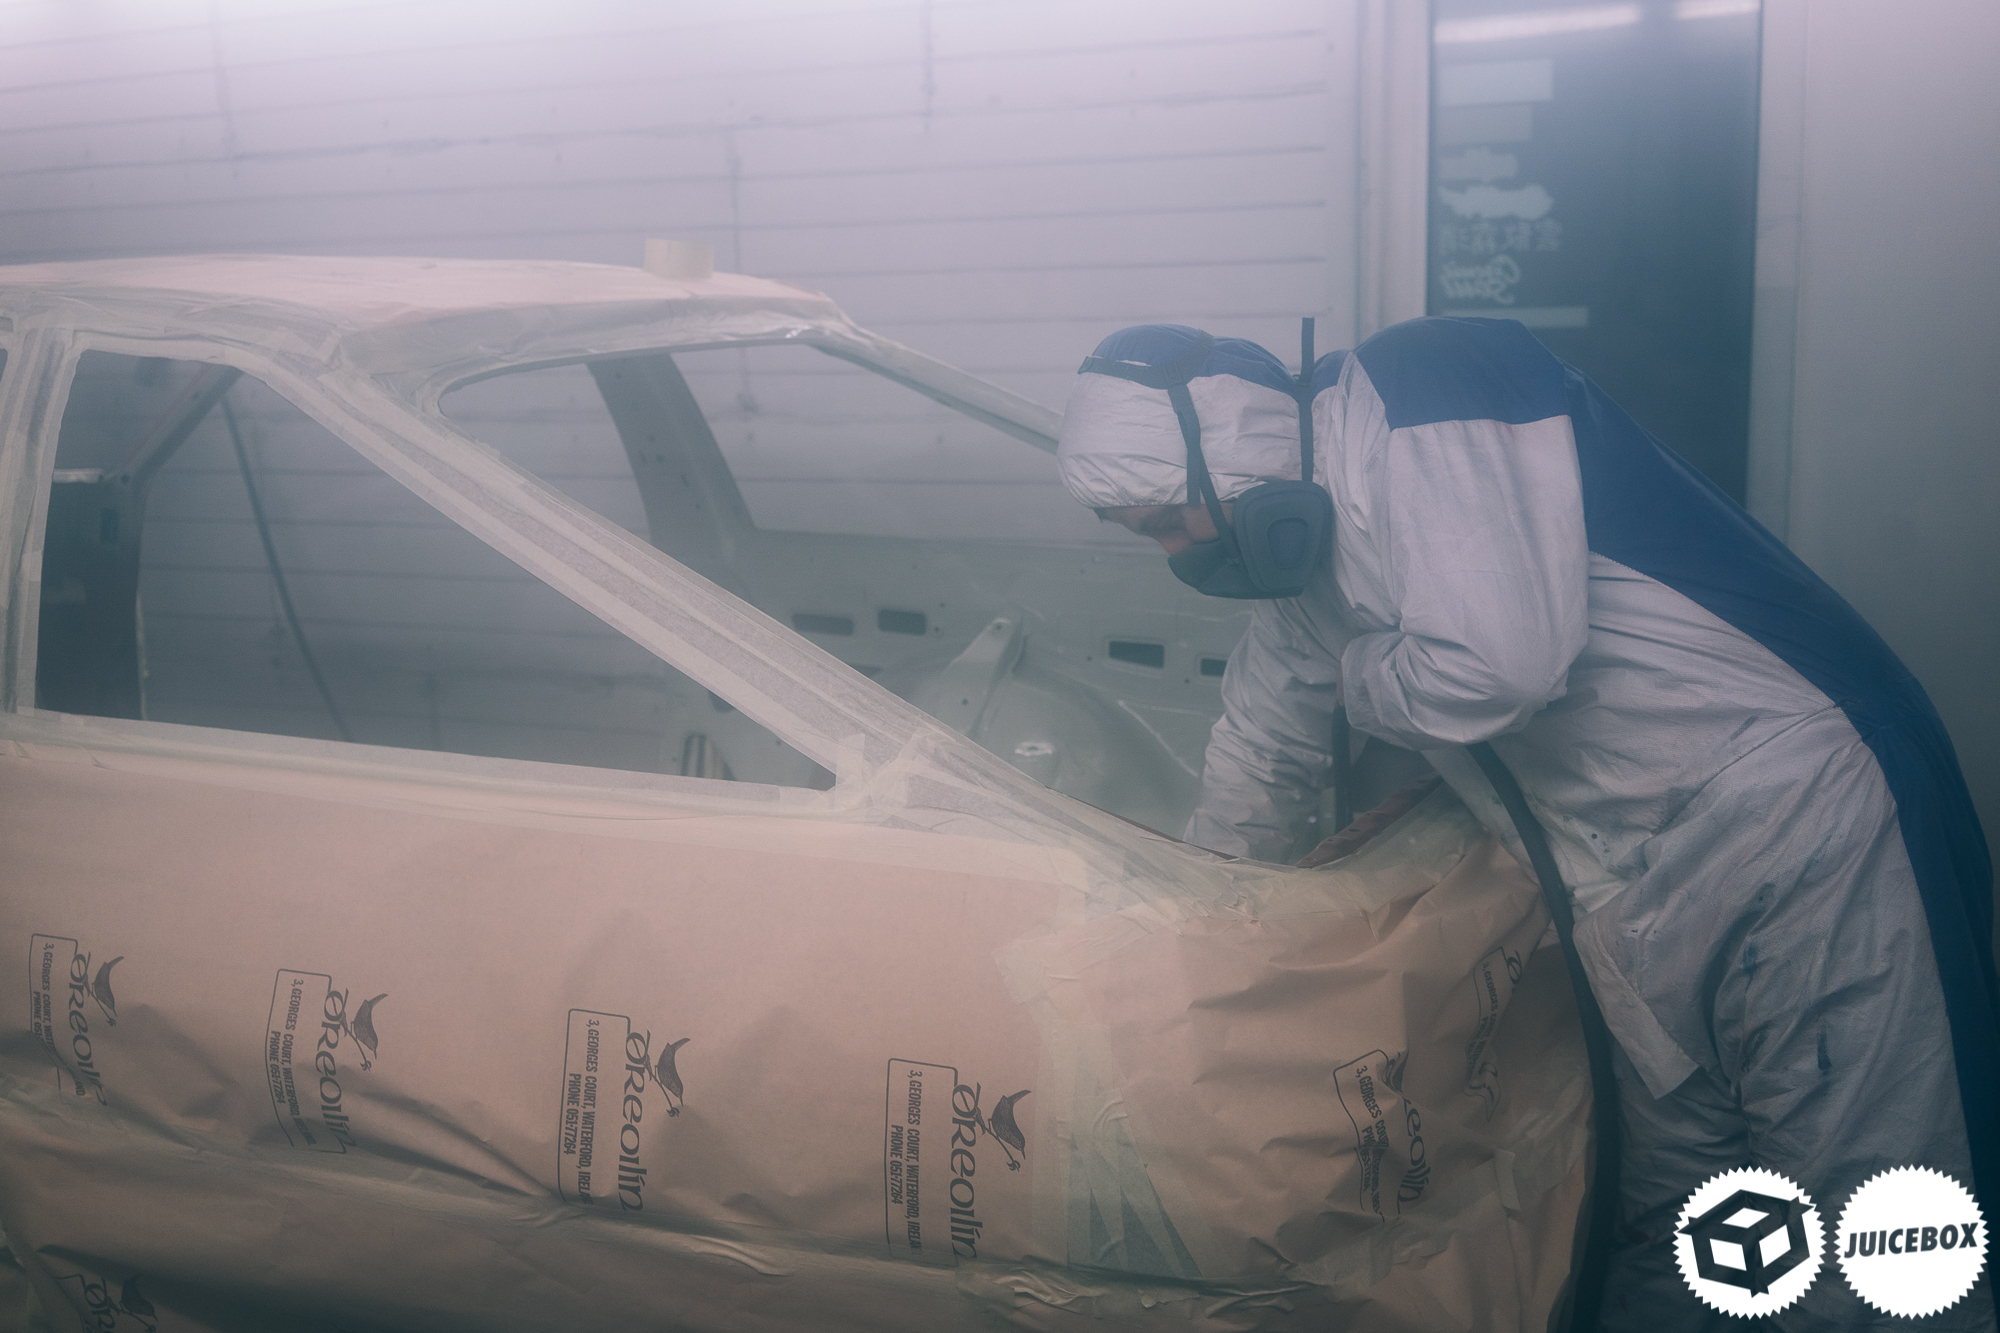
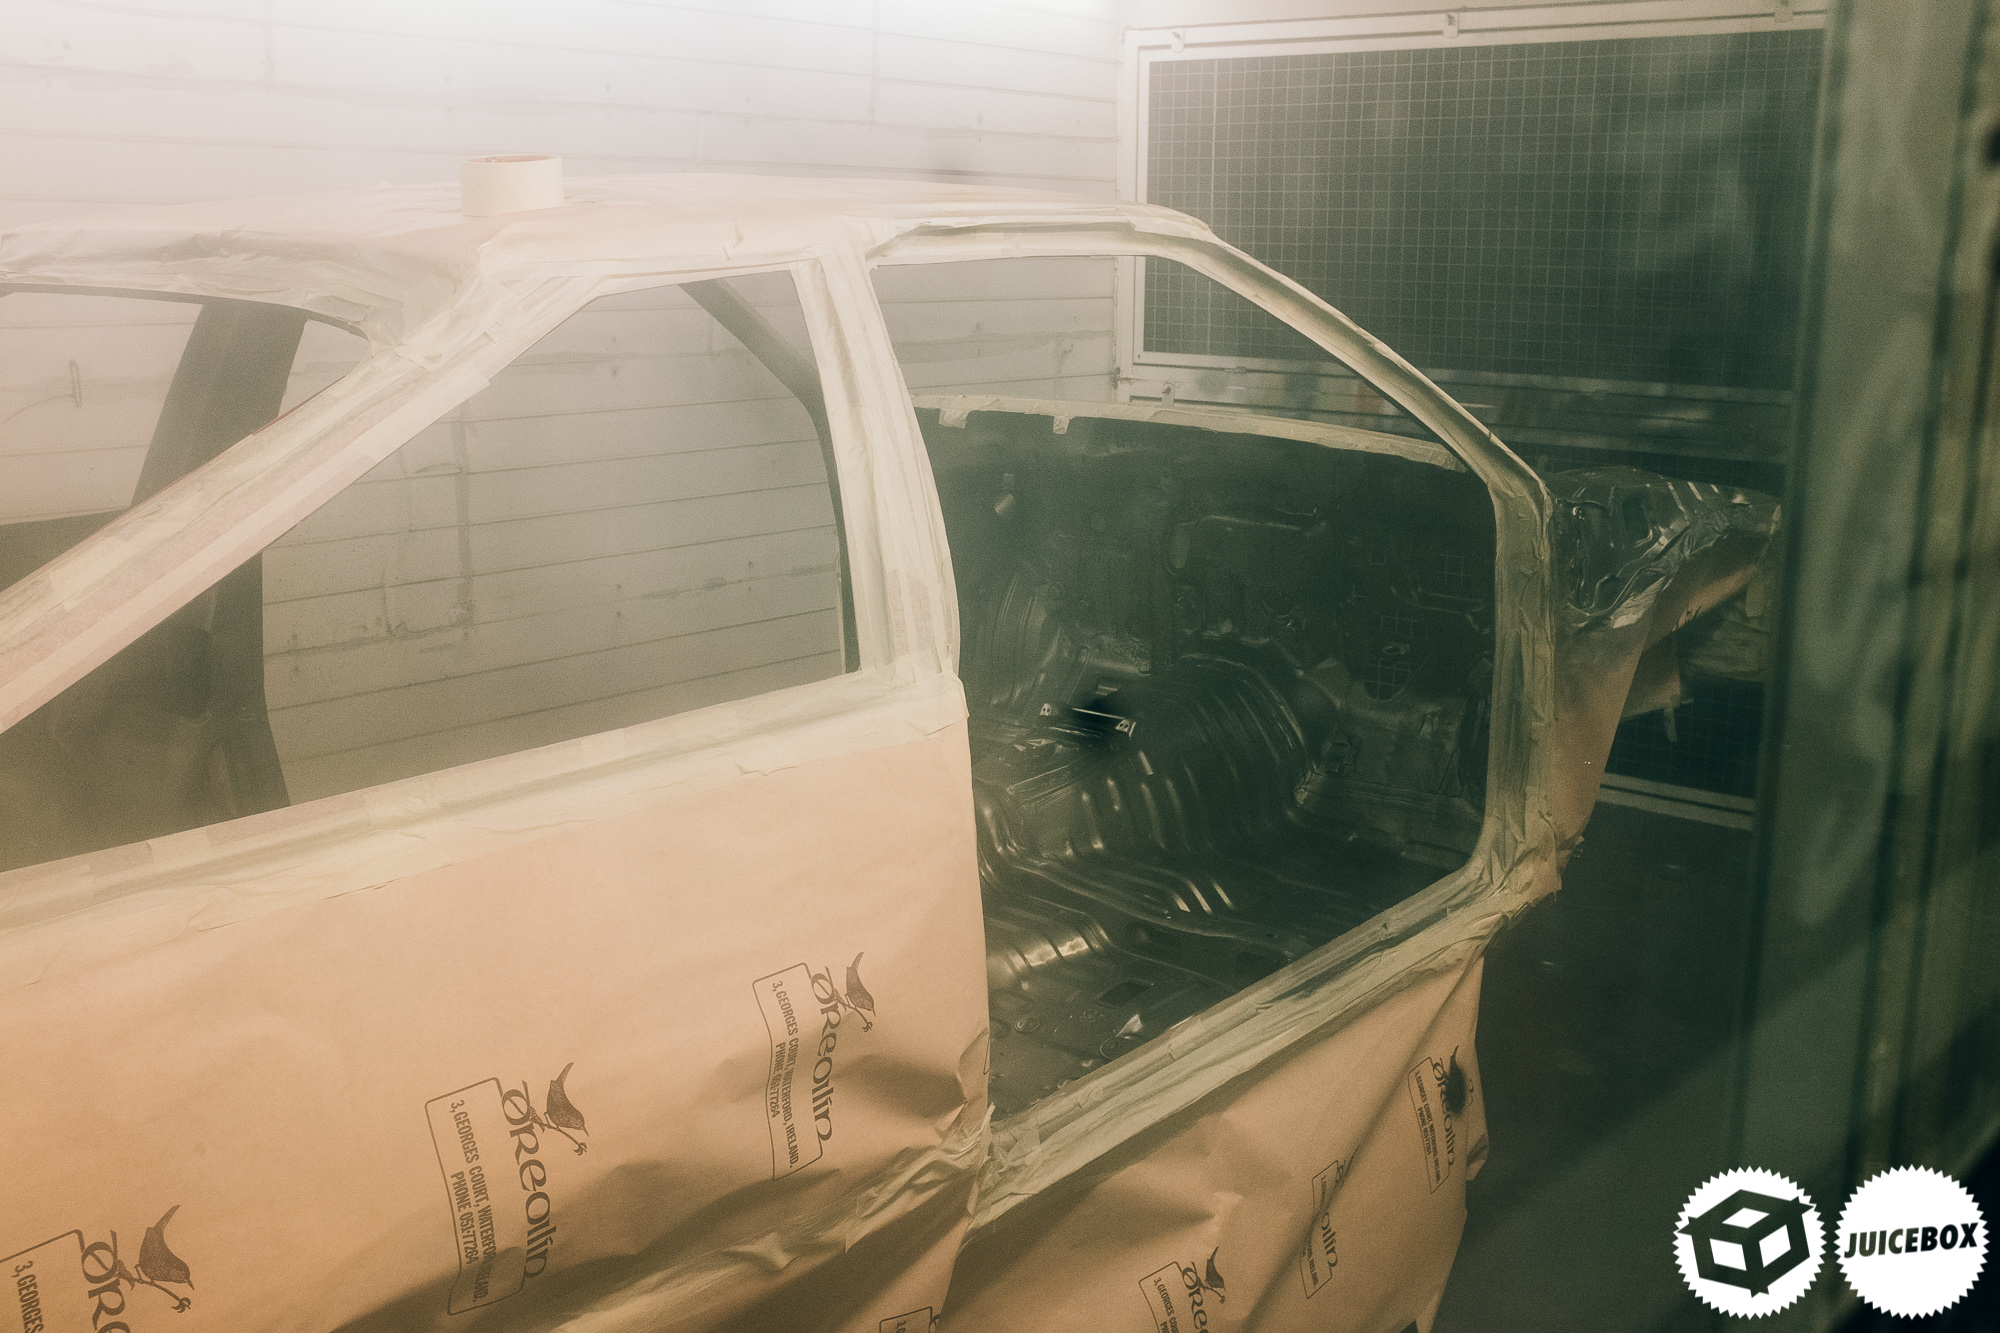
I was incredibly nervous as we sanded the shells interior for the final time, Jackie had helped out with the sealer earlier in the year, and we had just primed the bay. Flip was giving the engine bay seams a coat of sealer before we covered everything with paint.

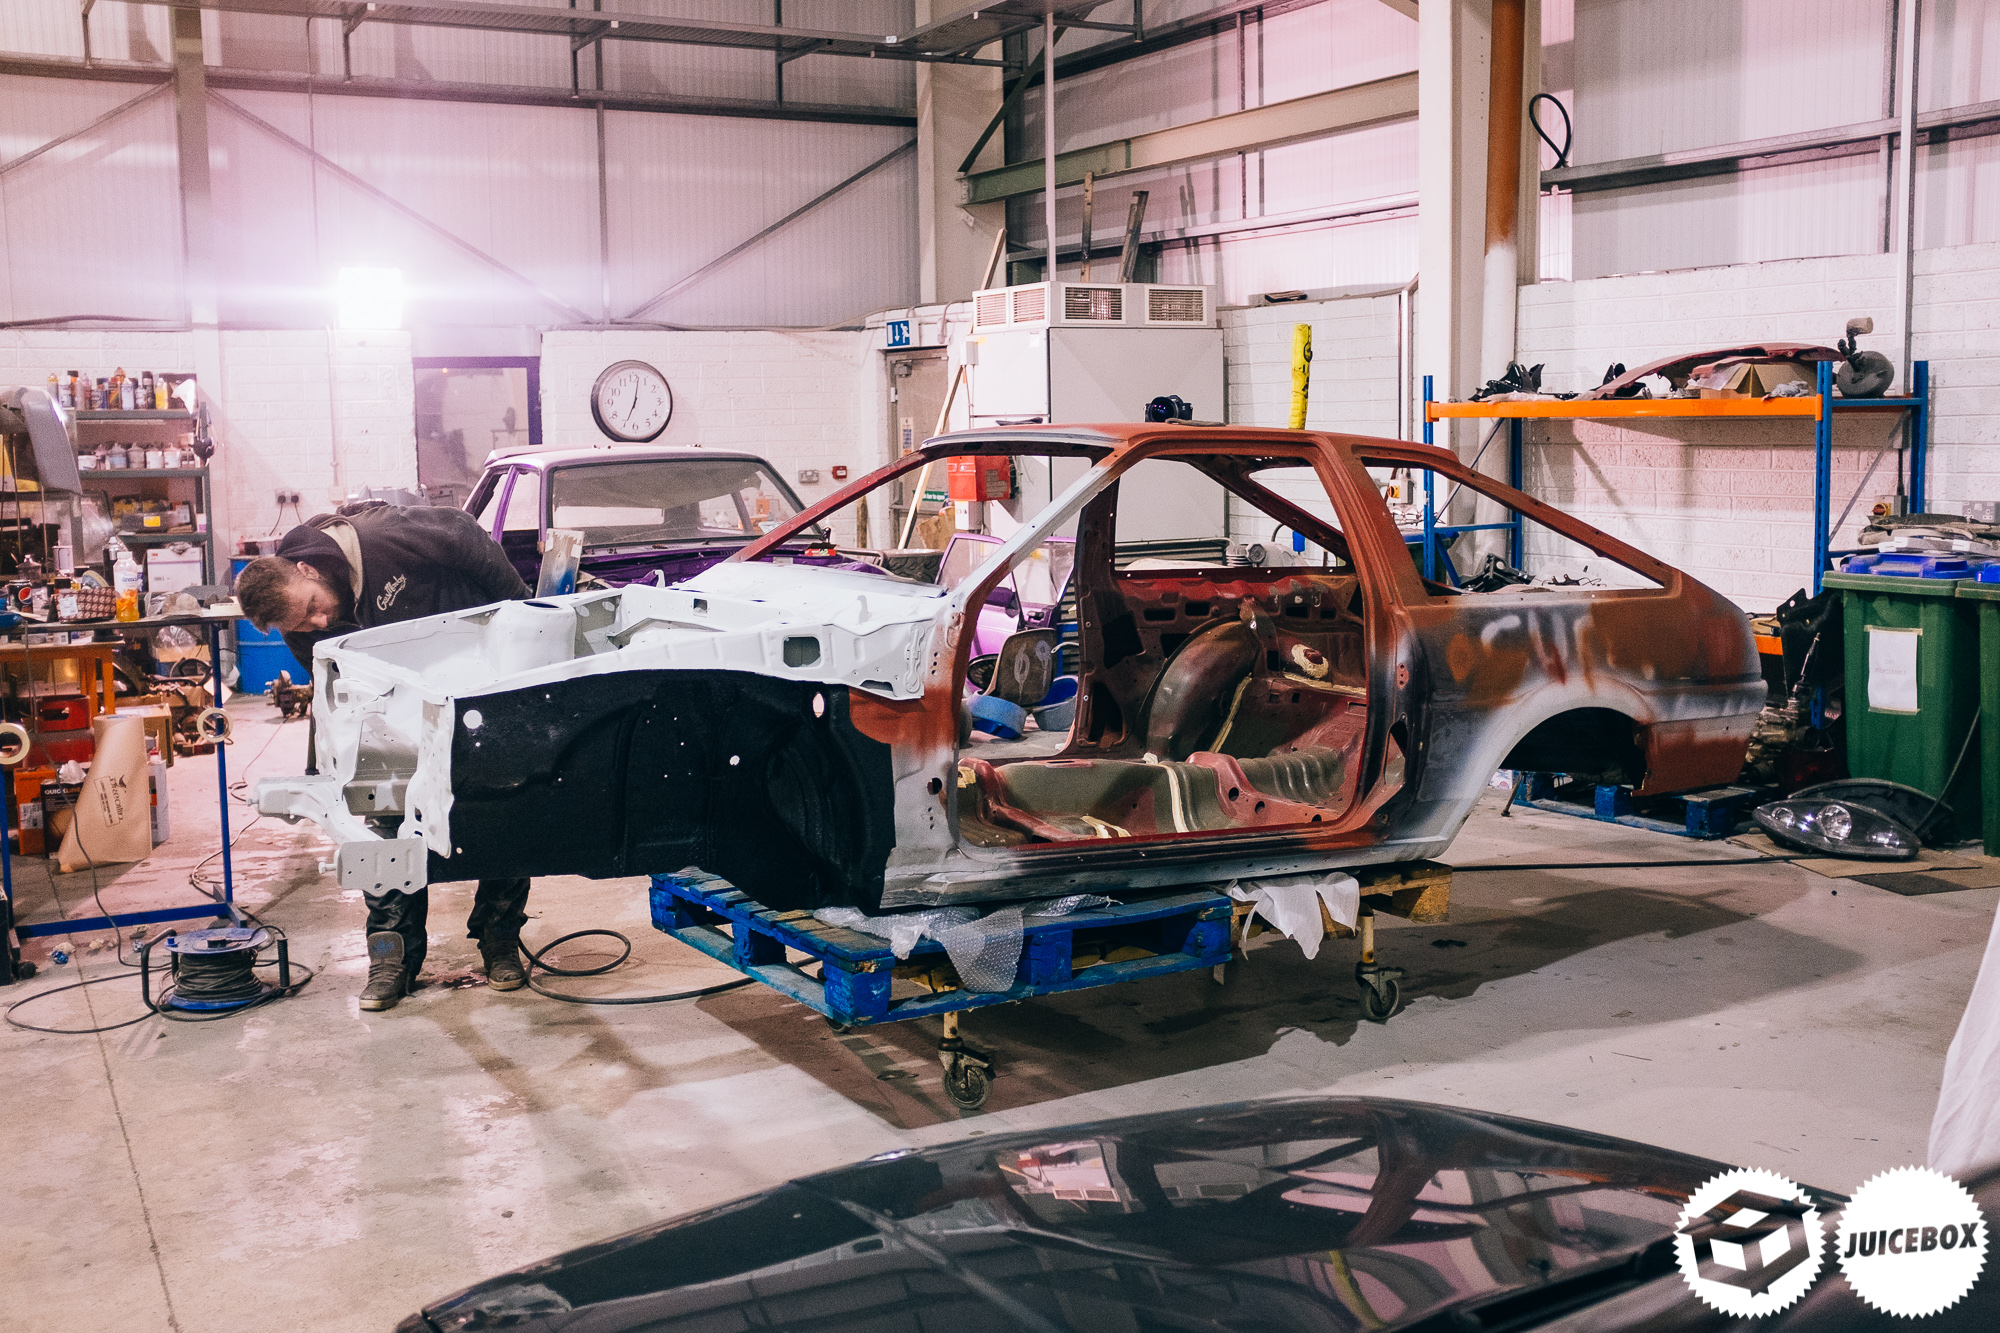
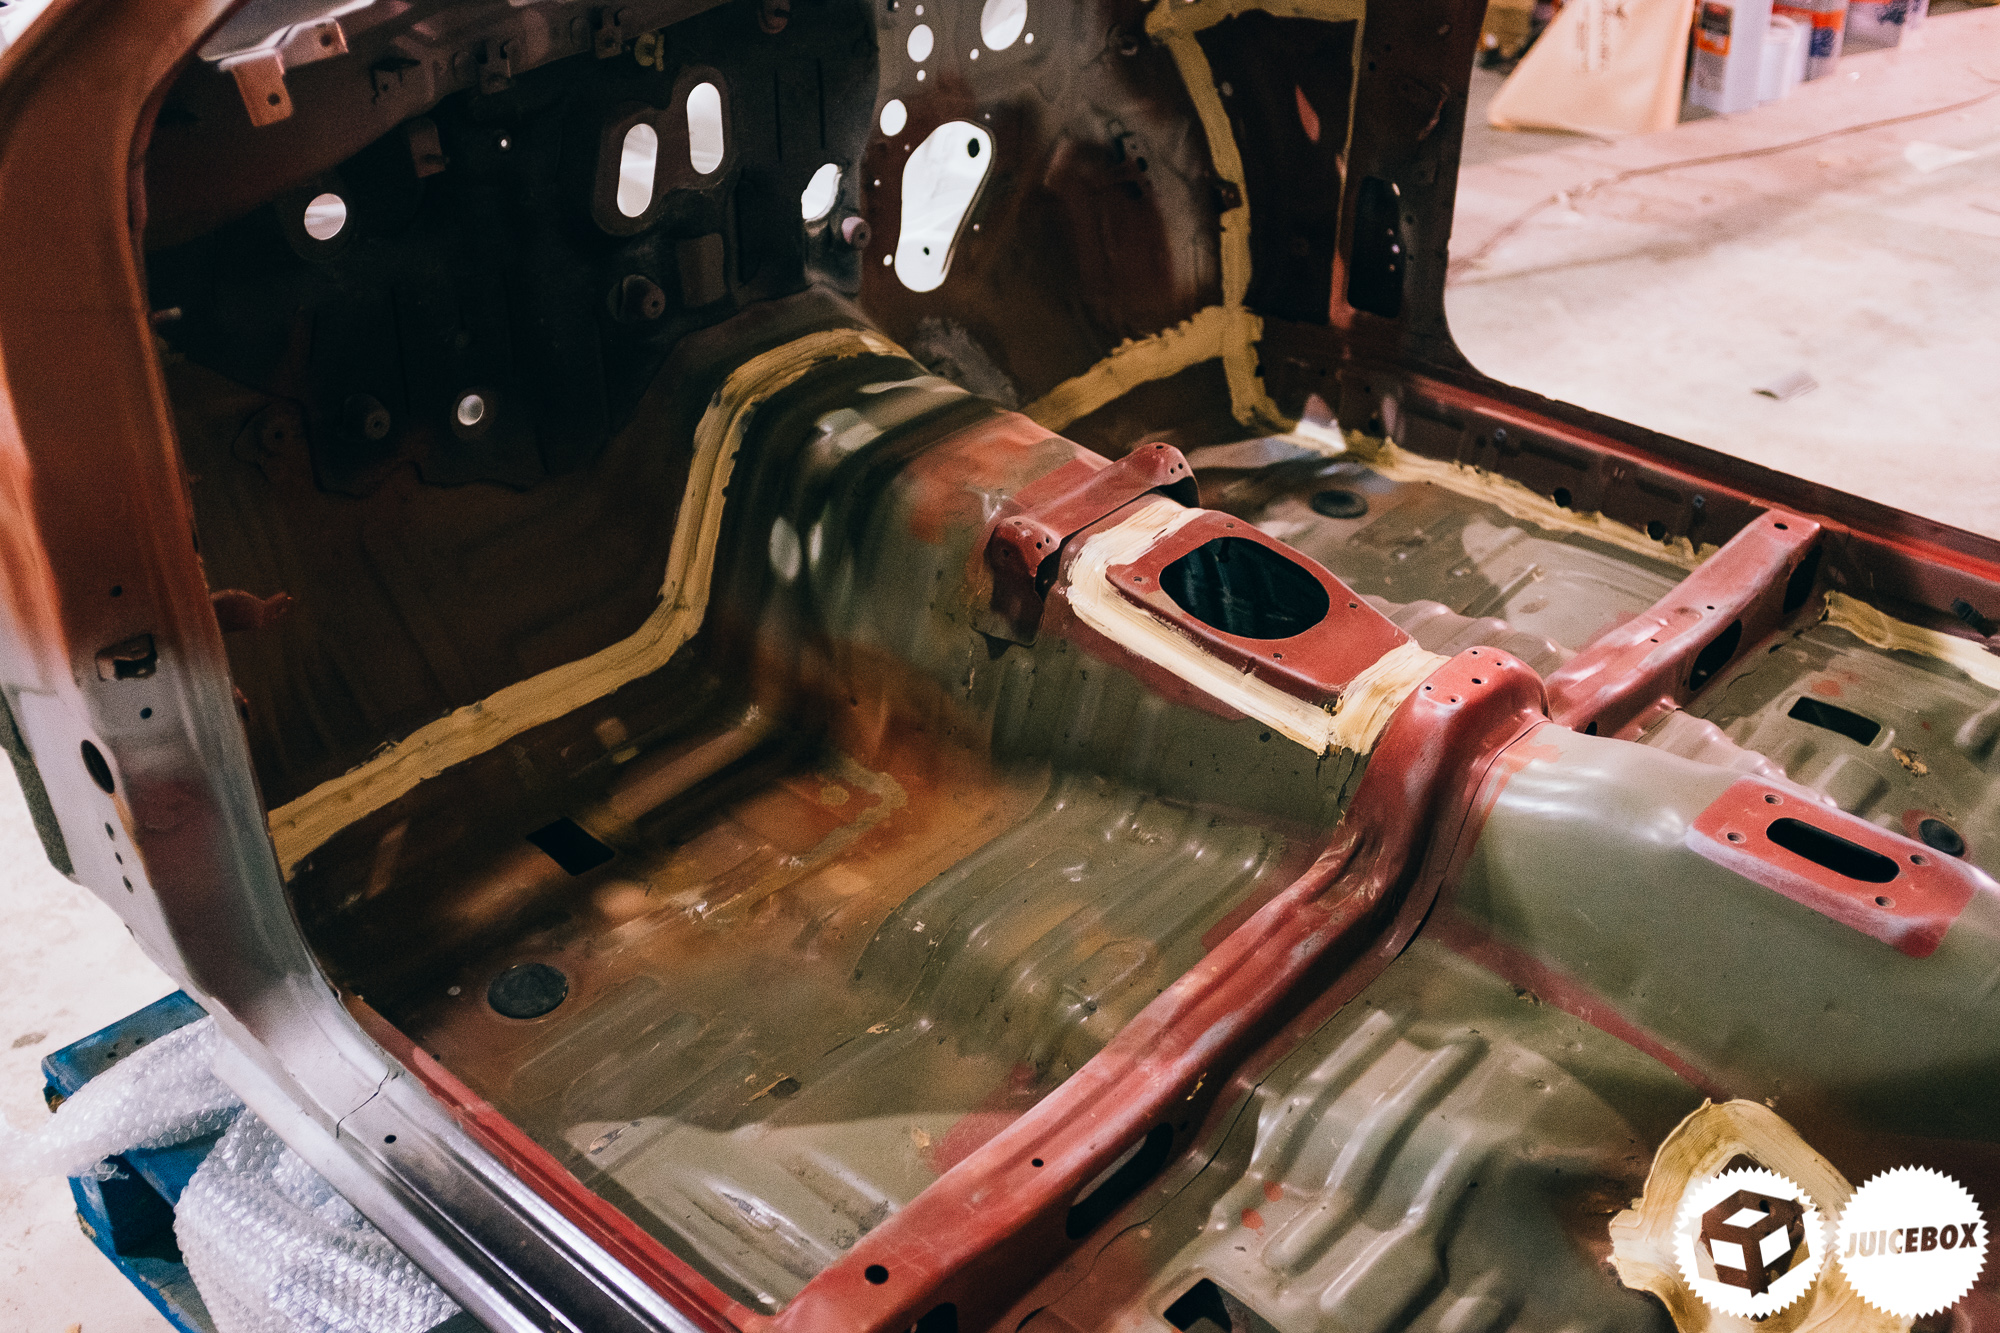
Flip was nice enough to help out with the engine bay sealer, with the patience of a saint masking everything, so it looks right.

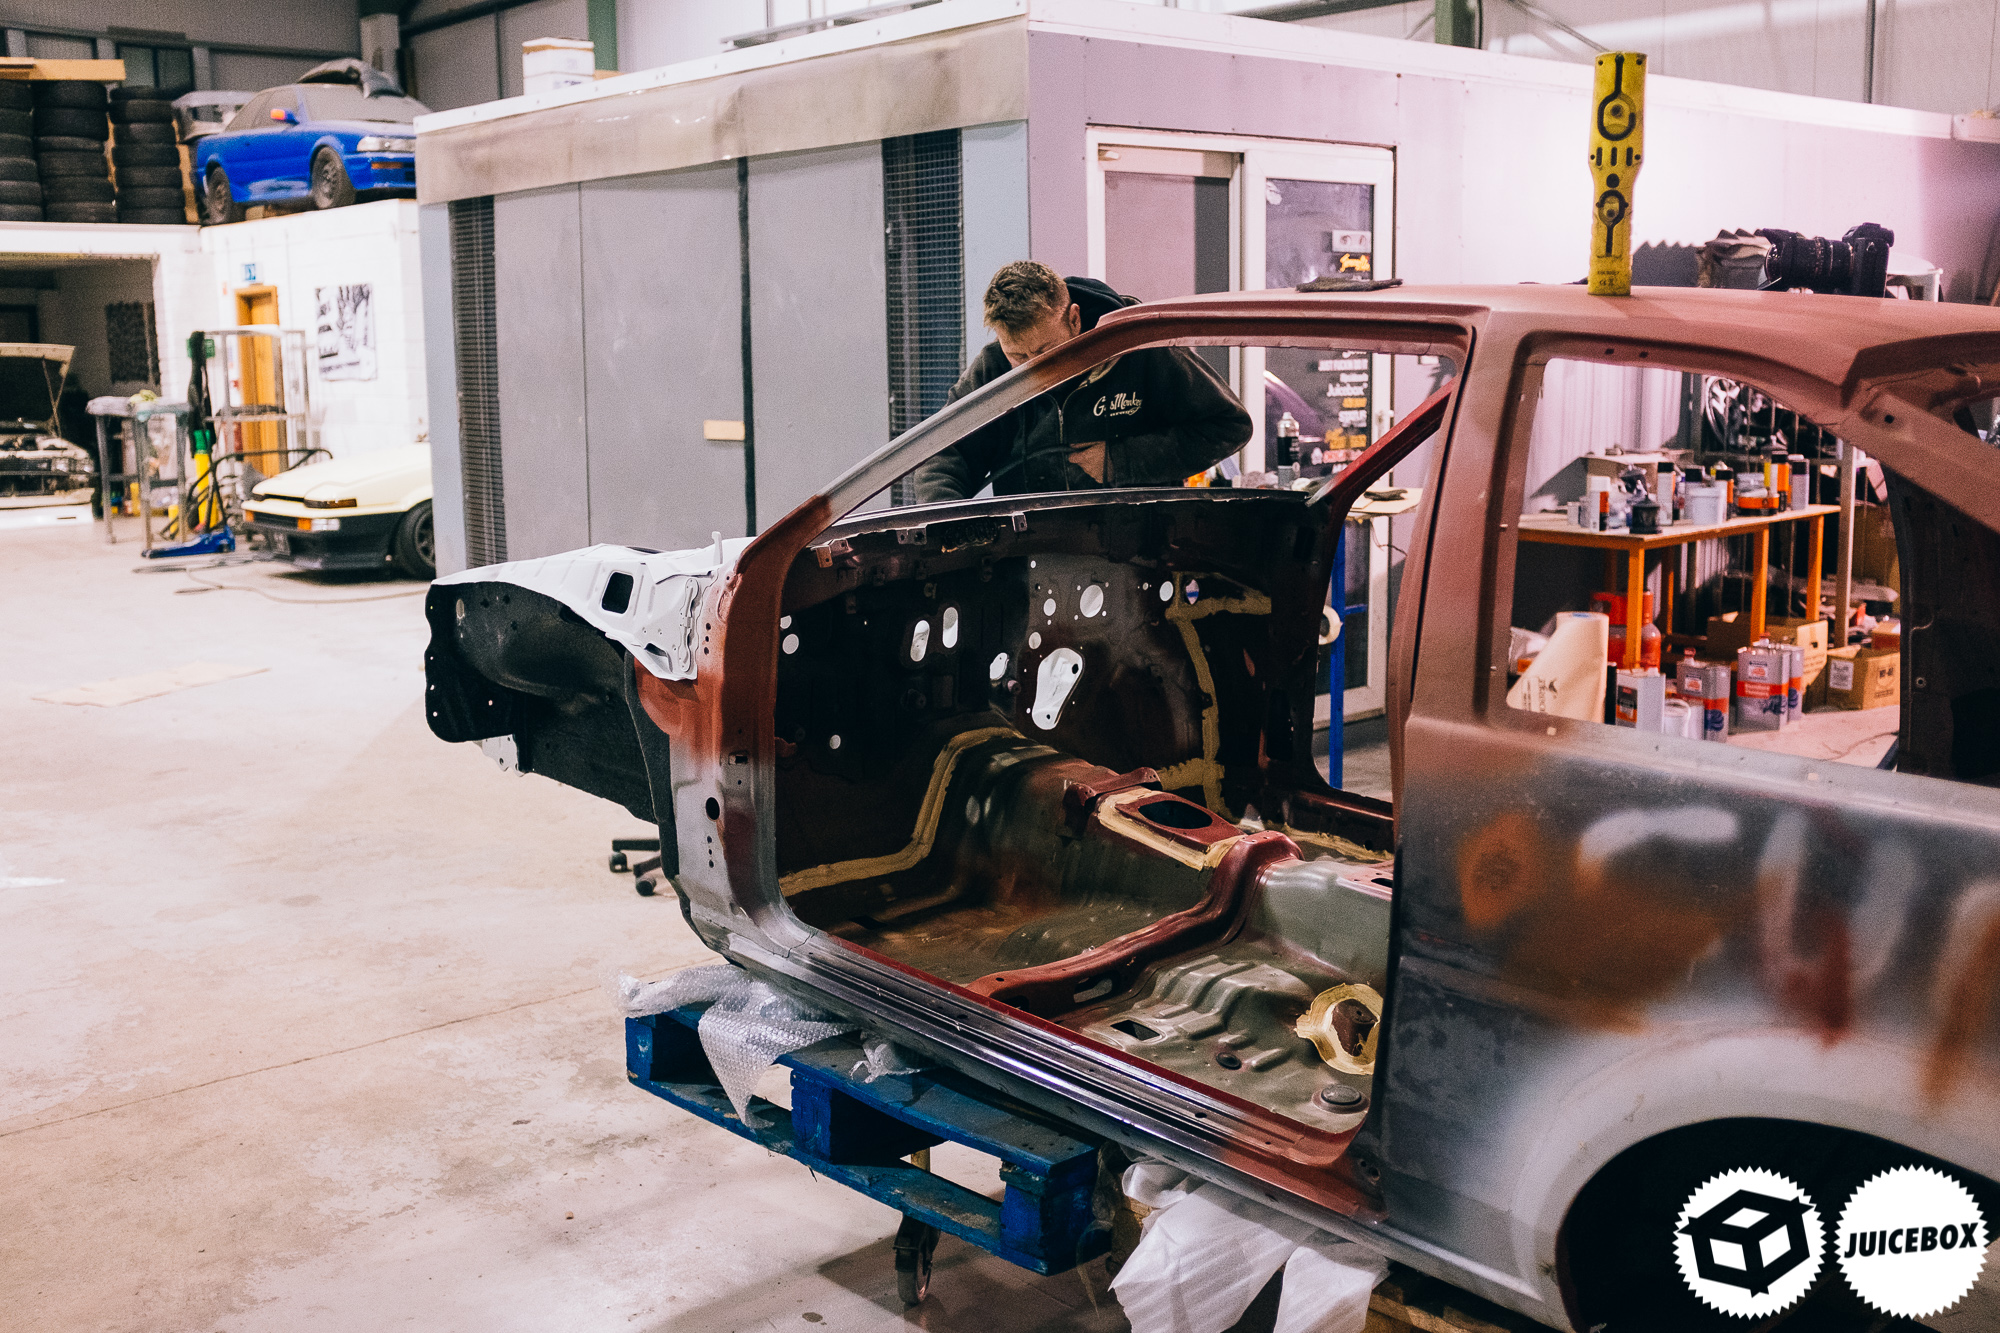
The shell was in good company…
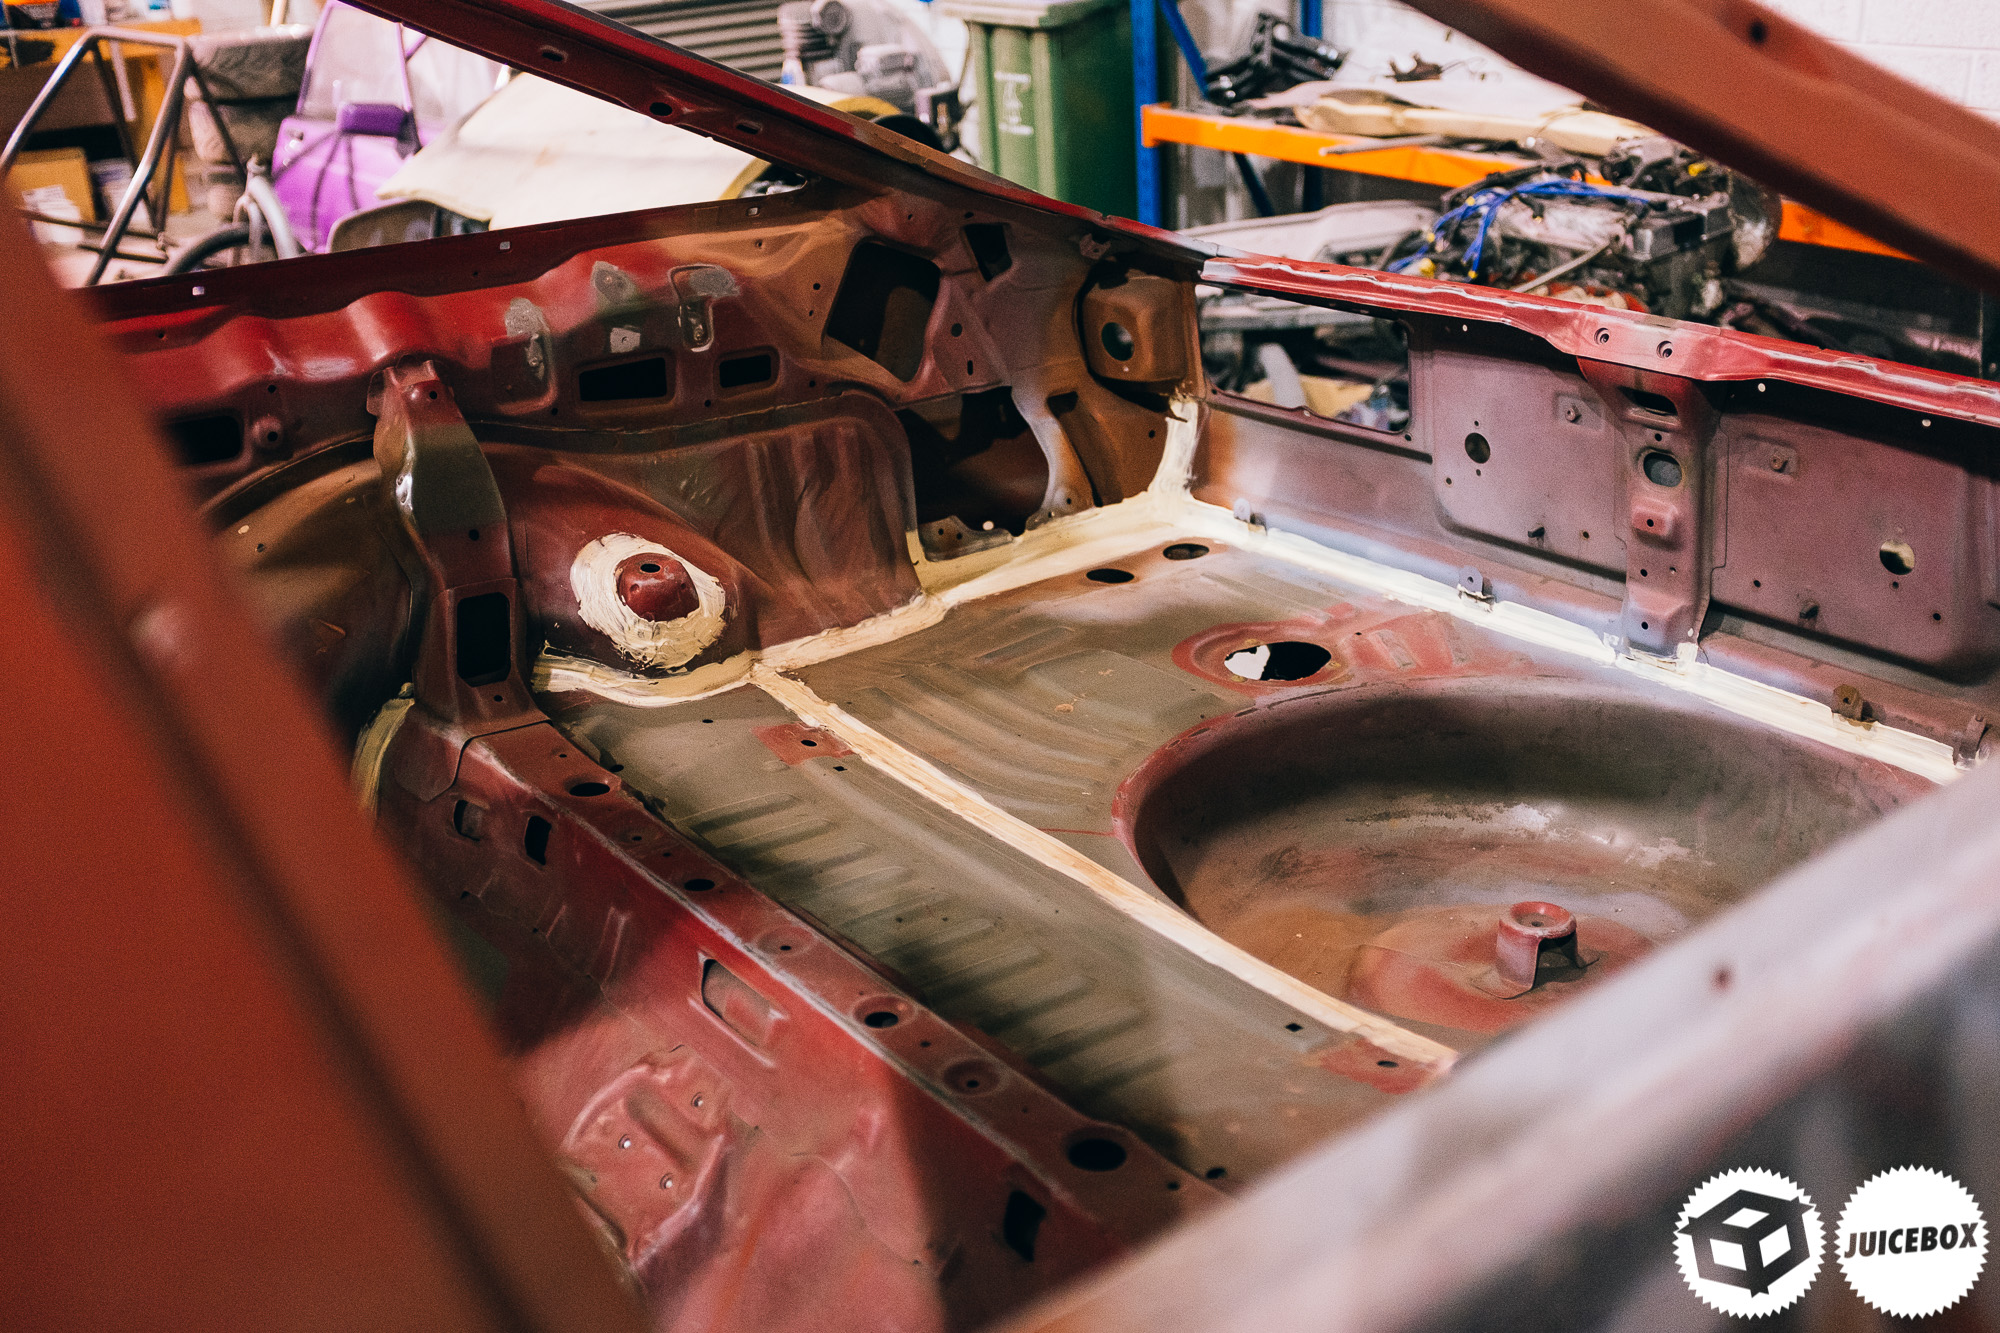
I wasn’t going to miss the fifty shades of pain inside!
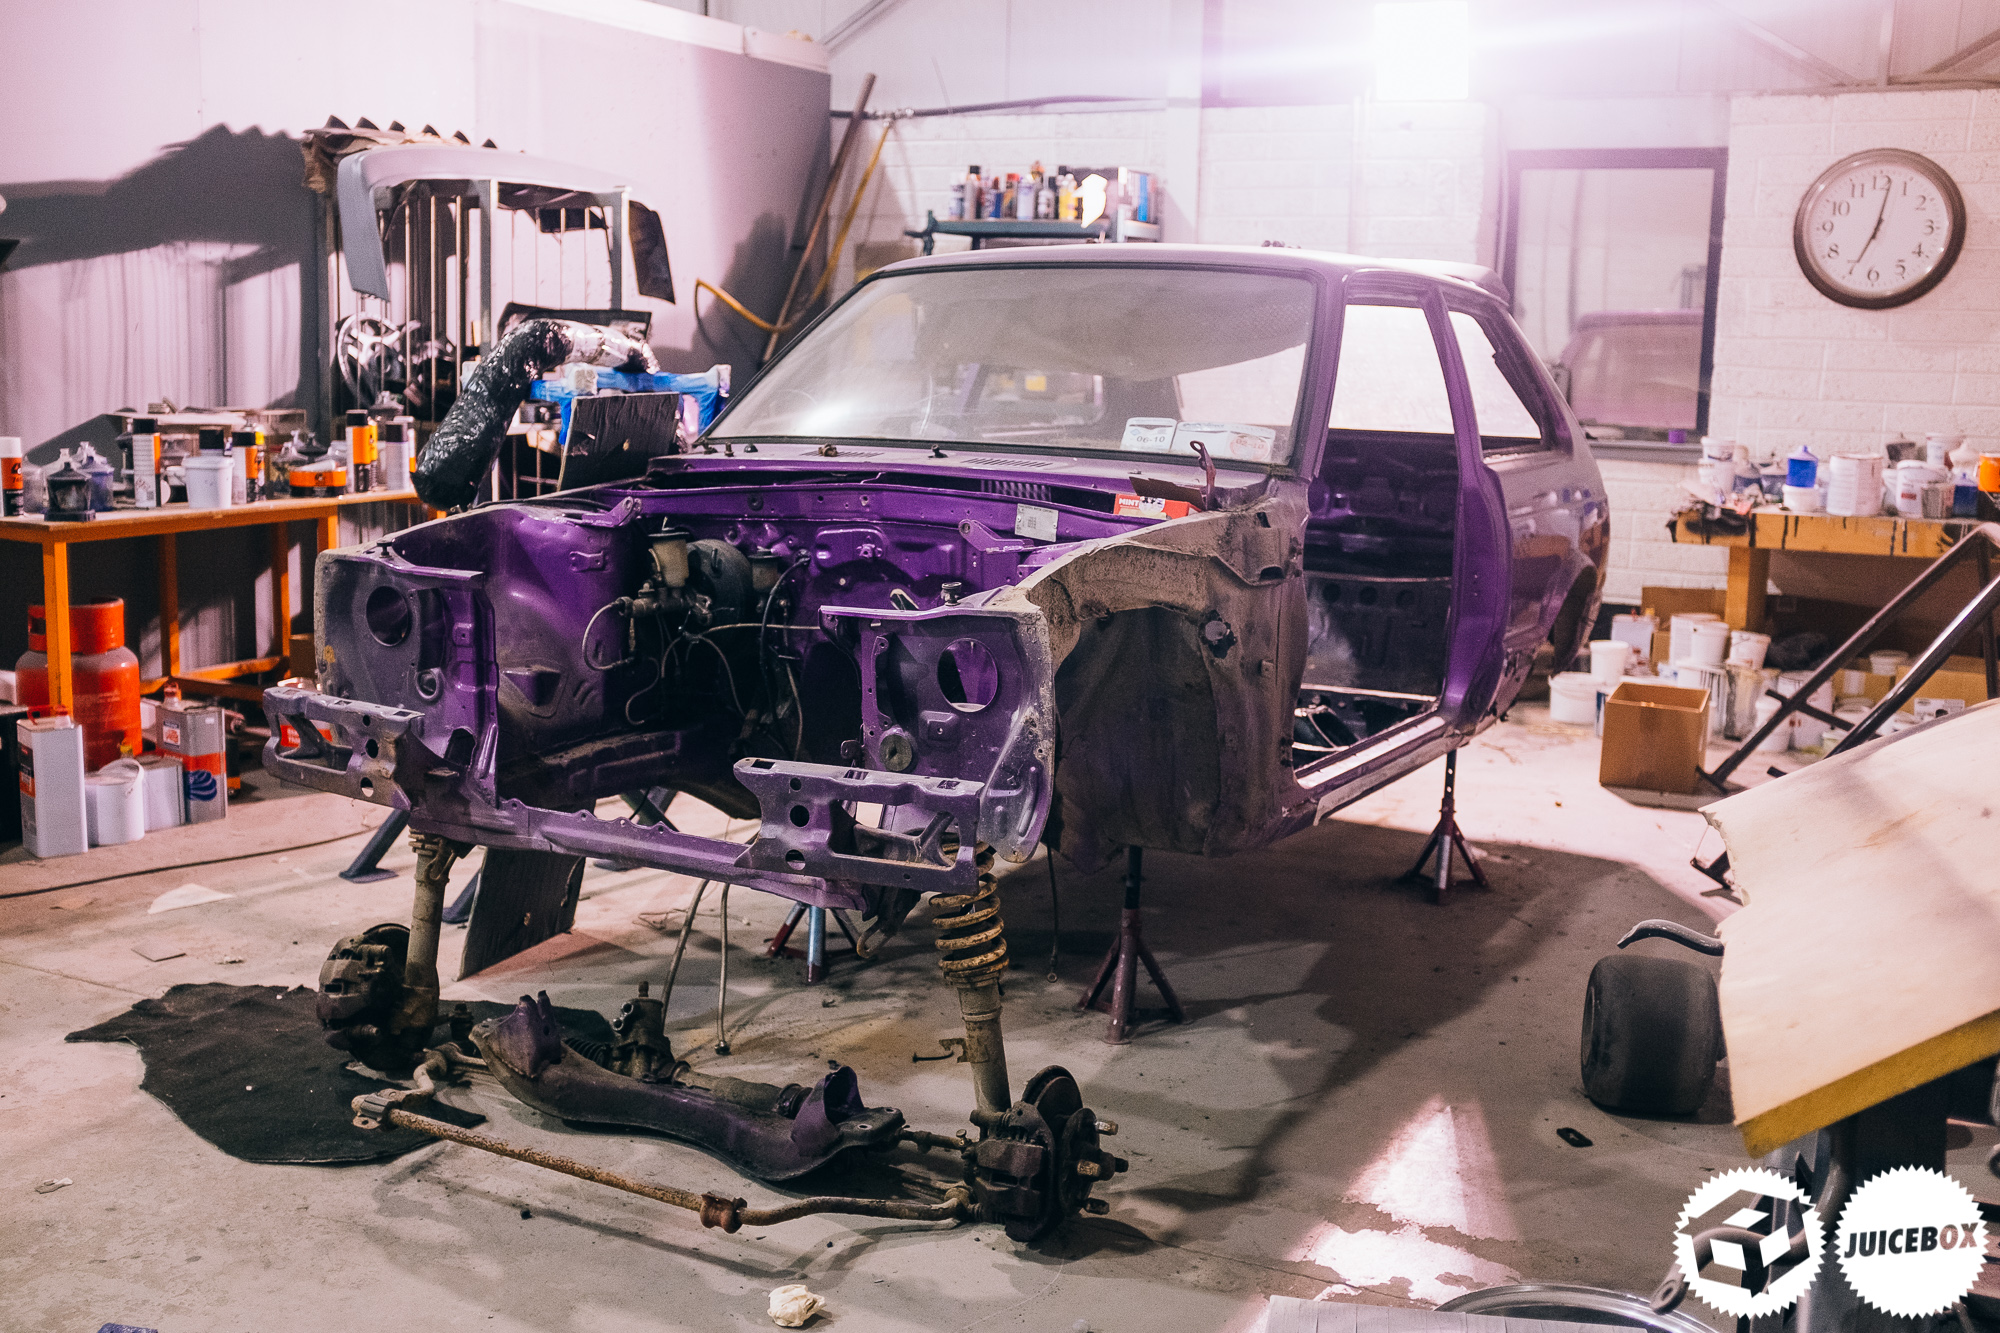
A starlet in a similar state to my own project. We can’t seem to avoid this stuff.

Focus faces.
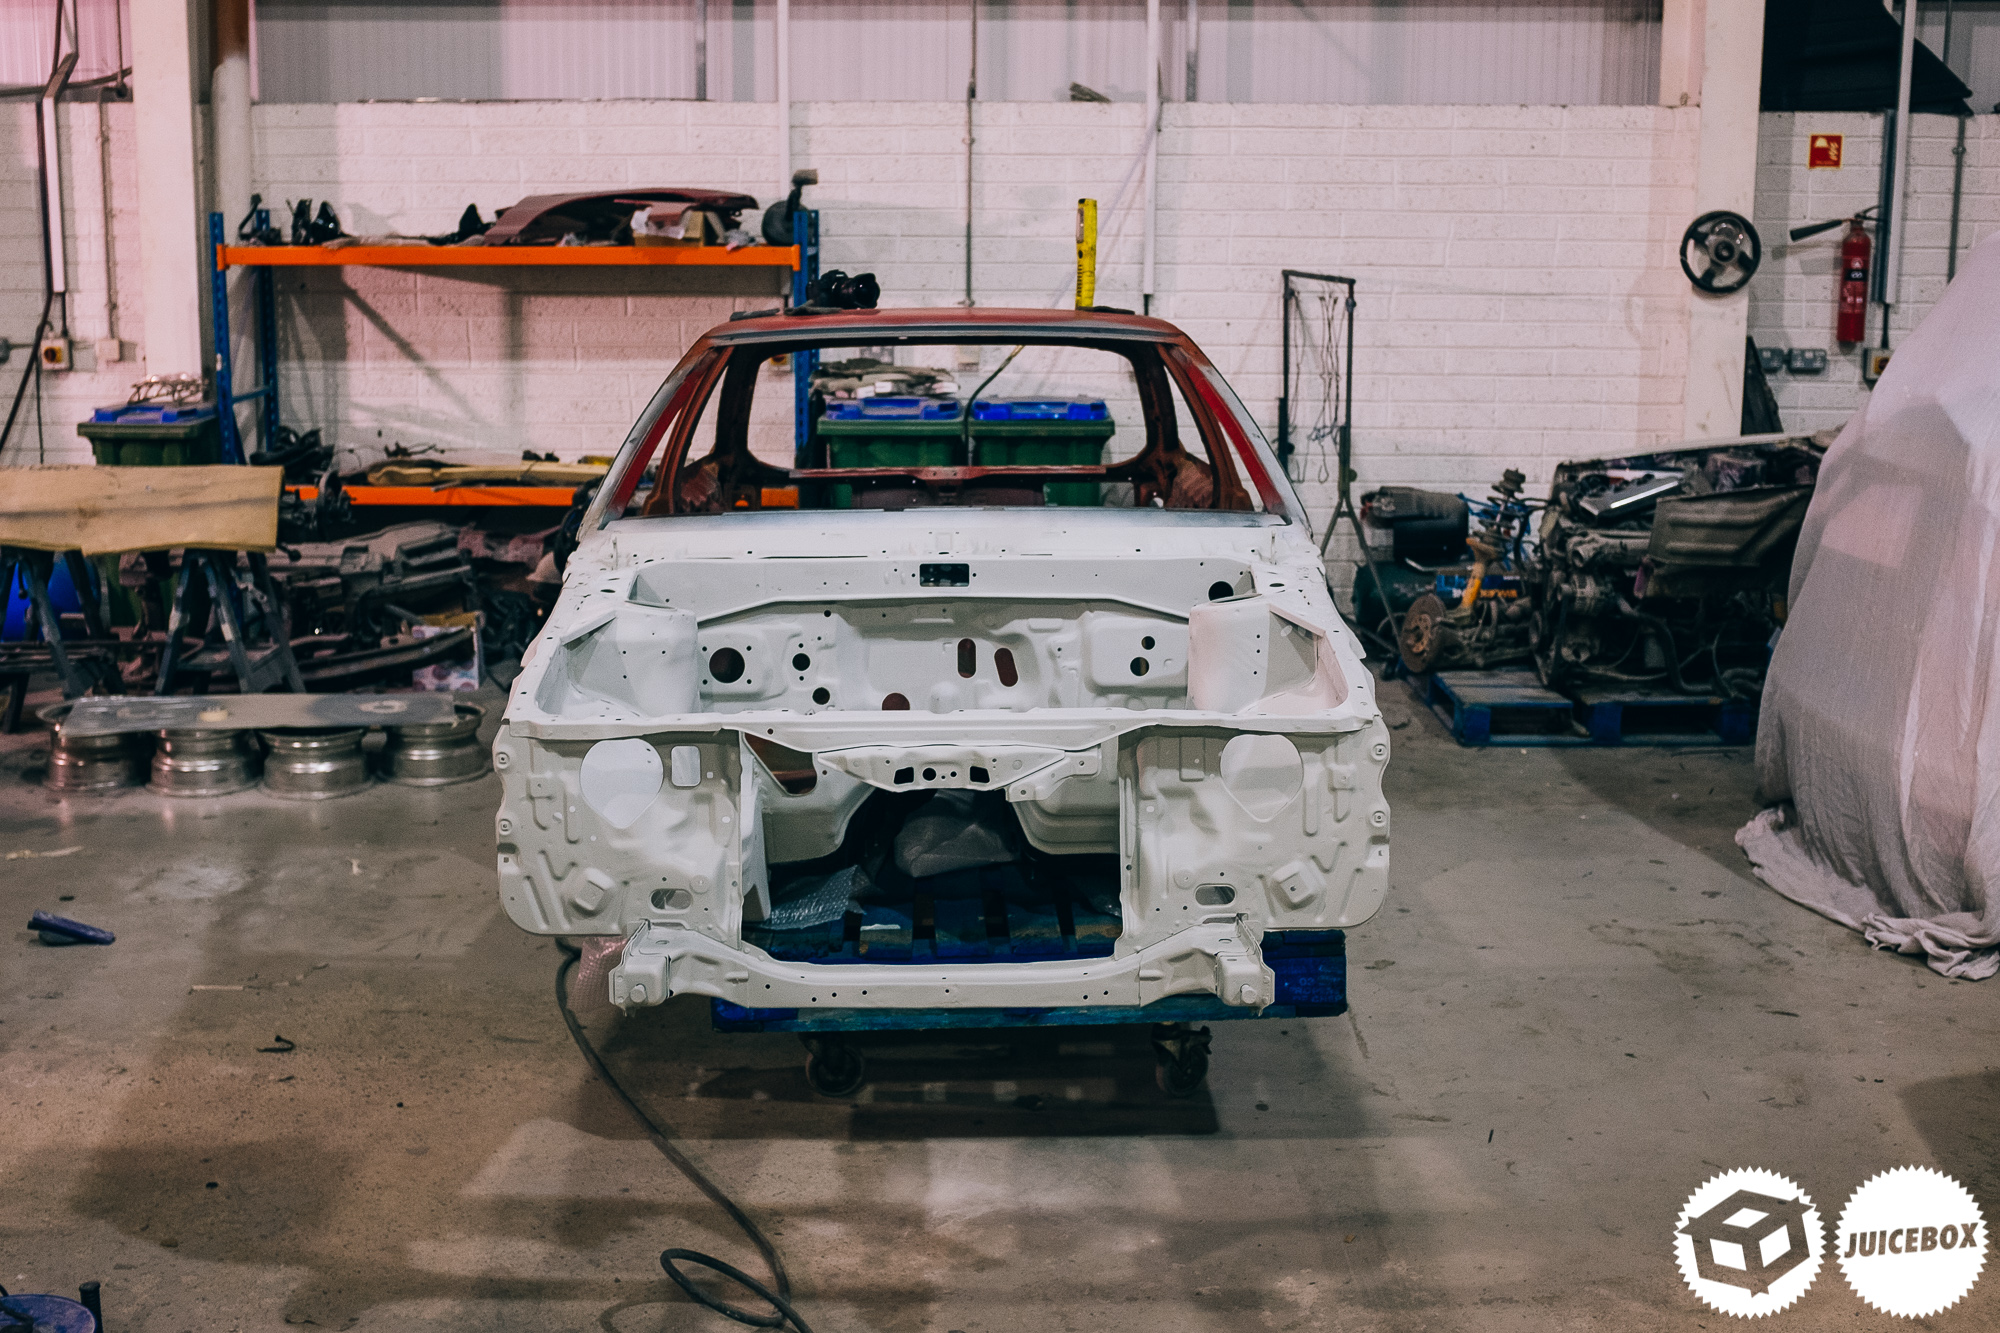
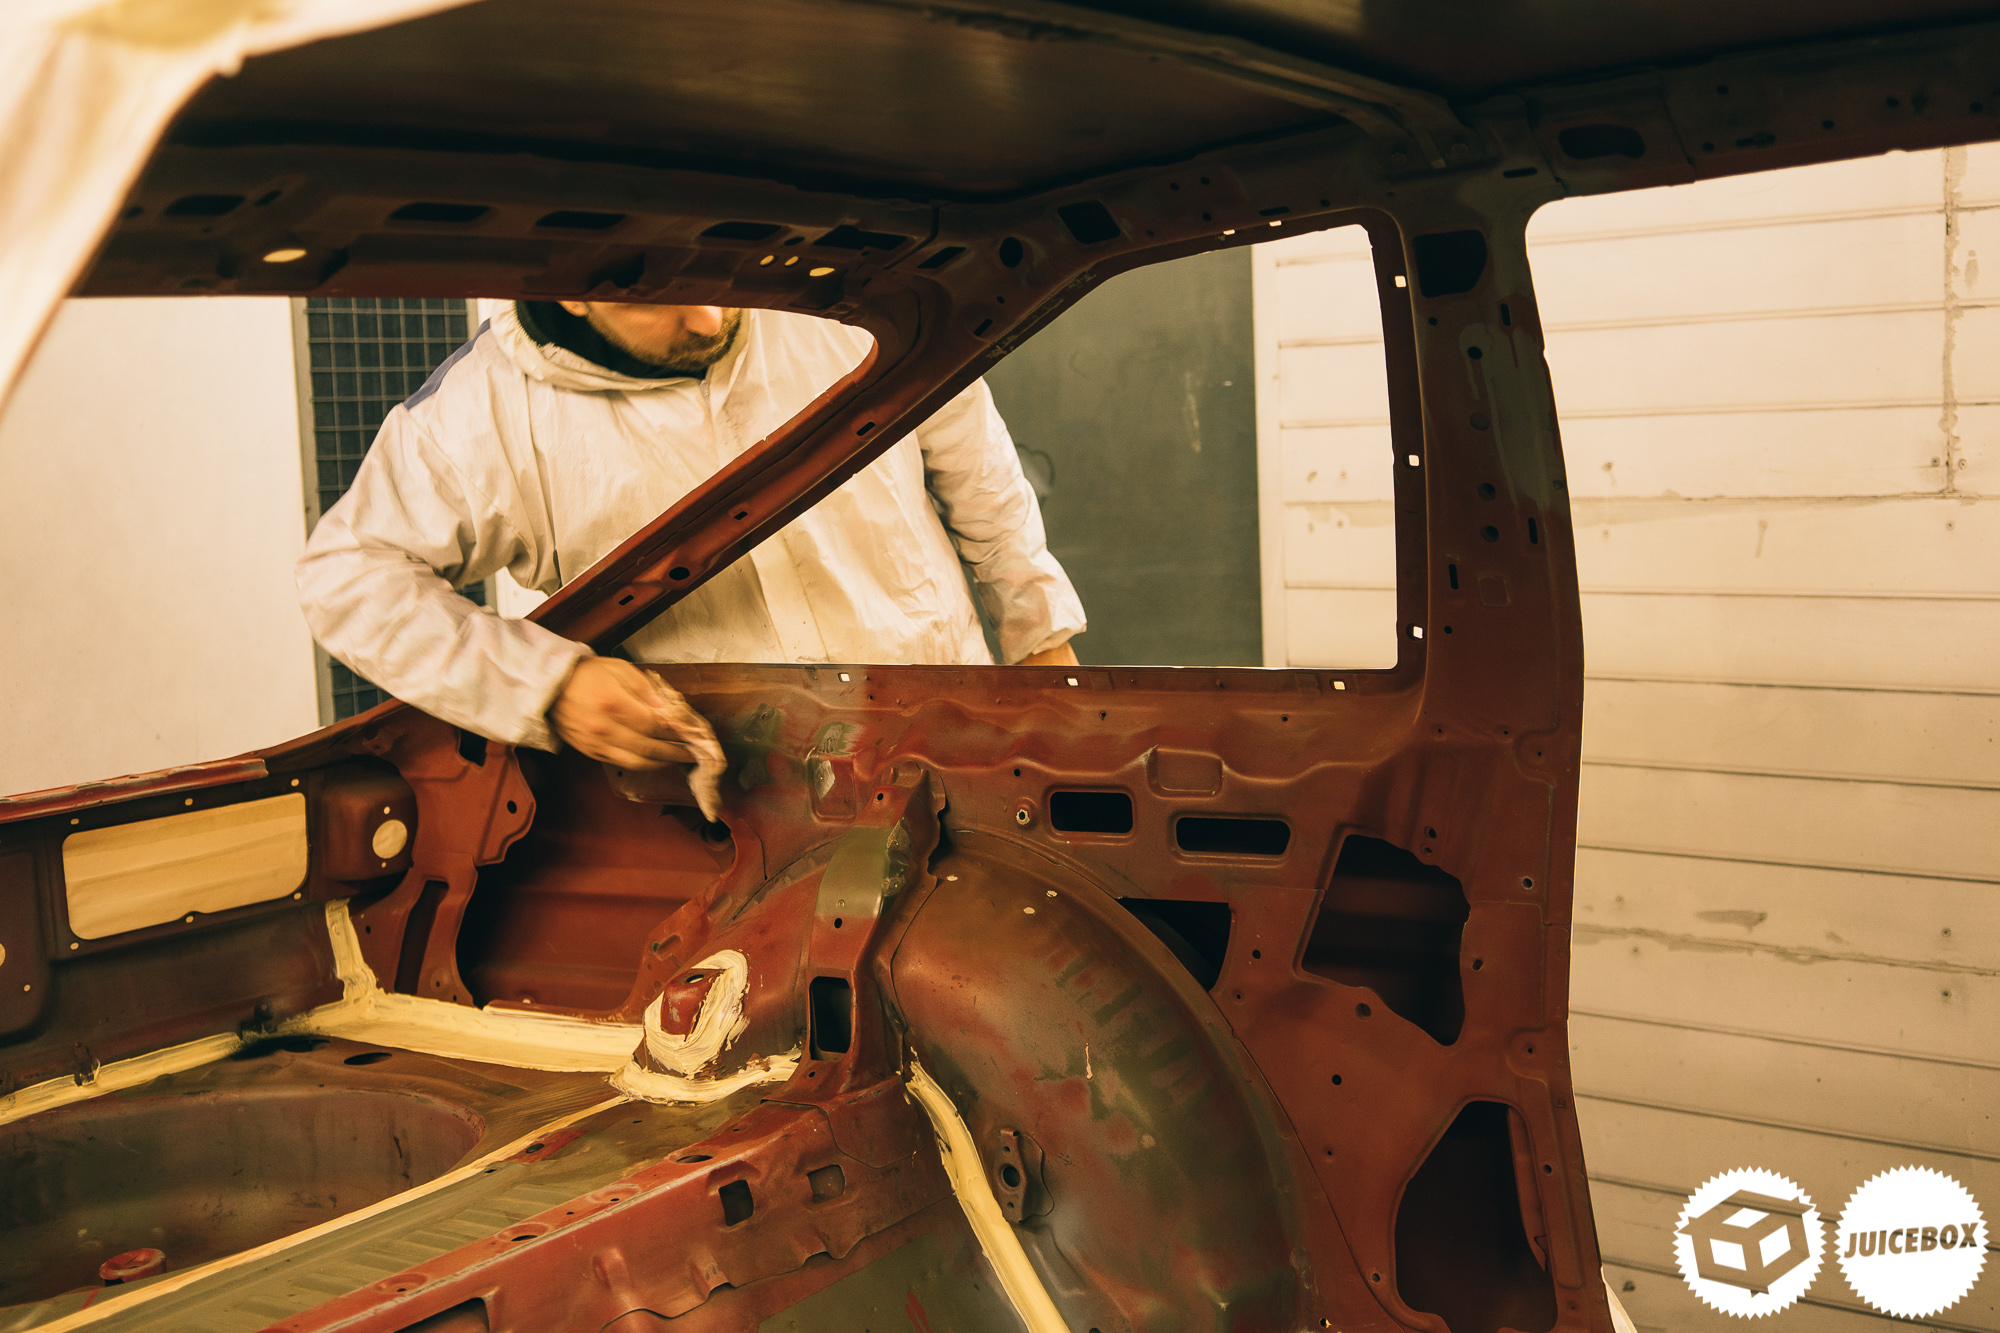
We aired out the shell to try and remove any last traces of sand or dust,
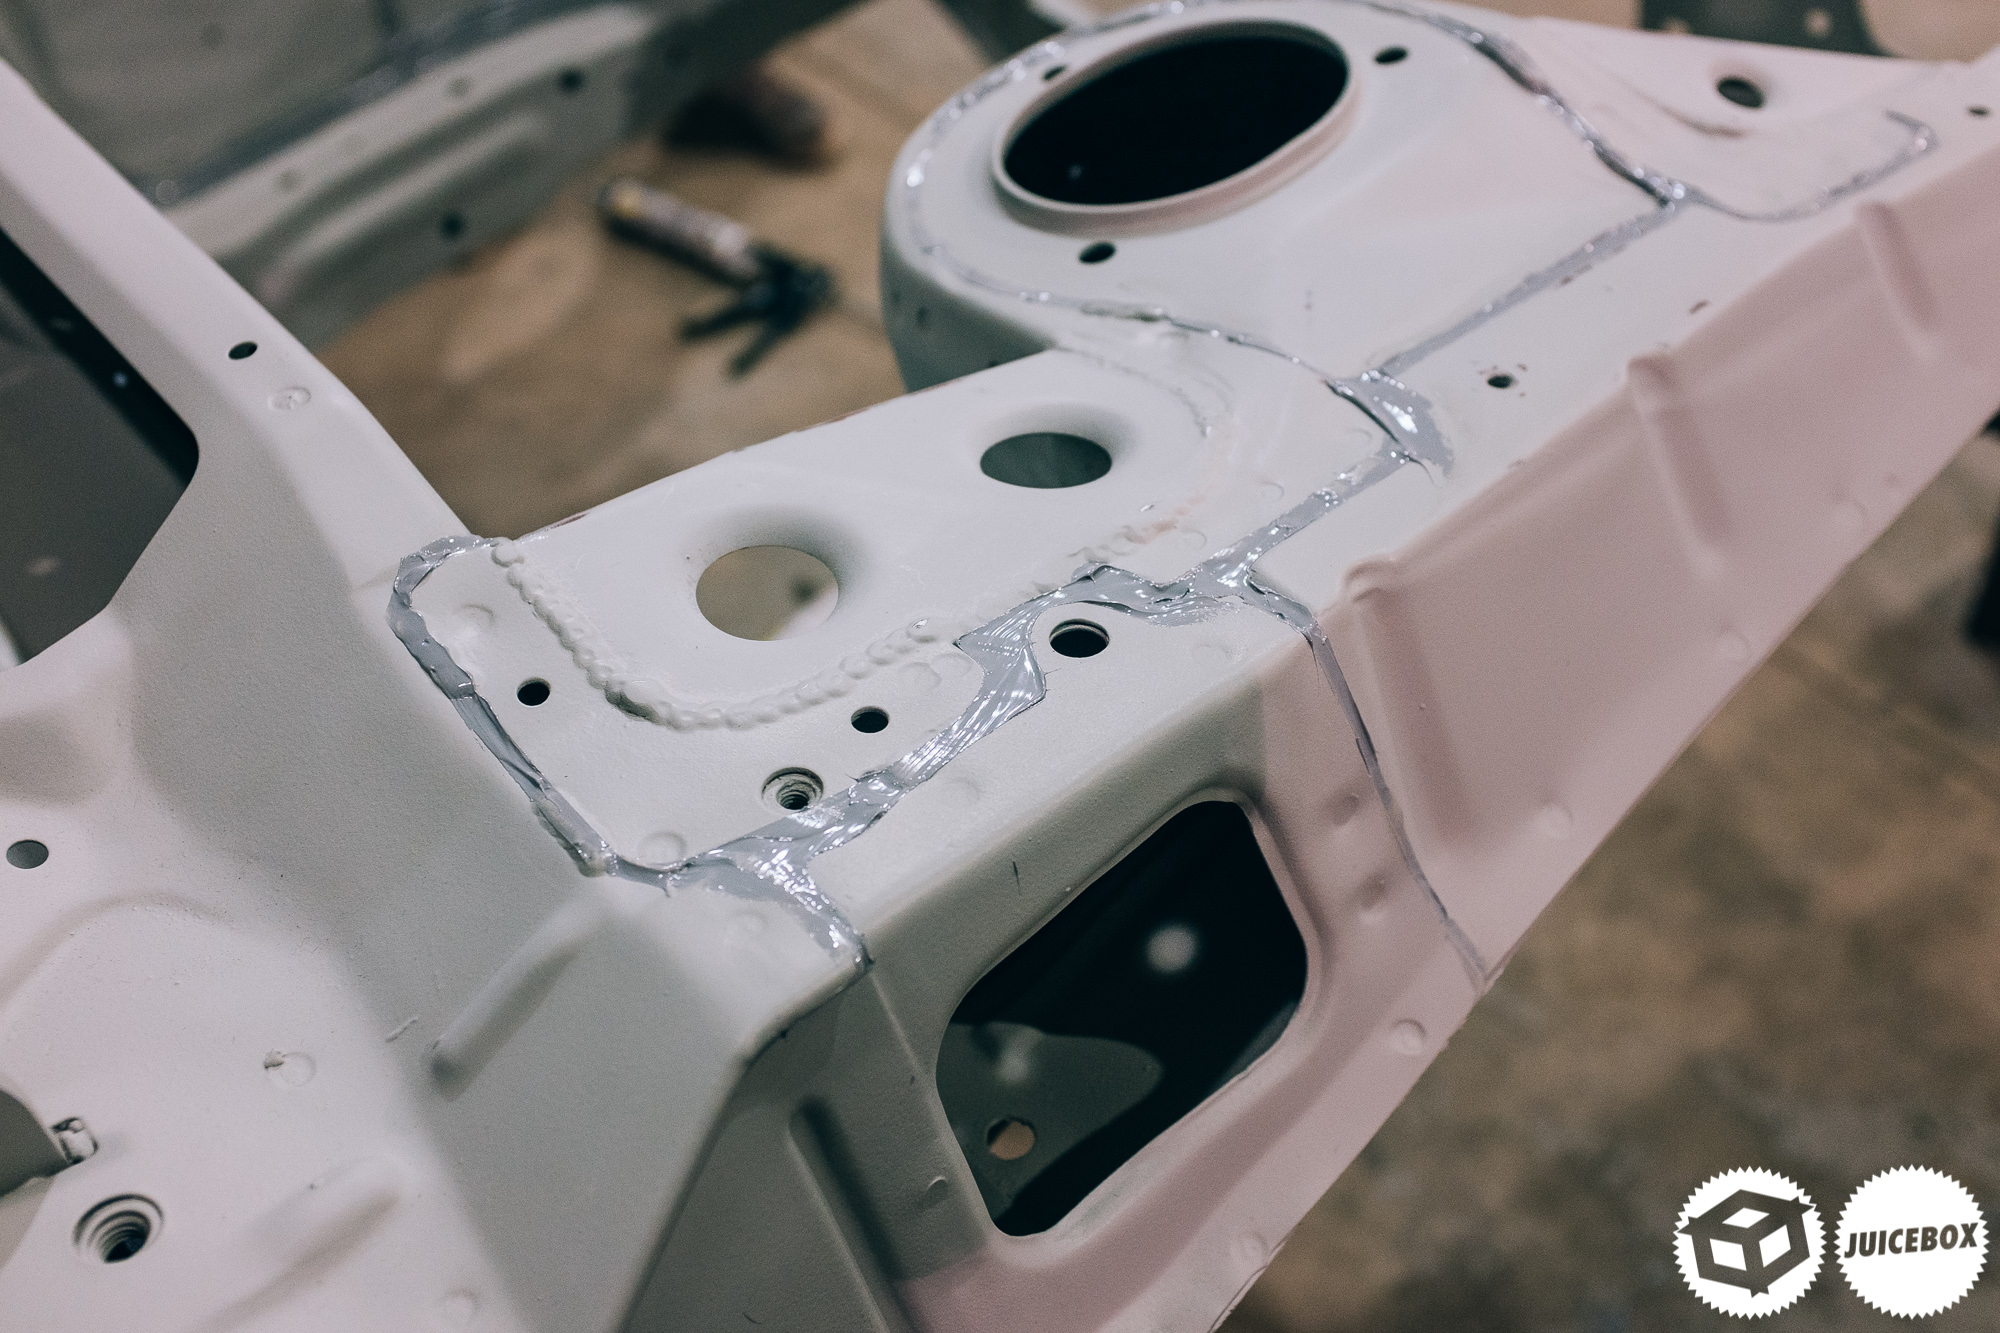
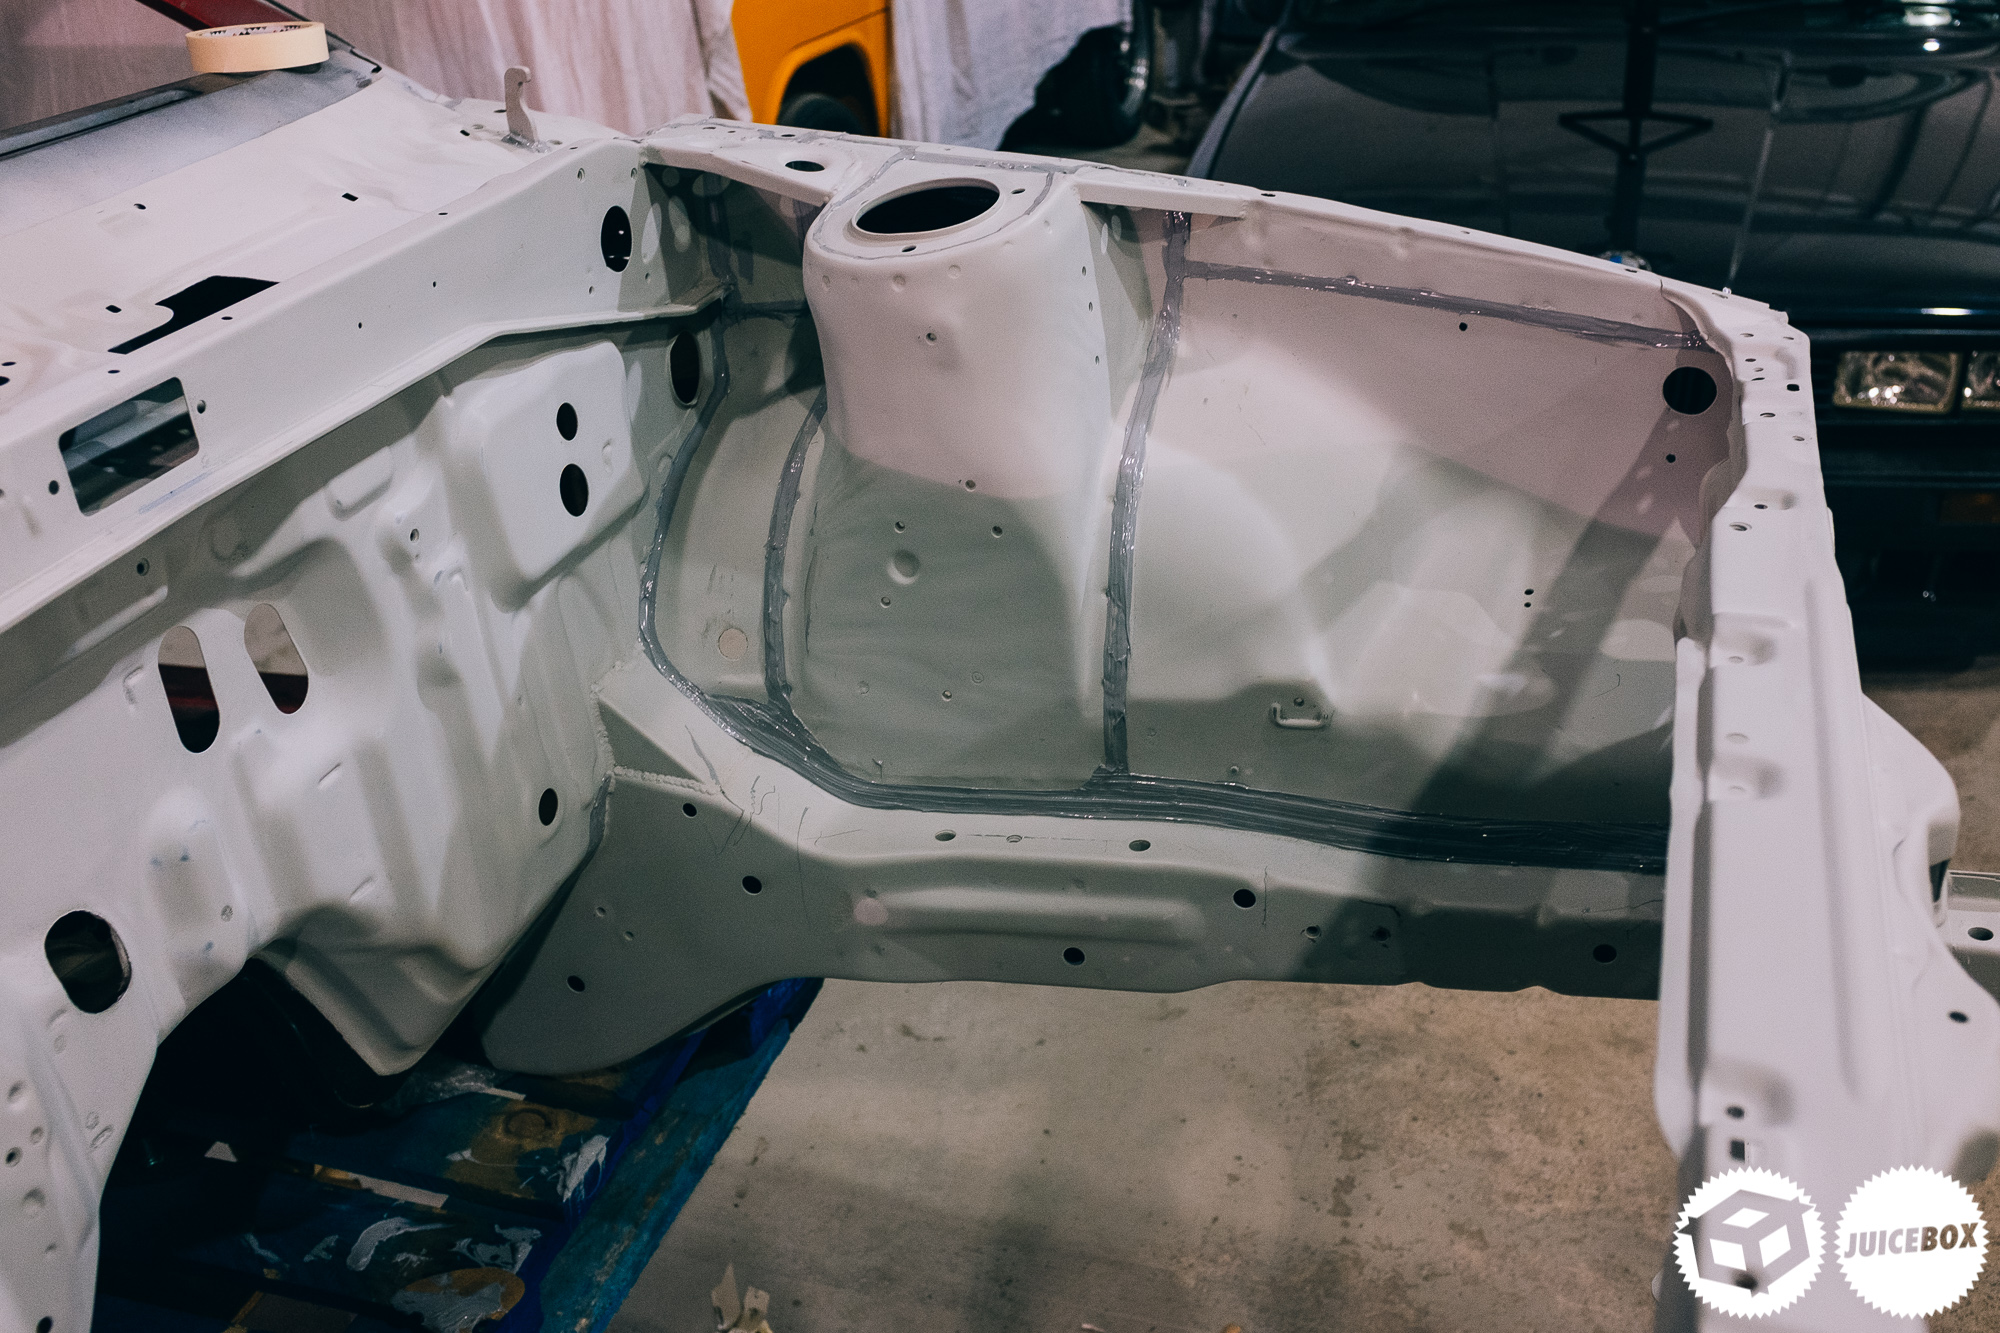
Flip brushed the sealer on to look as OEM as possible. It turned out great!
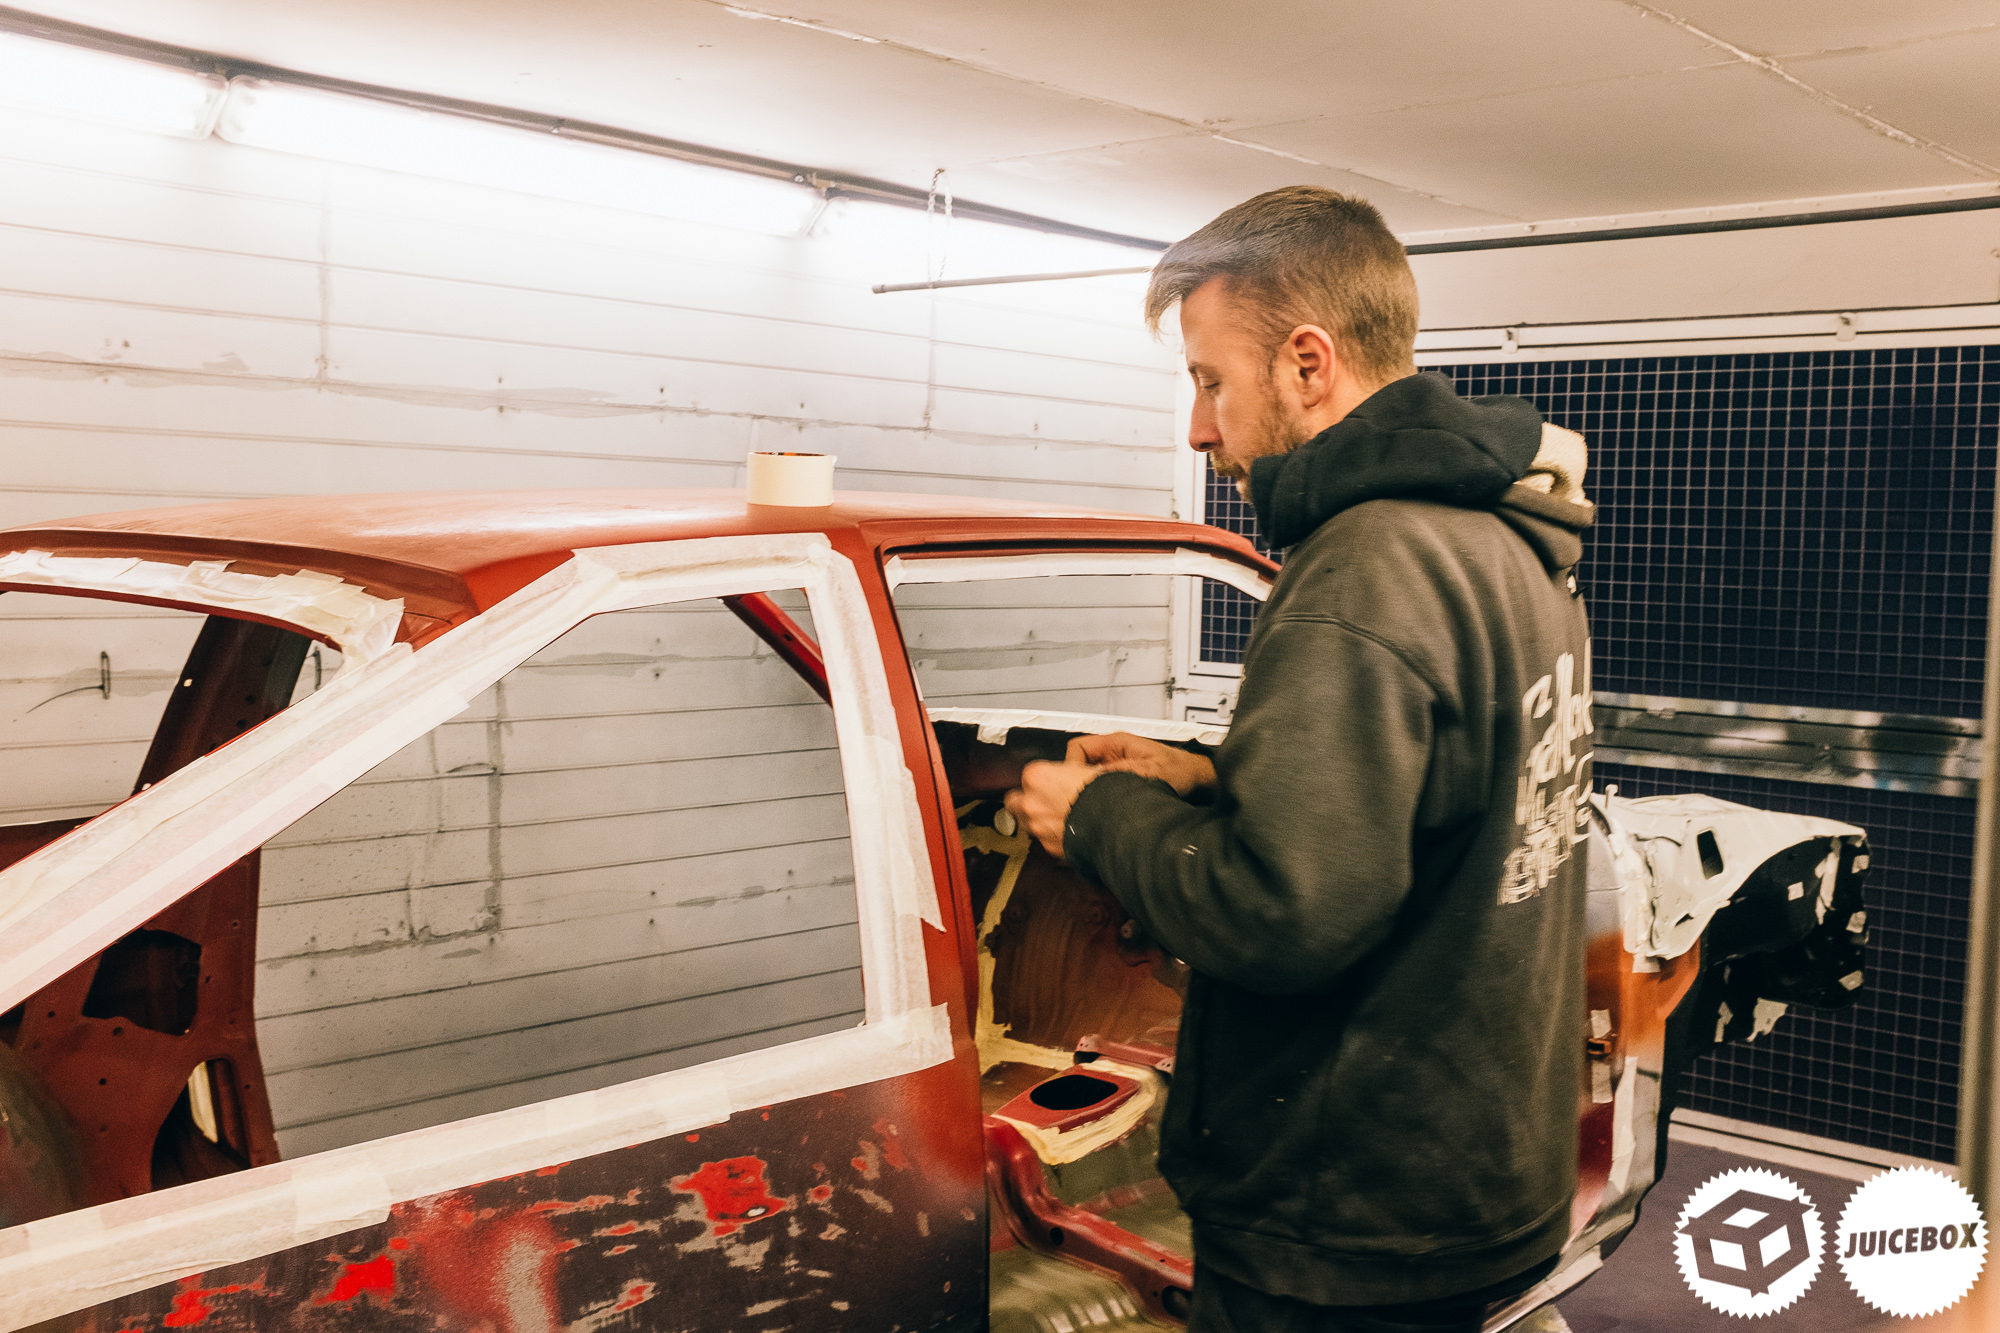
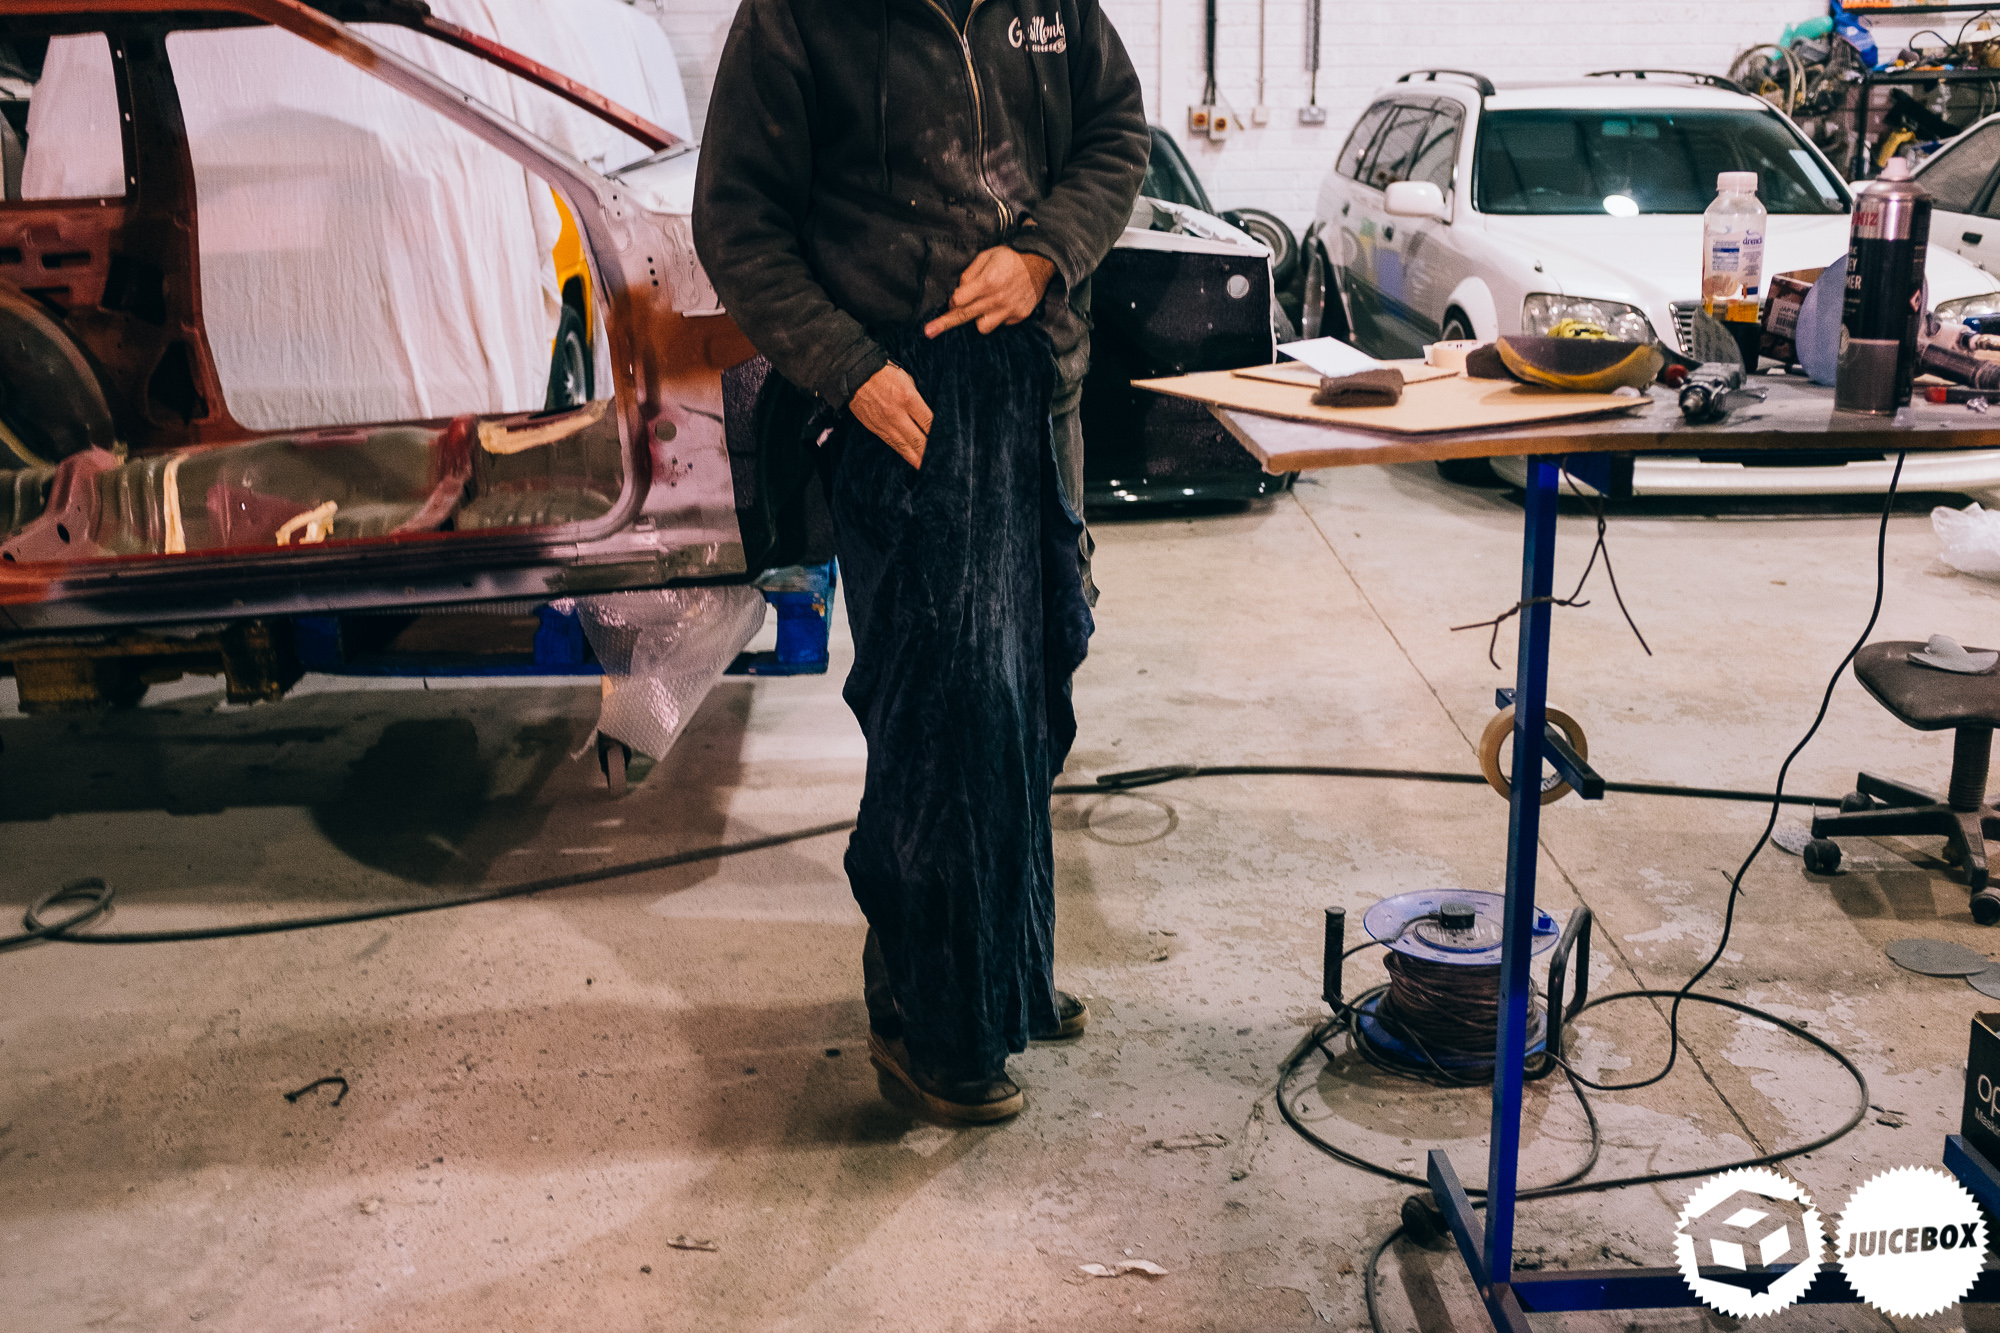
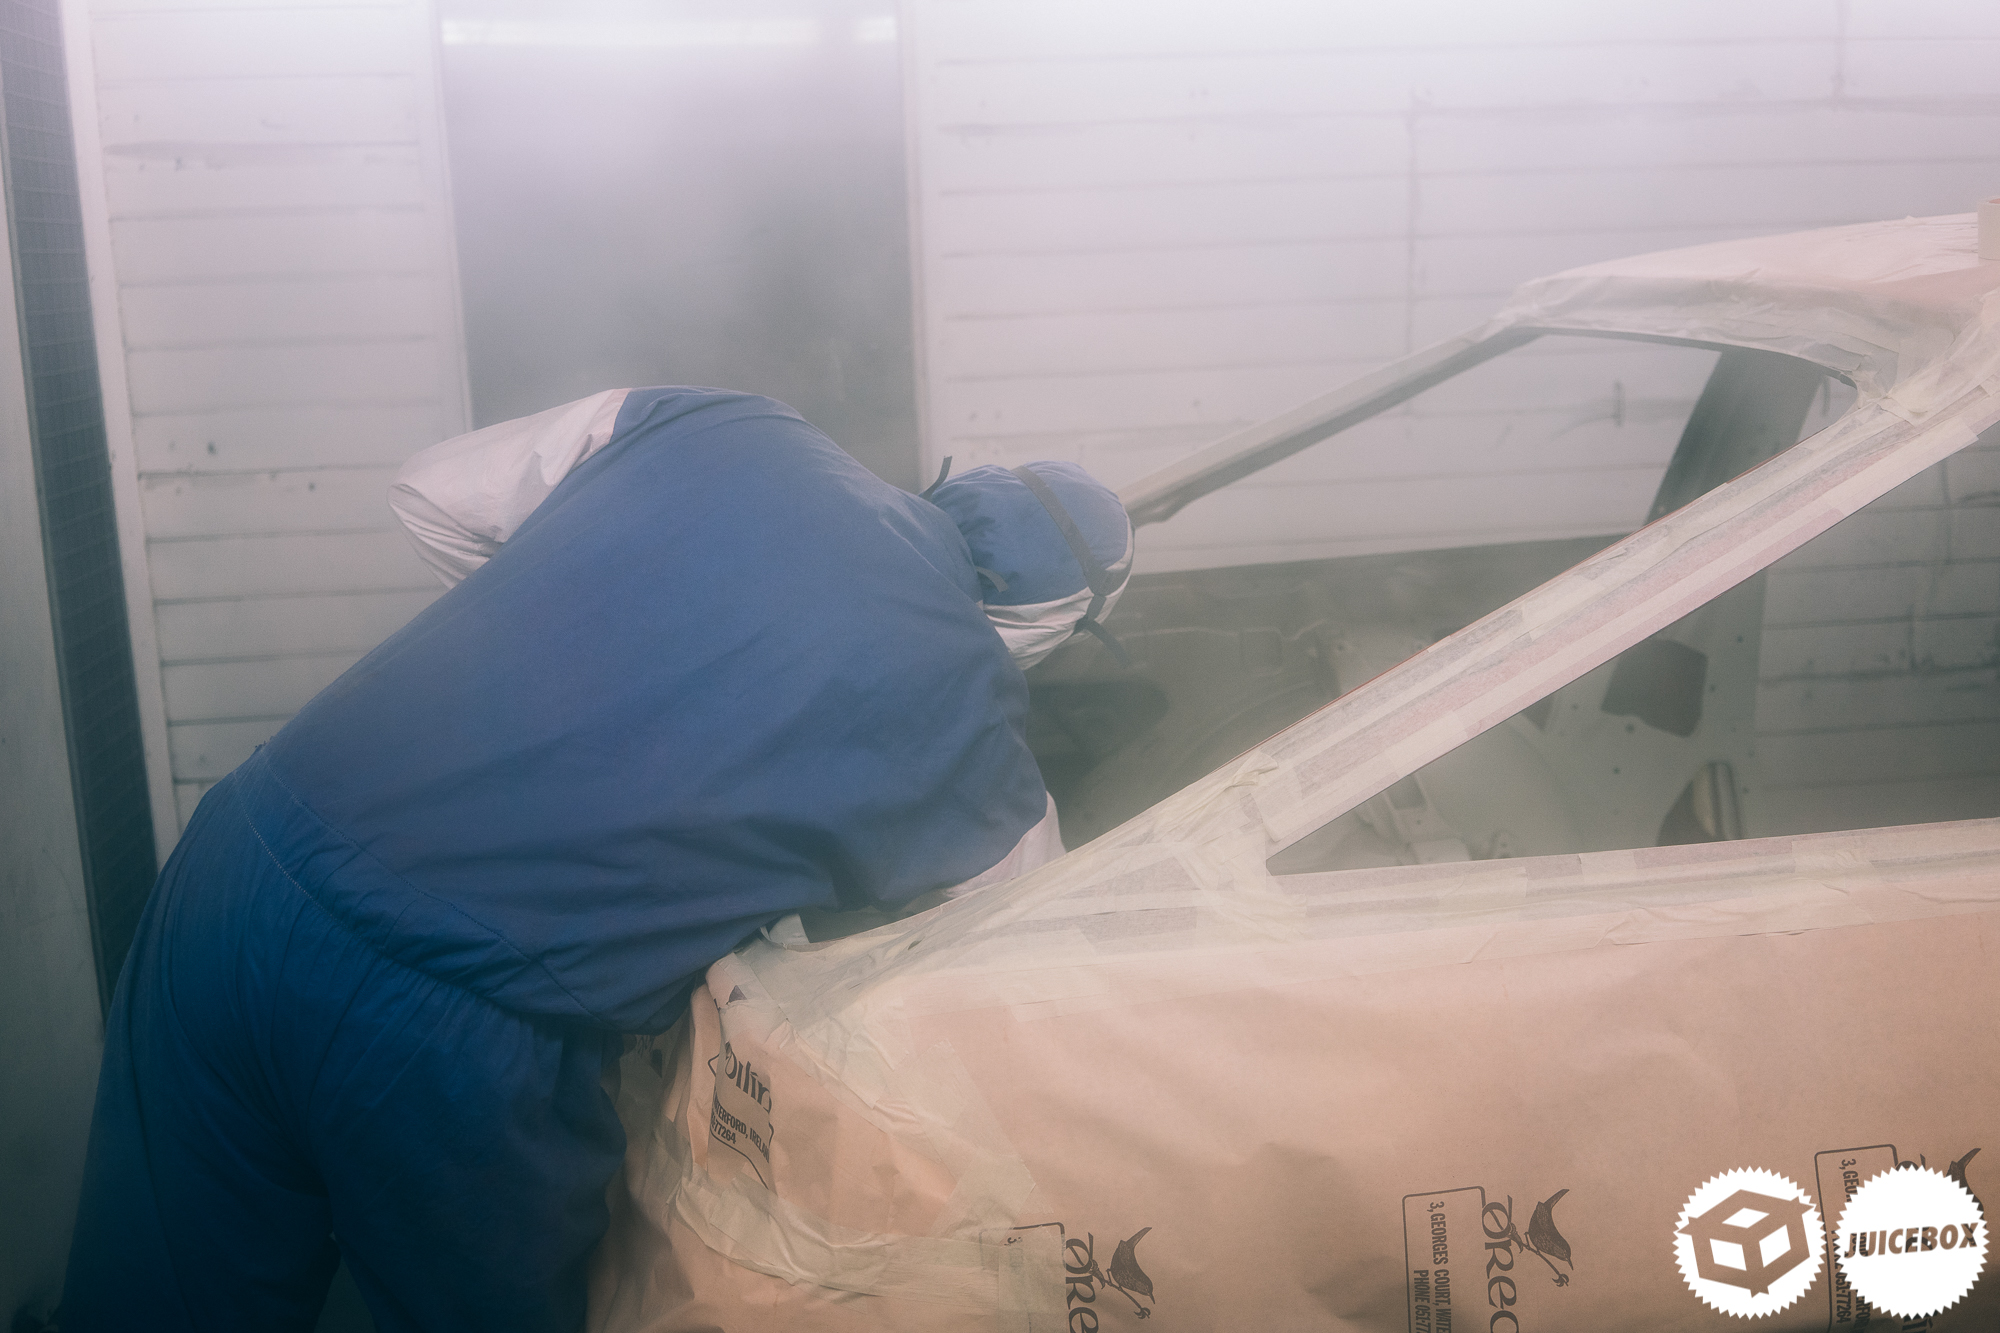
Then the fun begins all over again, masking the outside misery.
Exciting moments!

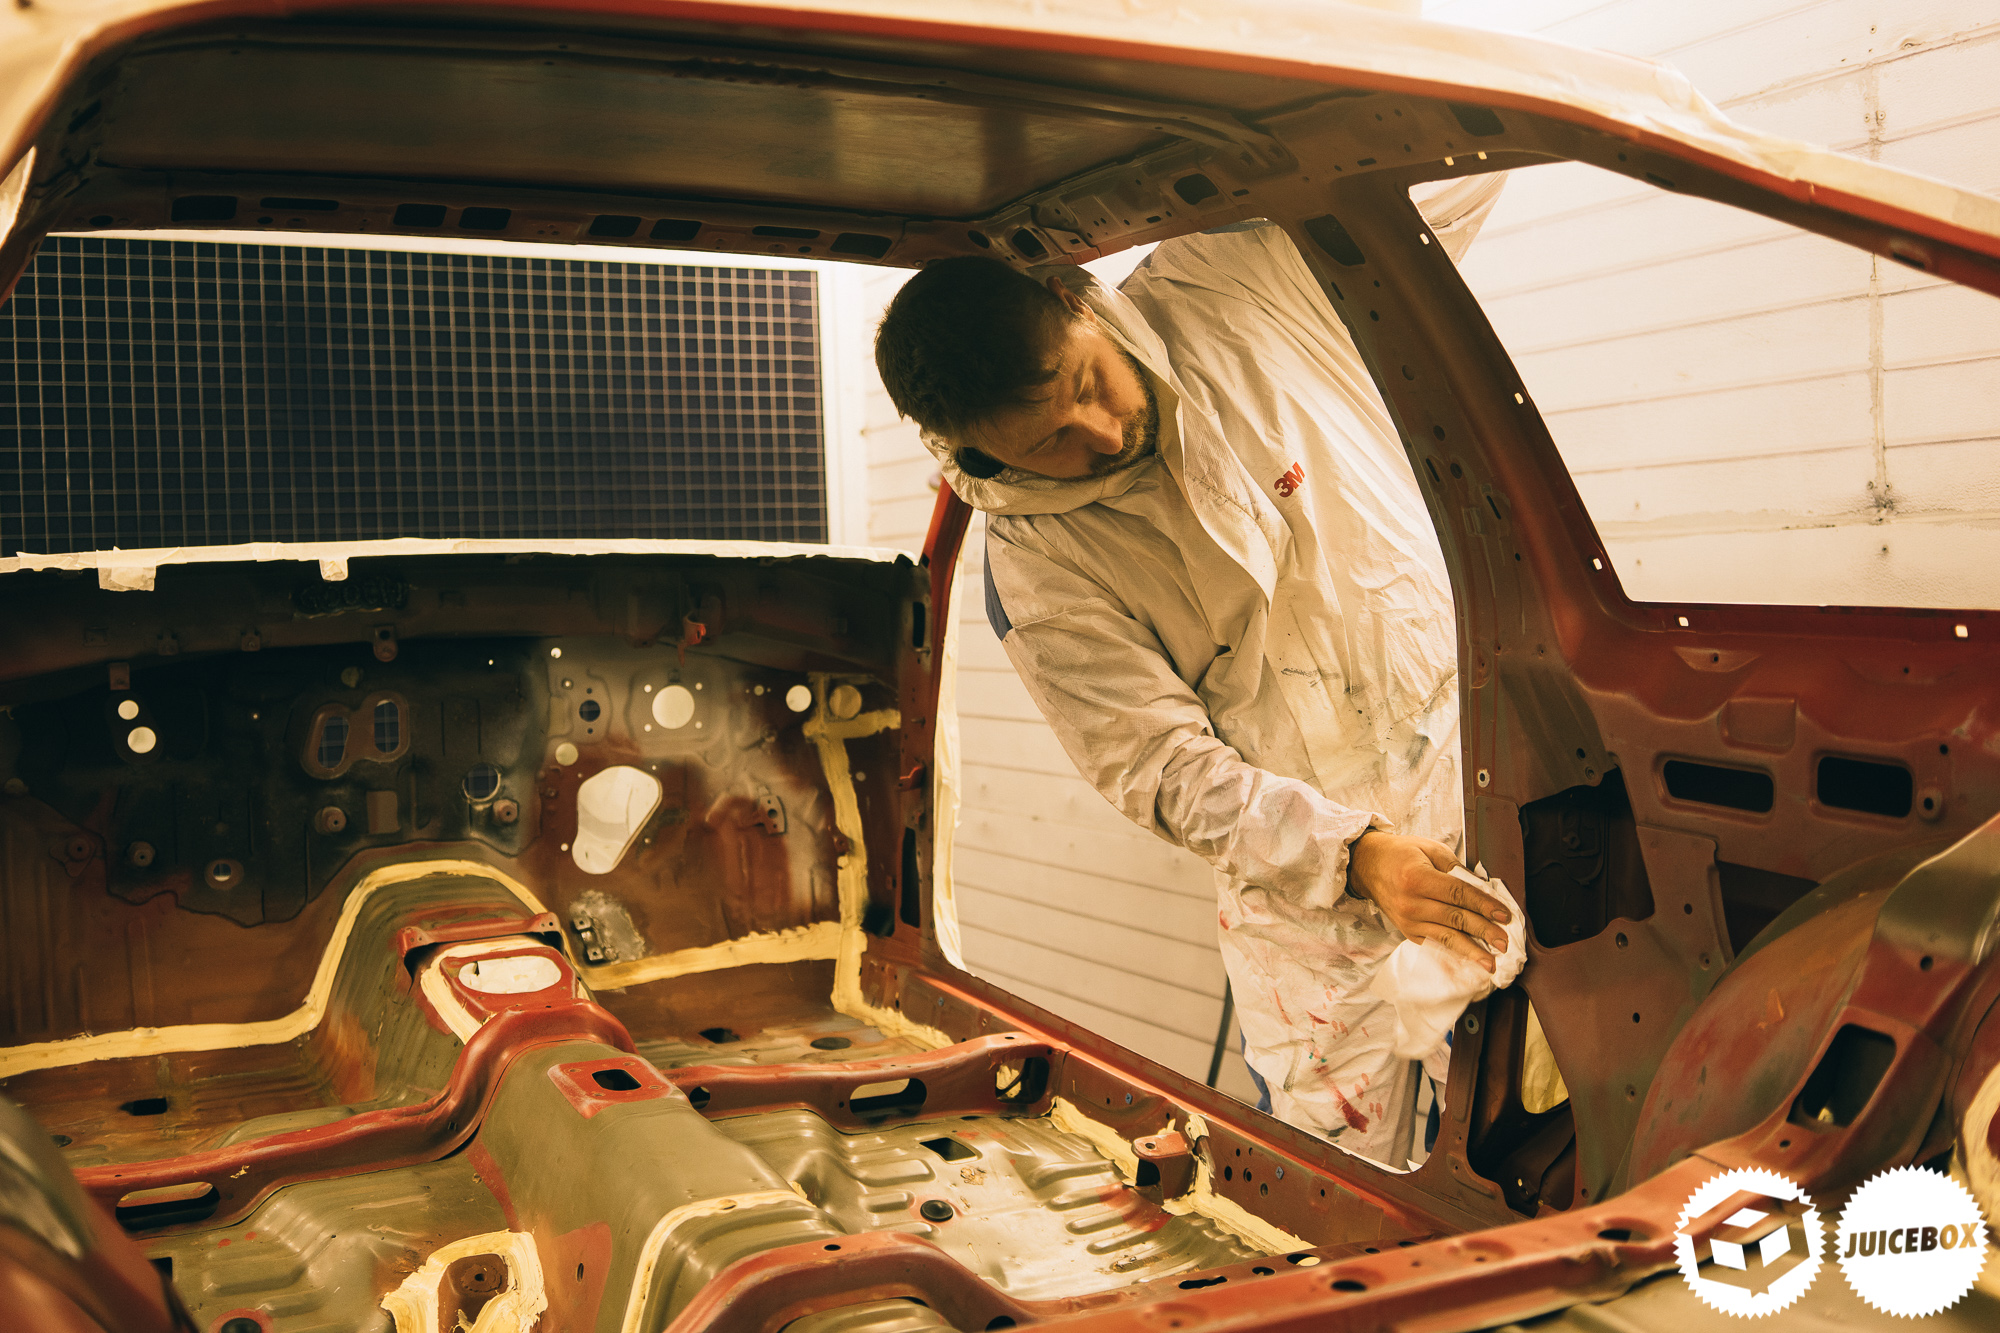
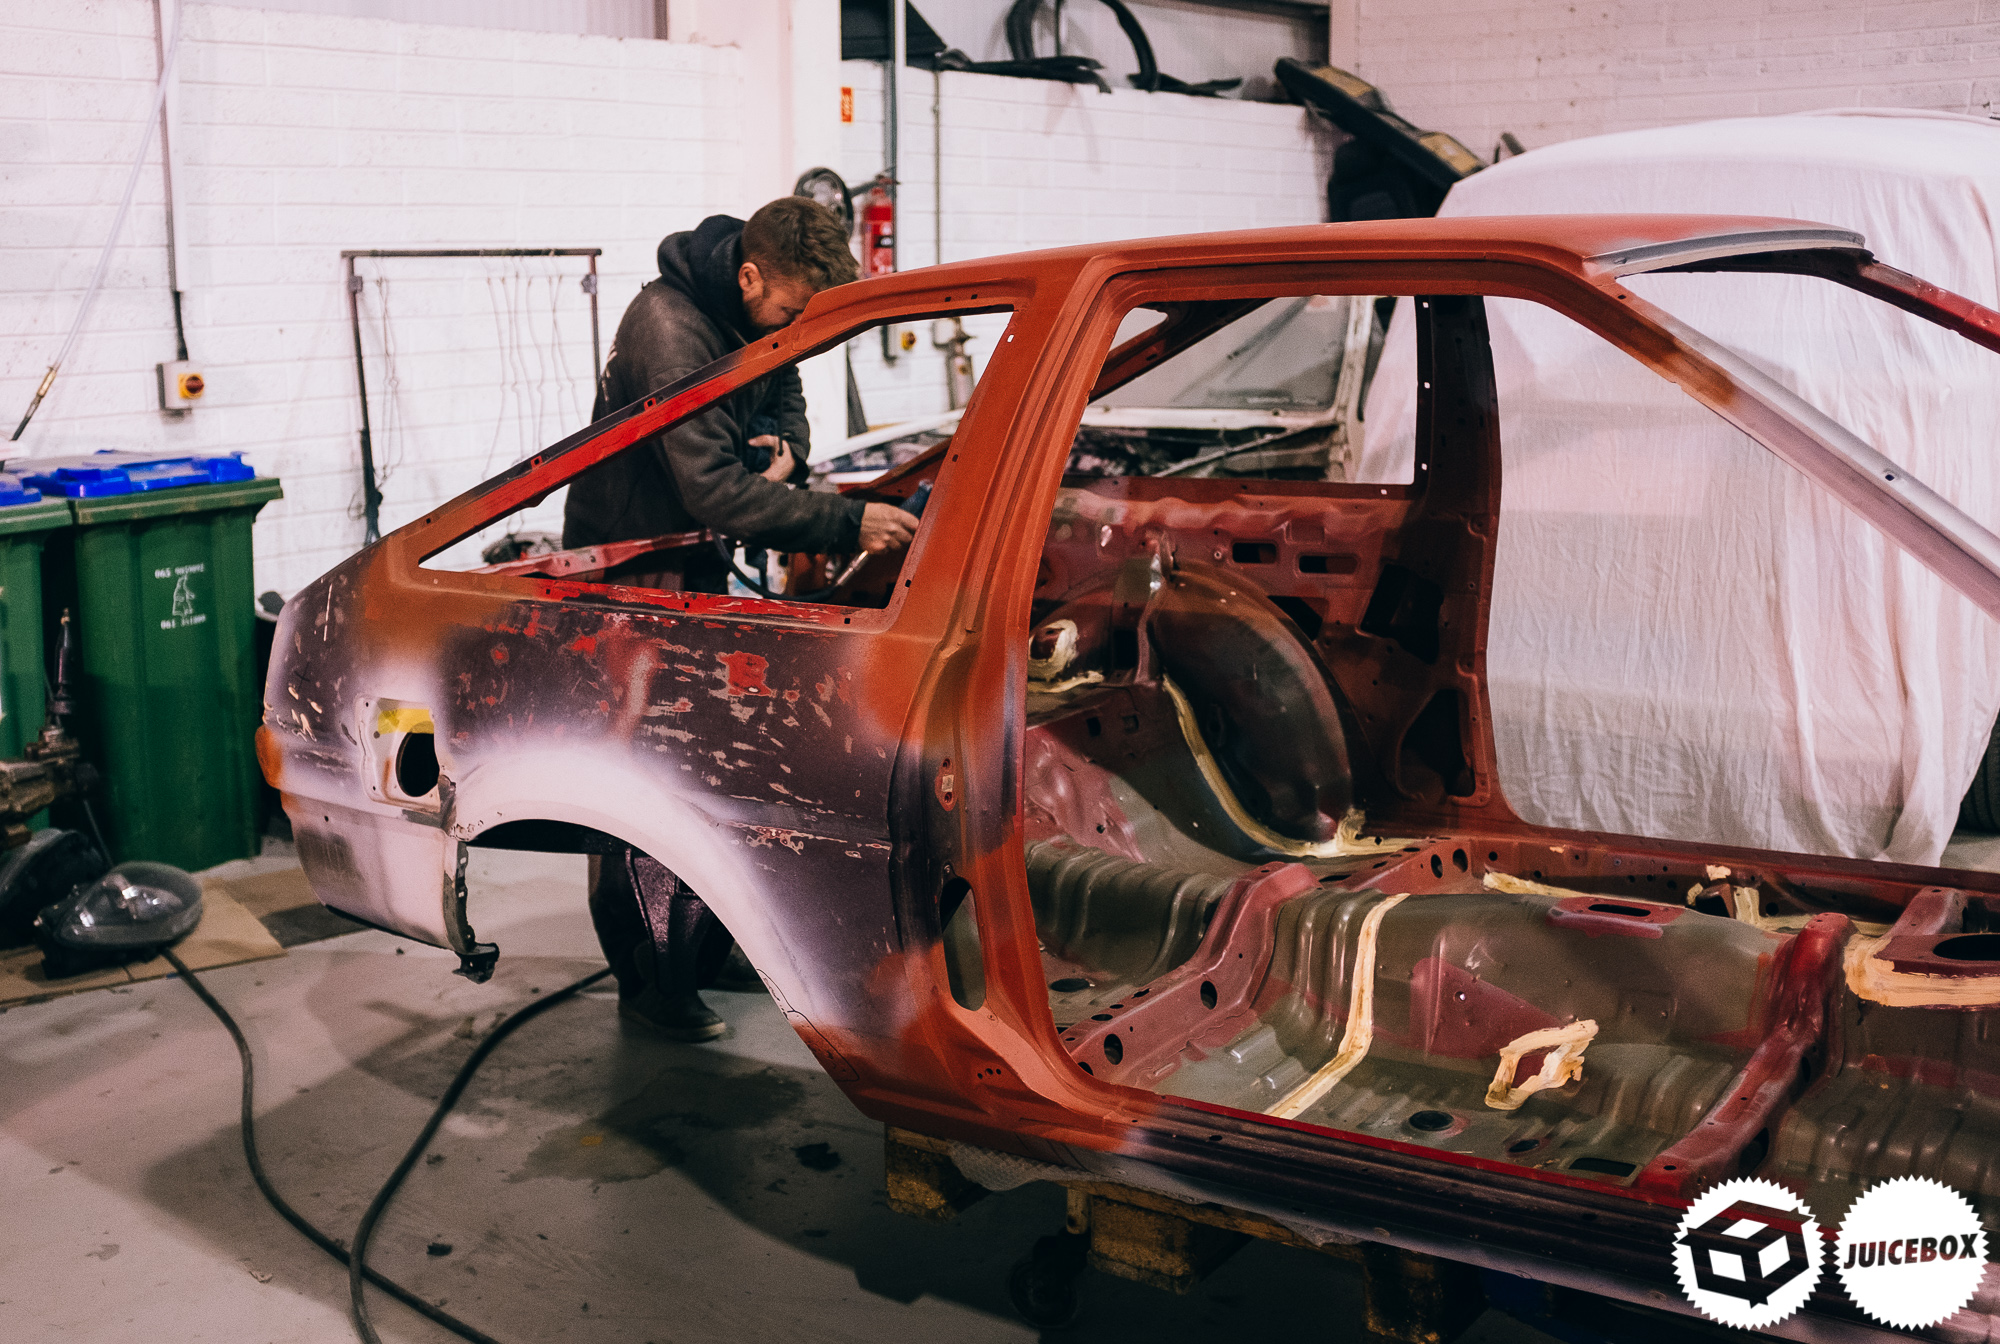
Once that was done, a final panel wipe was done.
For colours, I tried to pick a gunmetal-tone I had seen on many of the N2 race 86’s in various videos, along with Keiichi Tsuchiya engine bay on his road car. I’ve just always enjoyed how a gunmetal grey or silver has sat on a built ae86’s bay or interior and had it as my top choice for over a decade.
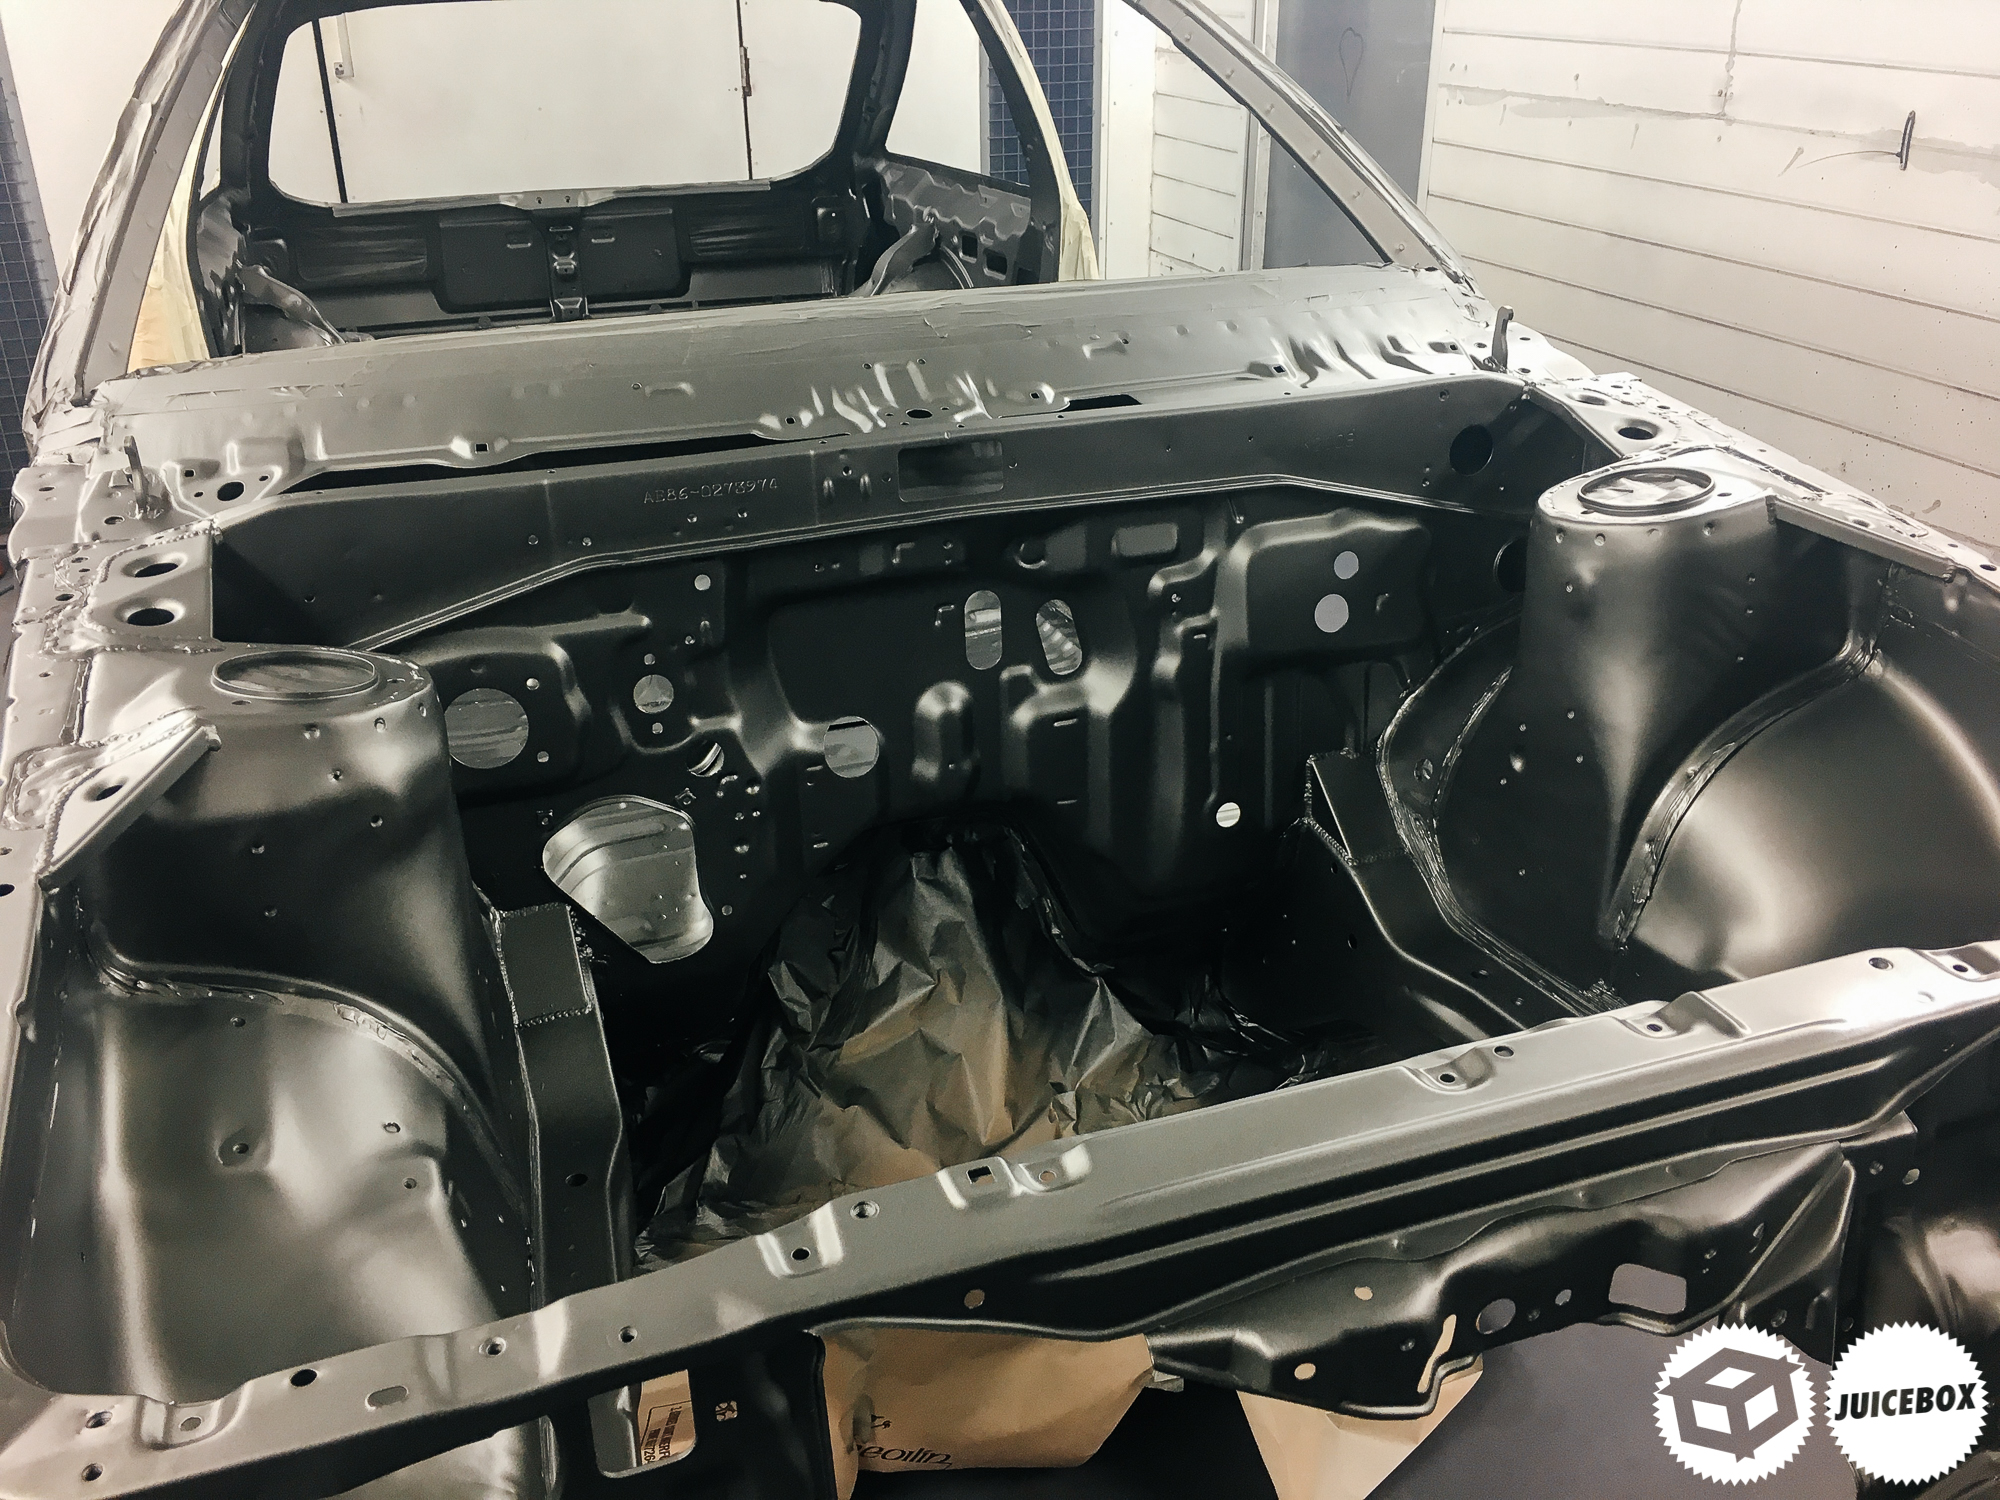
For the last couple of years, I toyed with the idea of doing it in a satin finish. I had seen the RYO AE86 Levin many times, a car we have featured on here, and enjoyed how the engine bay had very little shine. The engine bays on standard 86’s lack the shine, and I always appreciated the dull finish on places that house people or engine parts. After seeing very few examples of stain gunmetal, I figured it would be a nice spin on the original engine bays finish, combined with what I loved about Keiichi Tsuchiya’s and the N2 cars of today.

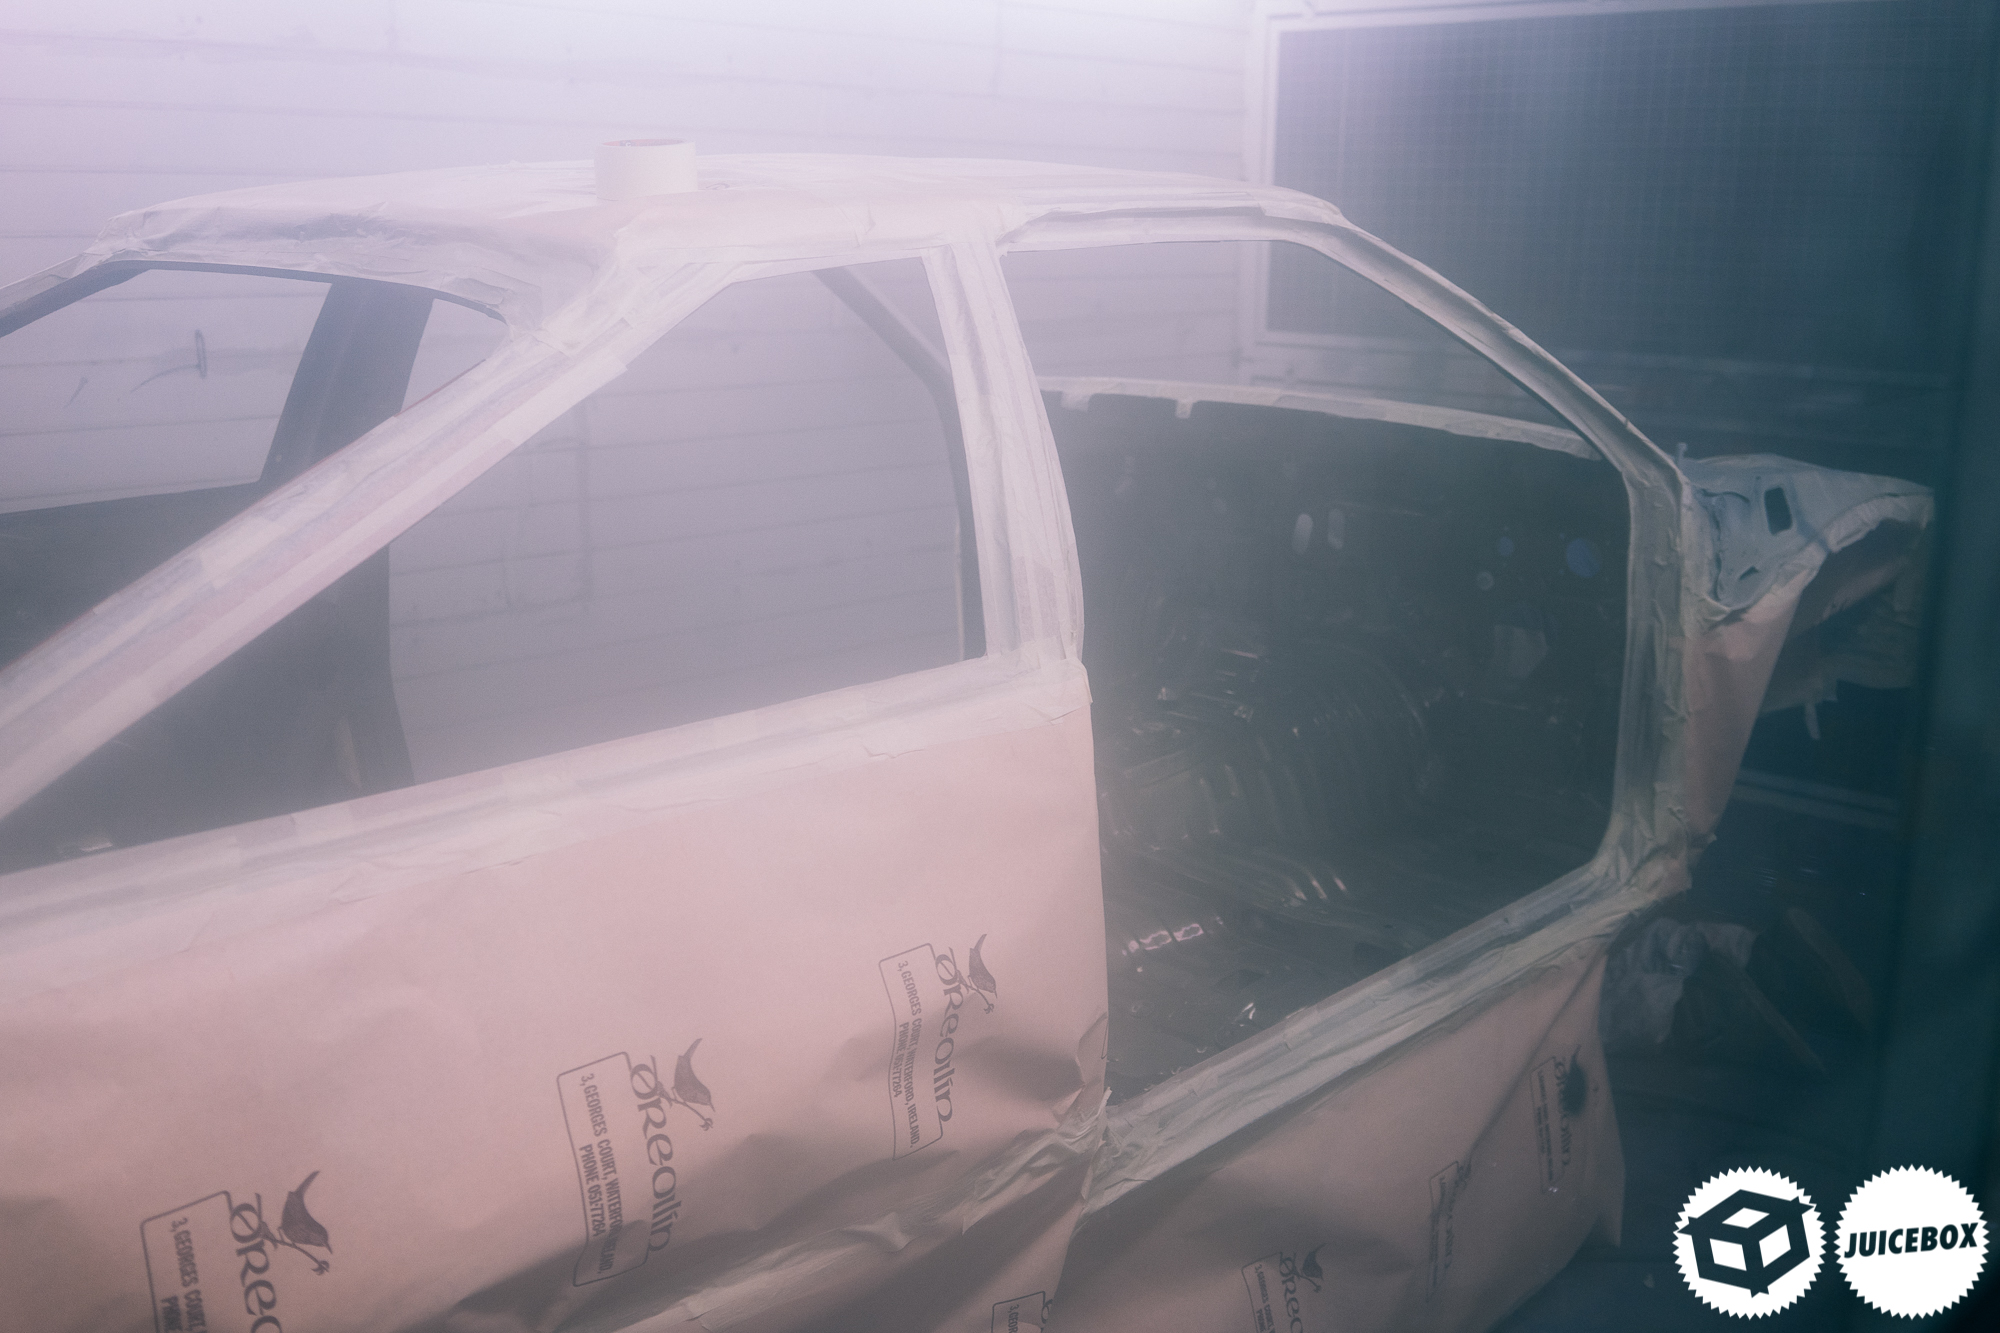
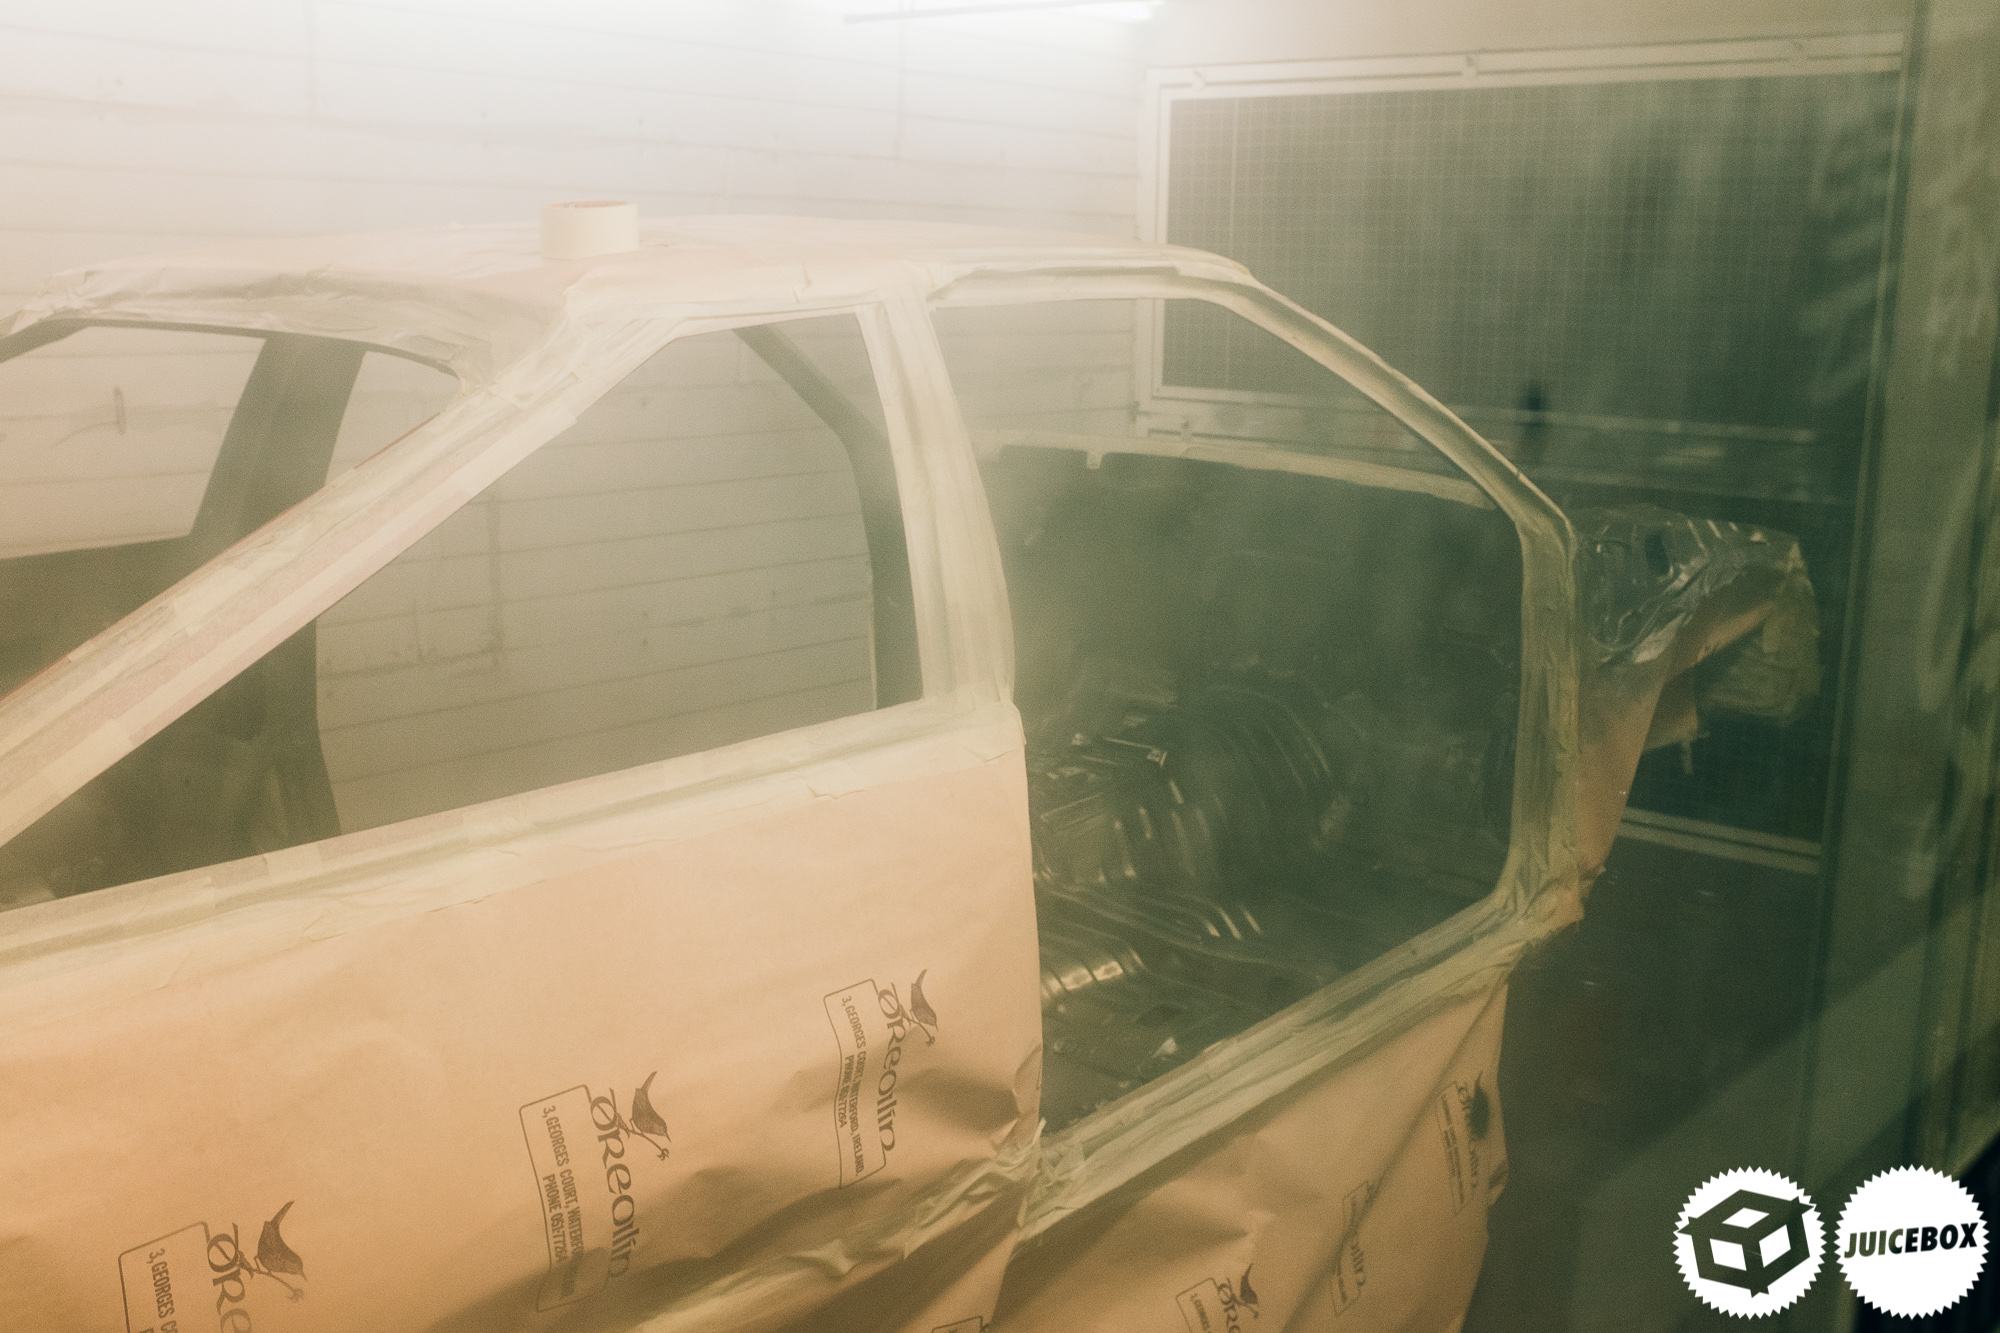
The little window peeking into to watch as it all turned the same colour.
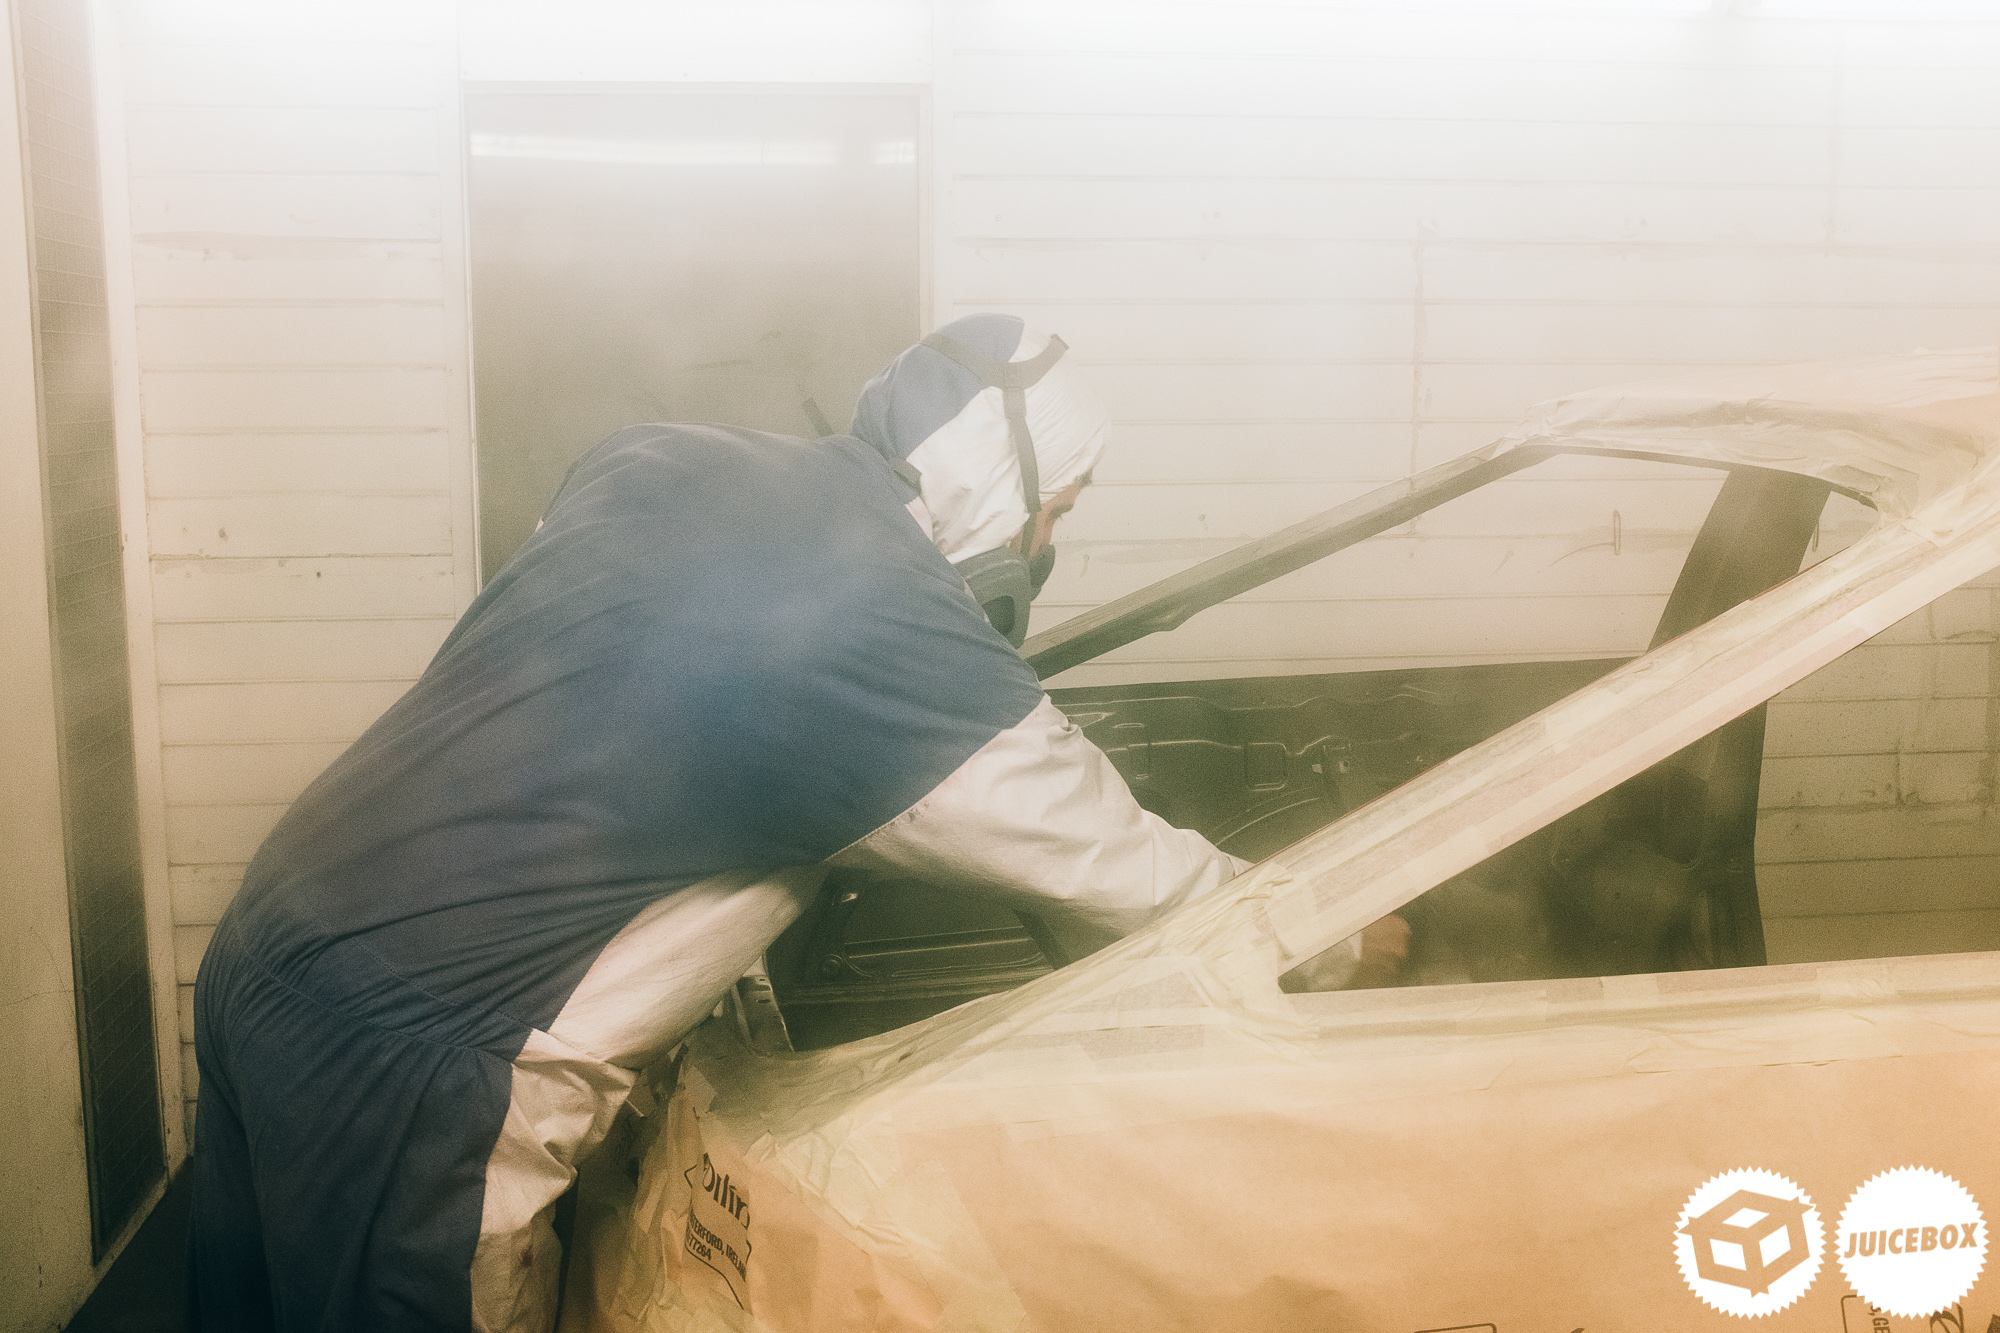
It didn’t look like the easiest of jobs, to be honest, but Flip did an excellent job.
The little windows to view the spray booth are destroyed in paint, so it makes for an interesting look on the photos.

I was thrilled with the finish.
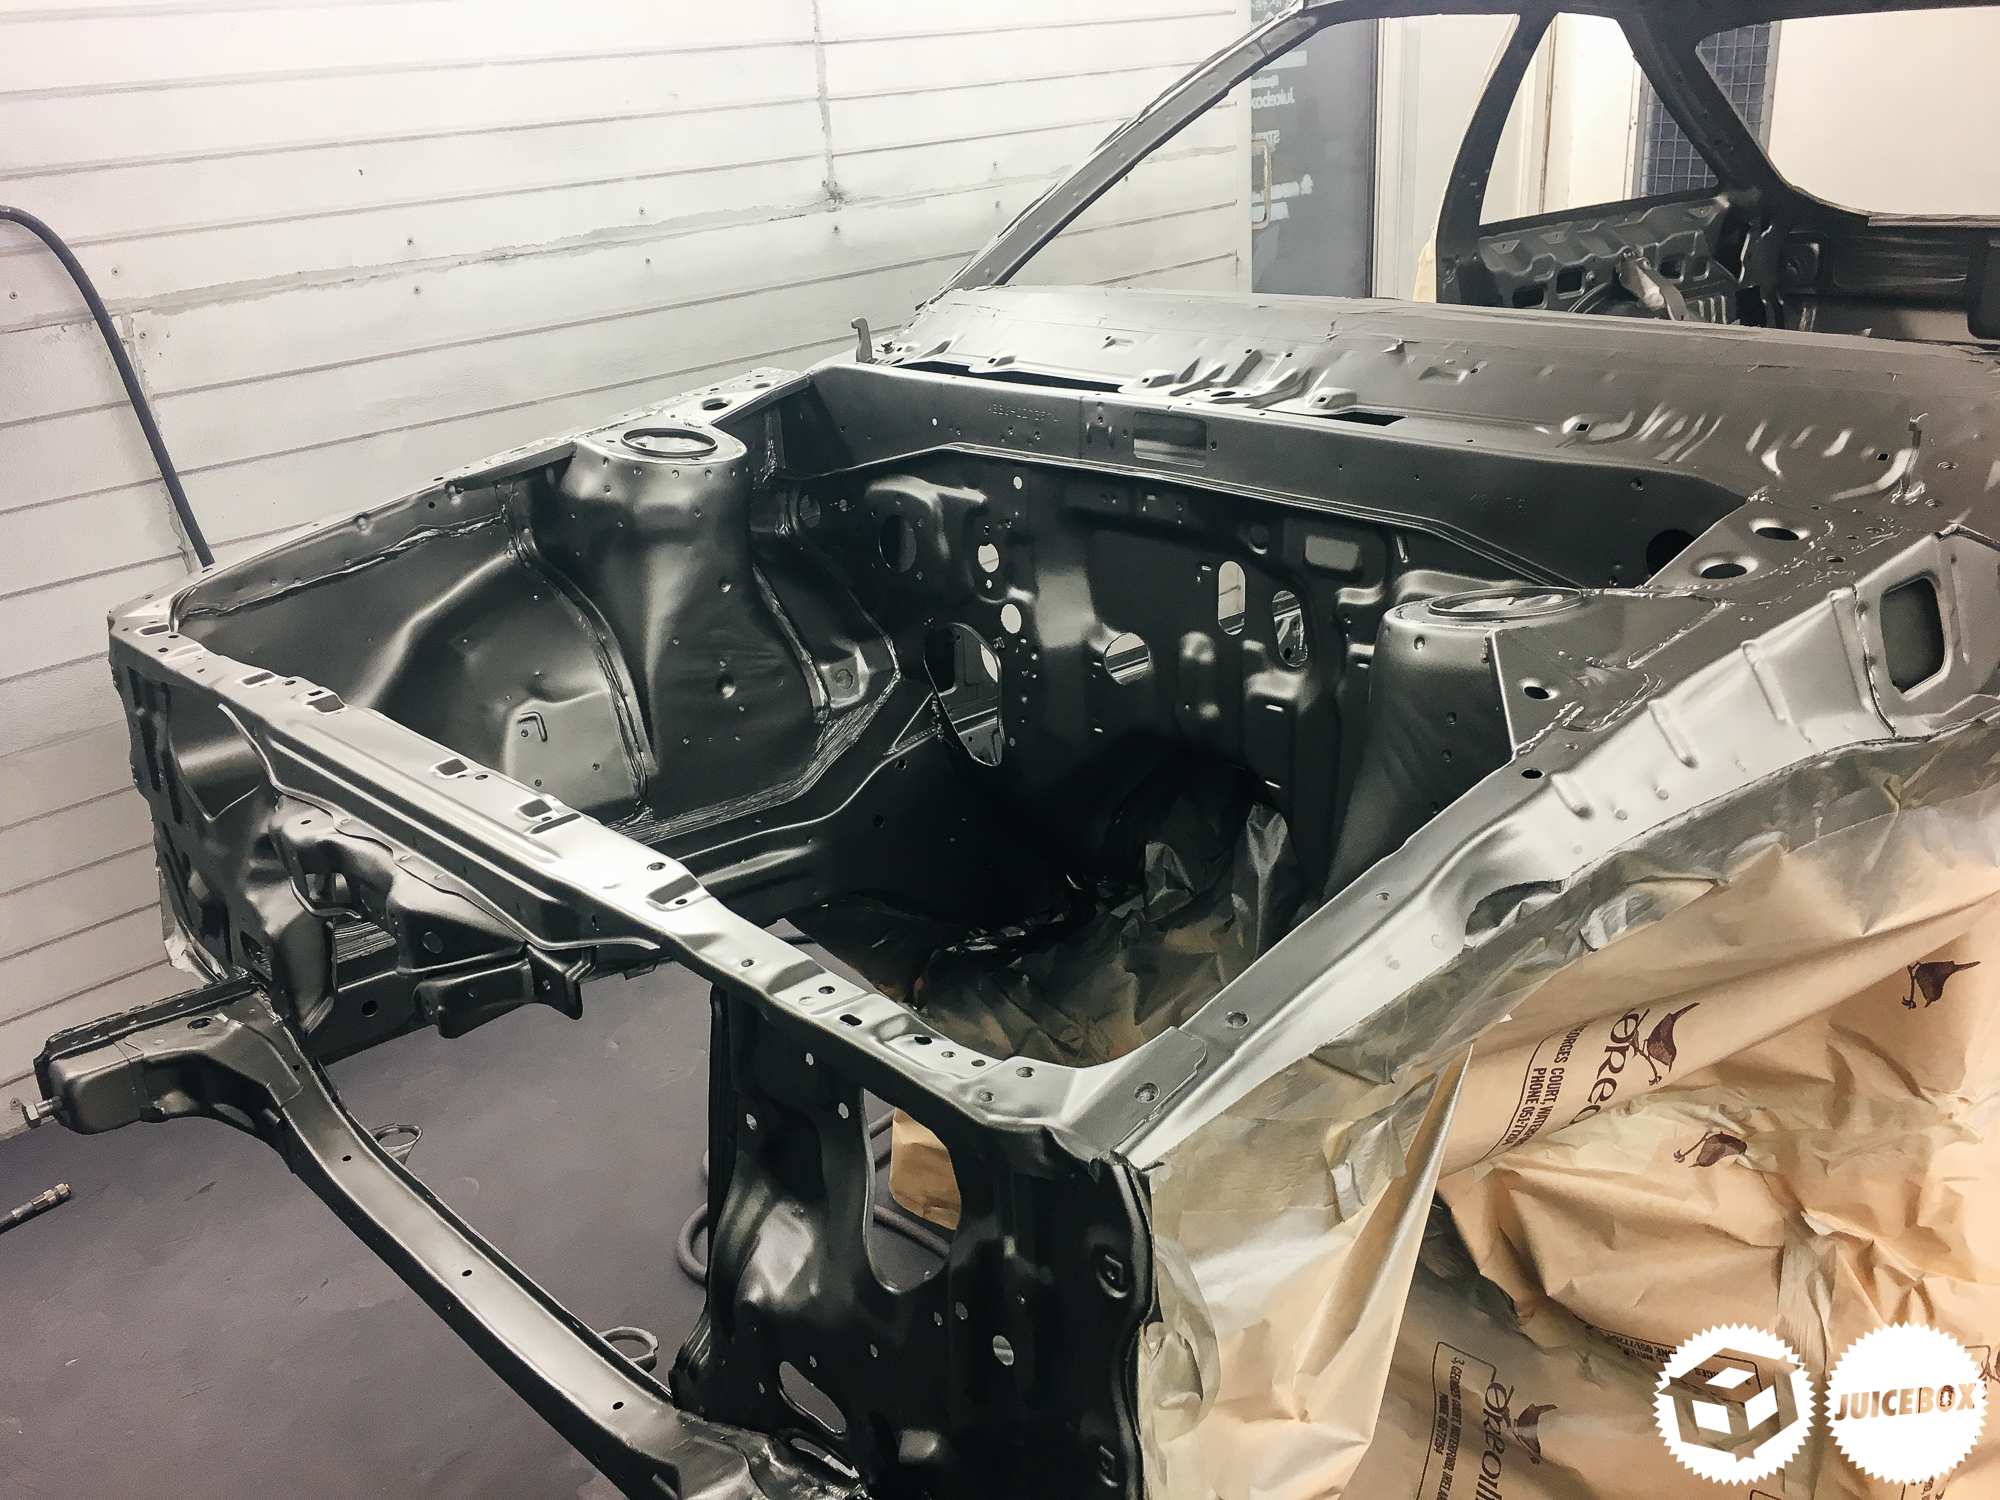
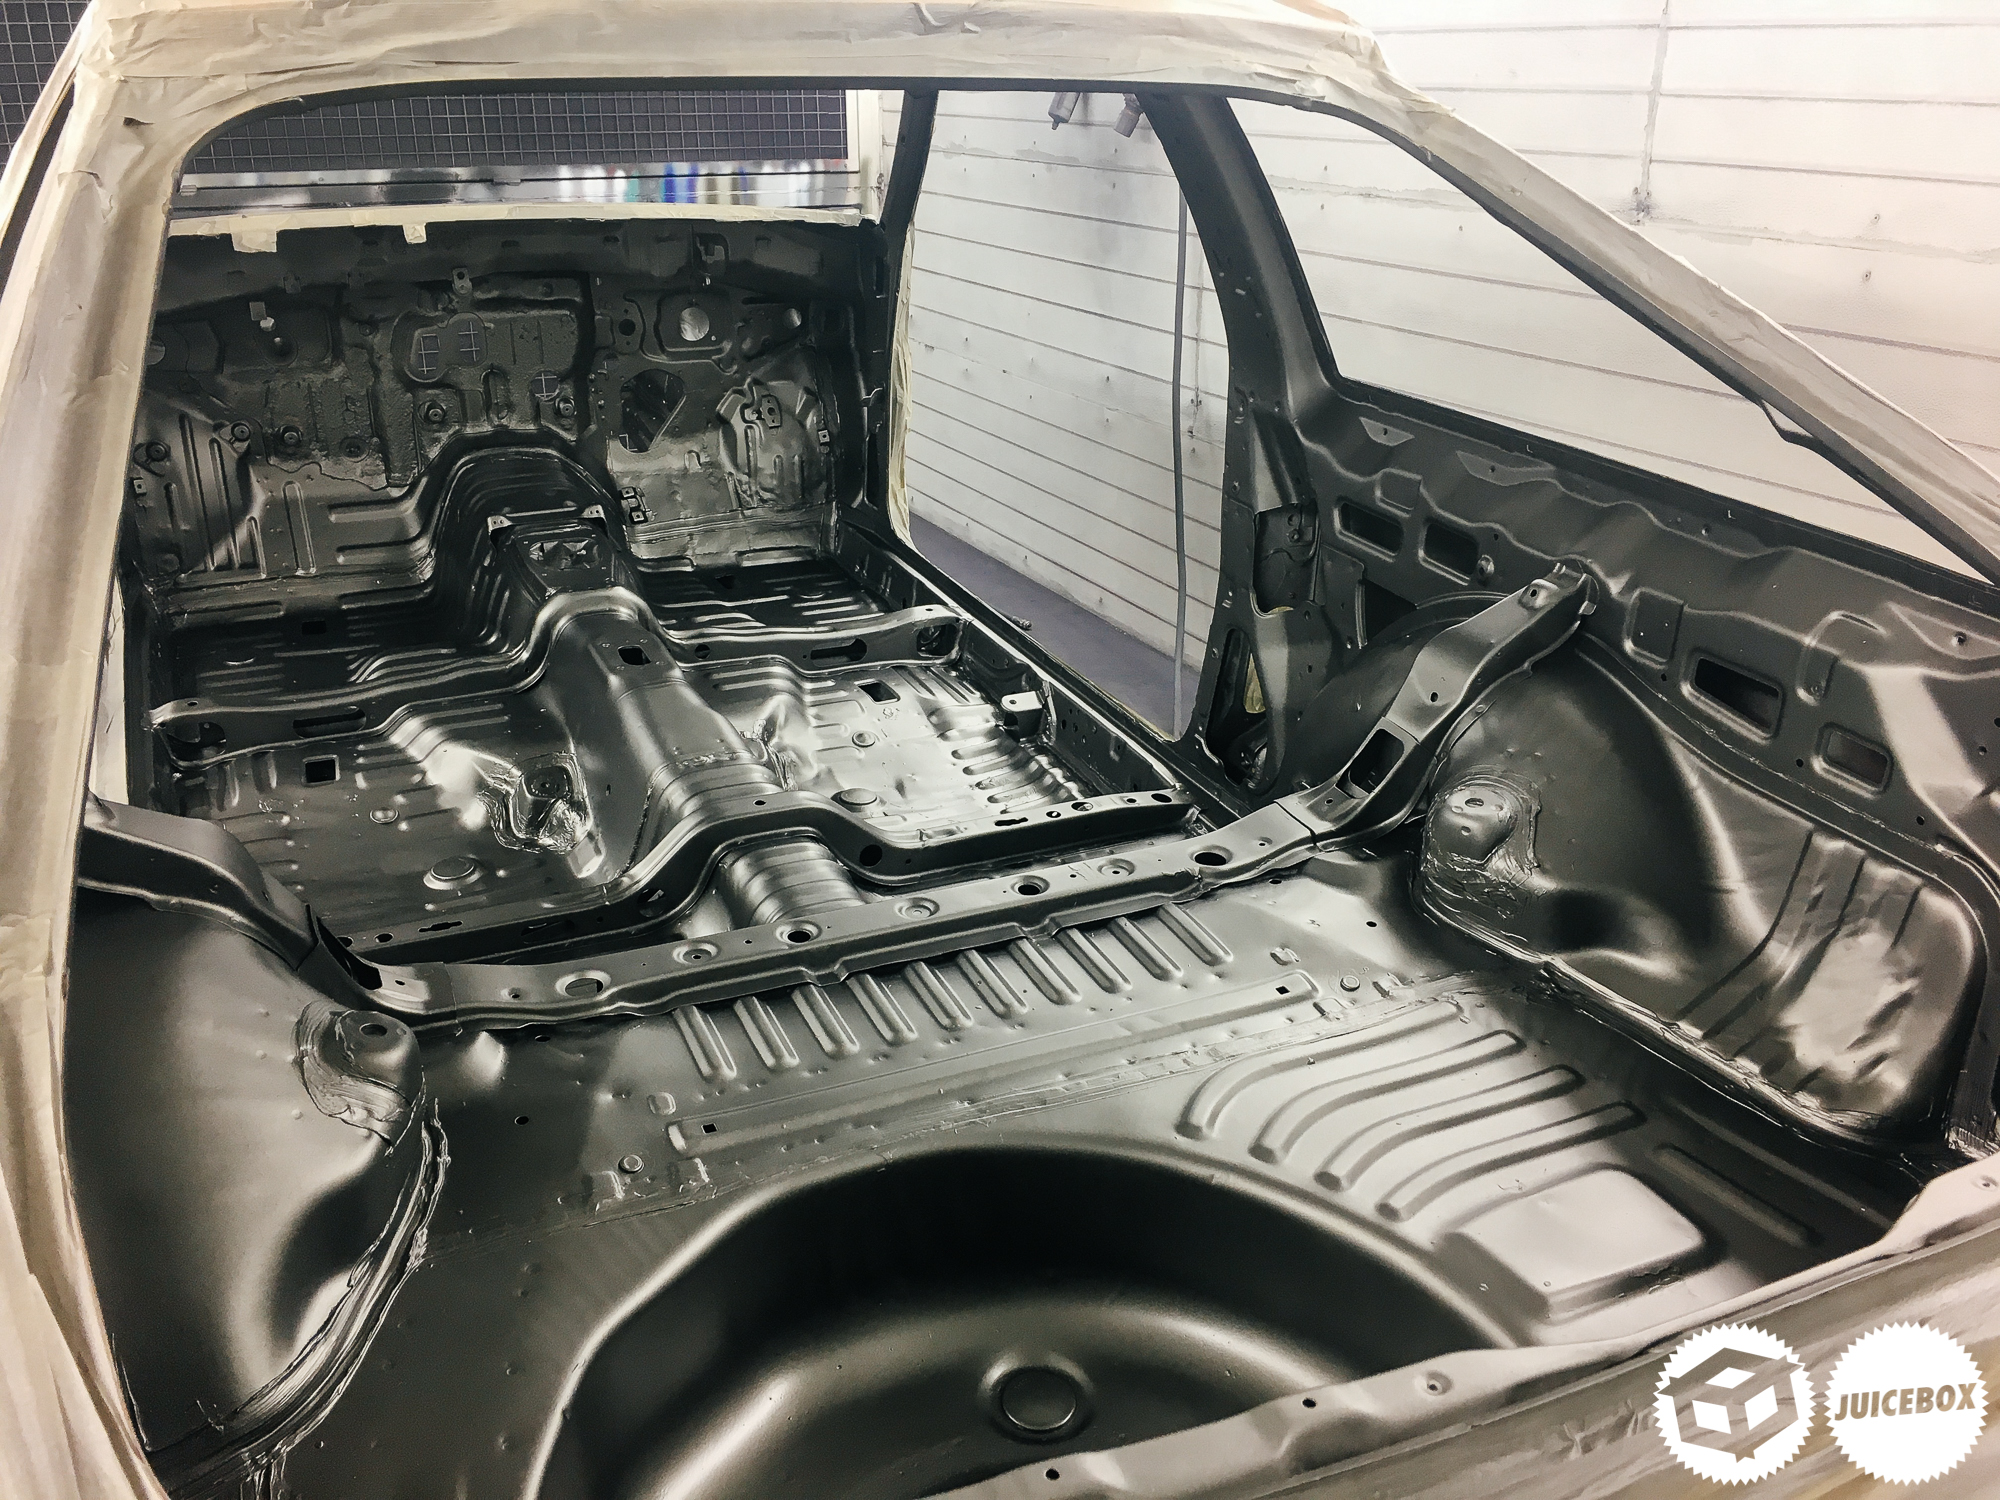


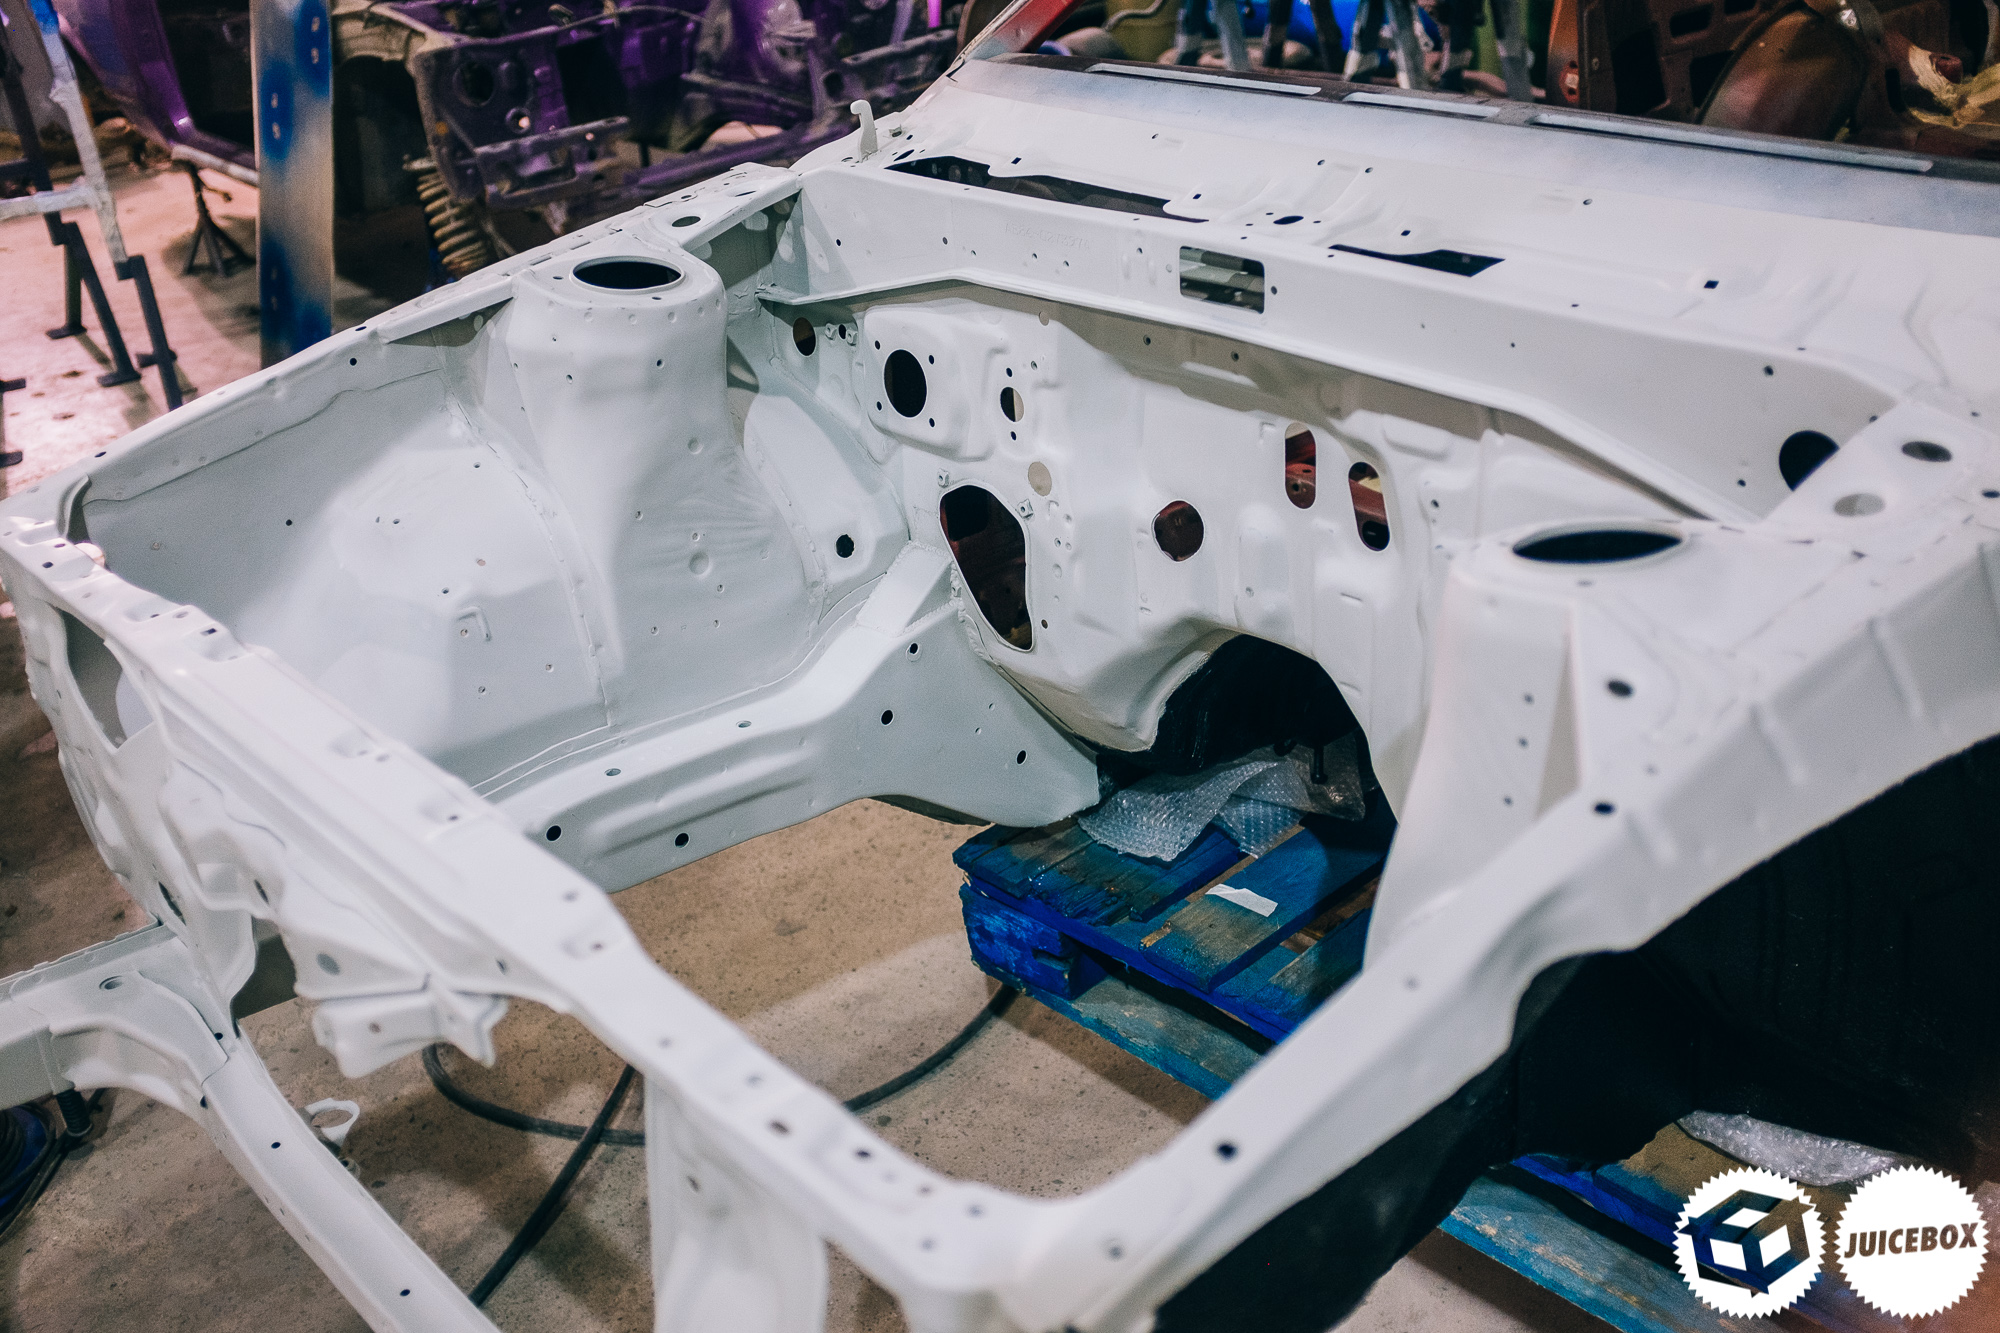
It was a total gamble as we thought the satin paint would kill the gunmetal sparkle, but it all worked out somehow. It looks nicely matted when there is no light on it, adding a tough tone to the bay and interior, but when light shines on an angle or a surface, it gives a very faint sparkle.
I hoped the car would look like something you would find in an old magazine, and it was a way for me to do something different but still stick to a formula you would have expected from fifteen or twenty years ago.
Safe to say, I was over the moon with excitement when Flip applied the paint. It came out exactly as I had planned, and it was nice to paint over the fifty shades of interior pain finally.
4 Comments